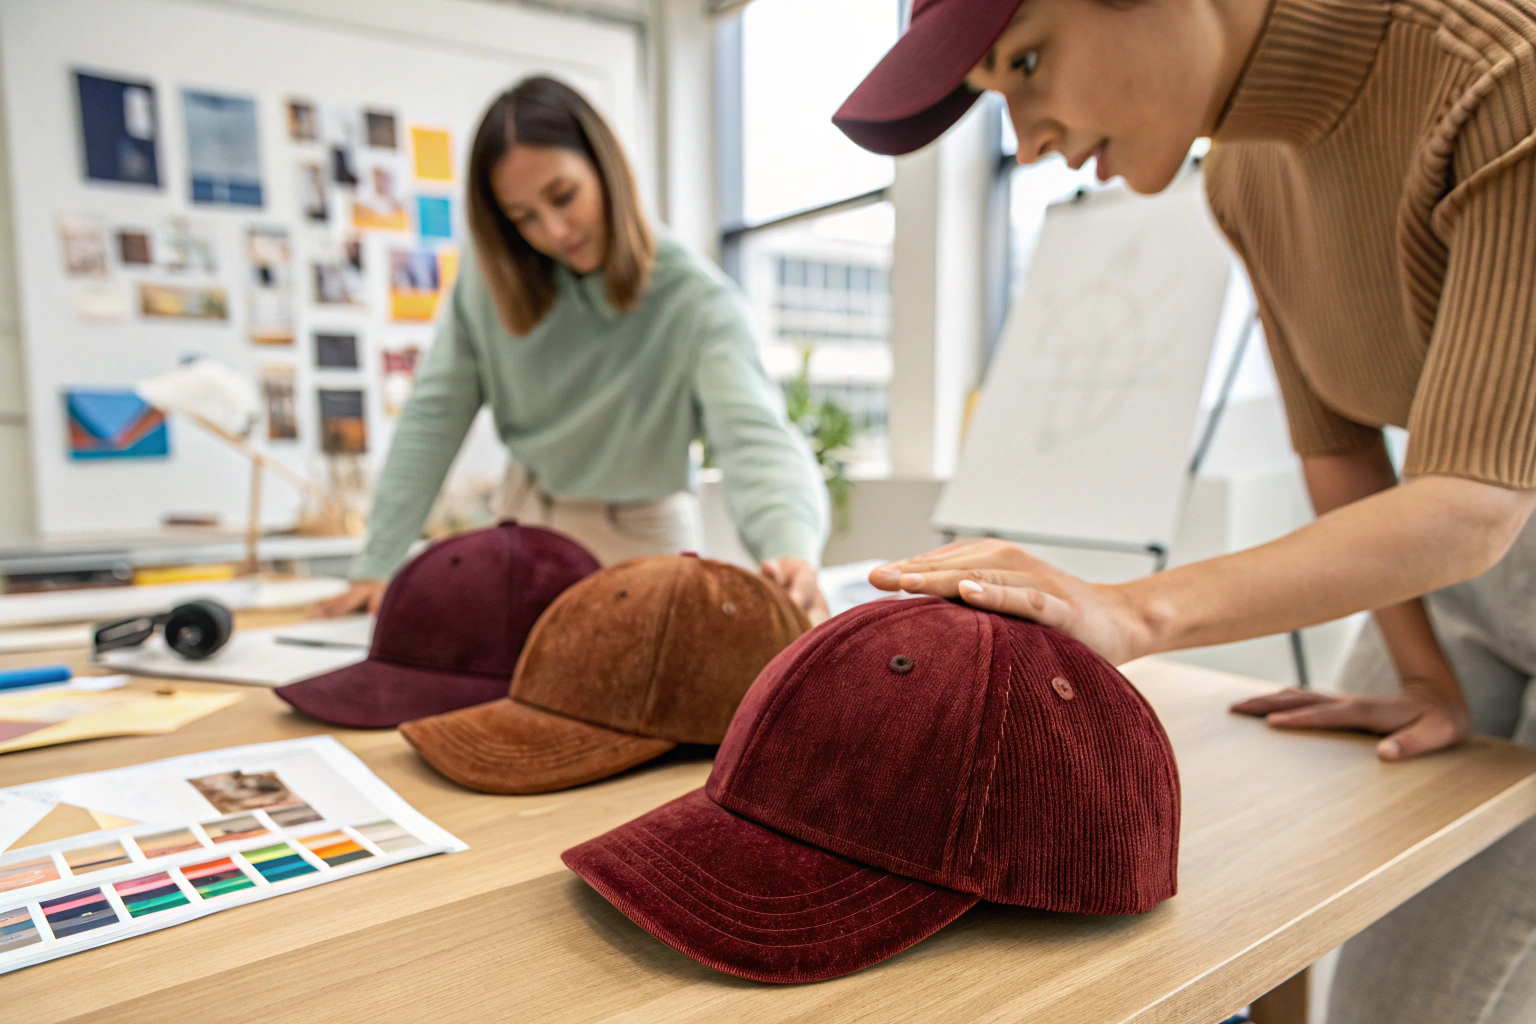

You open a carton of 2,000 baseball caps from a new factory. The first cap you pull looks fine. The second cap has a crooked seam running up the center front. The third cap's visor is visibly warped, curving more sharply on the left side than the right. The fourth cap's embroidered logo has puckered the front panel into a wrinkled mess. You dig deeper and find a cap with a sweatband that is already peeling away from the crown. You realize that of the 2,000 caps in this shipment, maybe 1,600 are sellable. The other 400 are defective in ways that a consumer will notice and return. Your quality standard just slipped from "premium brand" to "discount bin," and you did not change a single specification. The factory's poor process control changed it for you.
The top three quality issues with mass-produced baseball caps are: crown seam misalignment, where the center front seam is visibly crooked, twisted, or off-center by more than 2 millimeters; visor warping or delamination, where the internal visor board curls unevenly or the fabric separates from the board at the edges after minimal wear; and embroidery puckering, where dense logo stitching on the front panel pulls the fabric into a wrinkled, gathered halo around the design. These three defects account for the majority of consumer returns and retail buyer rejections in the baseball cap category.
These defects are not random bad luck. They are the direct result of specific process failures in cutting, fusing, and embroidery. I want to break down exactly how each defect is created, how it is measured, and how our Zhejiang production line prevents these failures from reaching a finished cap.
What Causes a Crooked Center Front Seam in a Baseball Cap?
The center front seam of a baseball cap is the single most visible structural line on the entire product. It runs vertically from the forehead to the top button. When the wearer looks straight at you, this seam either frames their face symmetrically or it does not. A crooked seam is the first thing a consumer sees and the most common reason for a return.
A crooked center front seam is caused by one of three process failures: the fabric panels were not cut precisely on-grain, causing one panel to stretch more than the other during sewing and pull the seam off-center; the sewing machine operator misaligned the two center front panels at the start of the seam, beginning the stitch line 2 to 3 millimeters off the intended seam line and compounding the error over the length of the crown; or the seam was not pressed flat with a steam iron immediately after sewing, allowing the seam allowance to curl to one side and pull the visible seam line with it as the thread cooled.
We prevent this defect by cutting all crown panels with a laser-guided cutting machine that automatically aligns the fabric grain to the cutting pattern. After cutting, the panels are stored flat, not folded, to prevent grain distortion. The sewing operator uses a laser line projector mounted above the sewing machine that casts a bright red line onto the fabric at the exact seam position. The operator simply follows the light. After sewing, the seam is immediately pressed flat on a heated seam press. This three-step control, grain-aligned cutting, laser-guided sewing, and immediate steam pressing, has reduced our crooked seam defect rate to under 0.2%.

How is seam alignment measured objectively in your QC process?
We use a seam alignment gauge, a clear plastic template with a center line and parallel lines spaced 1 millimeter apart. The QC inspector places the gauge over the finished cap with the center line aligned to the top button and the visor center. The visible seam must fall within 1 millimeter of the gauge's center line for the entire length of the seam. Any deviation exceeding 1 millimeter at any point is a rejection.
Does the fabric type affect the likelihood of a crooked seam?
Yes, brushed cotton, fleece, and wool-blend fabrics are more prone to grain distortion during cutting and stretching during sewing than a stable polyester twill. We adjust the cutting table vacuum pressure and the sewing machine feed dog pressure for each fabric type to minimize stretch.
What Causes a Baseball Cap Visor to Warp or Delaminate After Wear?
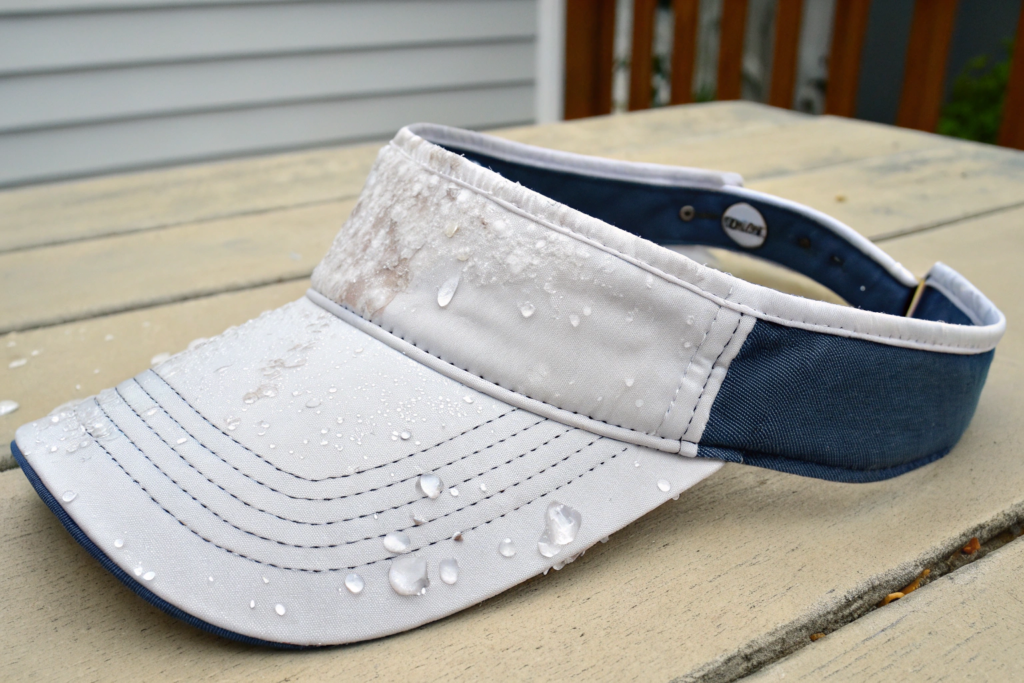
The visor, or brim, of a baseball cap is a sandwich of materials: an outer fabric, an inner lining fabric, a stiffening board, and a row of stitching around the edge. The board is typically made of polyester or a cellulose-based material. The visor is curved into a specific arc during manufacturing. A poorly made visor loses this arc, warps, or separates at the edges after exposure to sweat, humidity, or normal handling.
Visor warping is caused by the internal board absorbing moisture unevenly, which causes the board to swell asymmetrically and curl. A standard cellulose visor board is a compressed paper product that readily absorbs sweat and humidity. Visor delamination is caused by insufficient or uneven application of the heat-activated adhesive that bonds the outer fabric to the board. After repeated flexing, the fabric separates from the board at the edges, creating visible bubbles or a loose, baggy appearance.
We prevent warping by using a waterproof polypropylene visor board instead of cellulose board. This material absorbs zero moisture and cannot warp from sweat or humidity. We prevent delamination by applying the heat-activated adhesive as a continuous film, not as a dot pattern, using a precision roll coater that deposits exactly 25 grams per square meter of adhesive evenly across the entire board surface. The fabric and board are then fused under a heated press at 160 degrees Celsius and 3 bar of pressure for 45 seconds, creating a permanent bond. Our custom baseball cap manufacturing includes this fused visor construction as standard.
How is visor symmetry checked during QC?
The visor curve is measured with a radius gauge, a curved template that matches the specified arc radius, typically 80 millimeters for a standard cap. The inspector places the gauge against the visor and checks for any gap between the gauge and the visor surface. Any gap exceeding 1 millimeter indicates warping.
Does the number of stitch lines on the visor affect warping resistance?
Multiple rows of stitching, typically four to eight rows, add mechanical stability to the visor sandwich. The stitches act like rivets, holding the layers together and preventing delamination. We sew eight rows of stitching on every visor as a standard specification.
What Causes Embroidery Puckering on a Baseball Cap Front Panel?
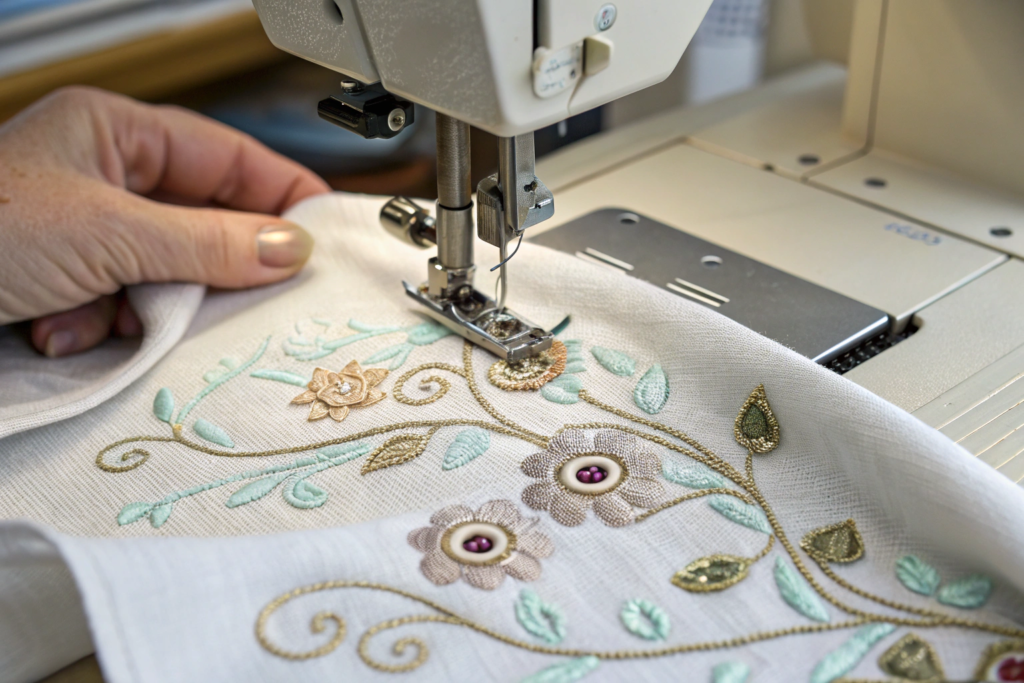
Embroidery is the most common decoration method for baseball caps. A dense logo with 8,000 to 12,000 stitches is a beautiful branding element, but it creates a significant physical stress on the front panel fabric. Each needle penetration pushes the fabric fibers apart, and the embroidery thread pulls the fabric inward as it forms each stitch. The result can be a puckered, wrinkled, gathered halo around the logo that looks sloppy.
Embroidery puckering is caused by three interacting factors: insufficient backing stabilizer behind the front panel, which allows the fabric to shift and gather under the high-density needle penetrations; incorrect embroidery thread tension, where the top thread tension is too high and pulls the bobbin thread up, cinching the fabric; and an embroidery design that is too dense for the fabric type, where too many stitches are packed into a small area for a lightweight or stretchy fabric.
We prevent puckering by using a cutaway backing stabilizer, a non-woven polyester sheet, hooped behind the front panel during embroidery. This stabilizer locks the fabric in place and prevents it from shifting under the needle. After embroidery, the excess stabilizer is trimmed away, leaving a clean back. We set the embroidery machine thread tension using a digital tension meter to ensure the top and bobbin threads interlock at the midpoint of the fabric, not at the surface. We adjust the stitch density of the embroidery file based on the fabric type, reducing density for lightweight brushed cotton and fleece. Our embroidery production standards include these specifications for every order.
What is a "cutaway" stabilizer and why is it superior to a "tear-away" stabilizer?
A tear-away stabilizer is a paper-like sheet that the embroiderer rips away after stitching. The tearing action can pull on the stitches and distort the design. A cutaway stabilizer is a soft, fabric-like sheet that is trimmed with scissors, leaving a permanent, flexible backing inside the cap. It continues to support the embroidery stitches for the life of the cap and will not distort during washing.
How is embroidery puckering measured objectively?
We use a "pucker gauge," a clear plastic template with a grid of concentric circles. The QC inspector places the gauge over the embroidered logo and measures the distance from the edge of the logo to the farthest visible puckering wrinkle. Any puckering that extends more than 2 millimeters beyond the logo edge is a failure.
What Additional Quality Issues Do You Inspect for Beyond the Top Three?
The crooked seam, the warped visor, and the puckered embroidery are the three most common and visible defects, but a comprehensive cap QC inspection covers a longer checklist. A cap can look perfect on the outside and still fail functionally.
Beyond the top three, we inspect: sweatband attachment integrity, where the sweatband is pulled with a 5-kilogram force for 10 seconds and must not detach or tear; closure strap durability, where the plastic snapback or Velcro closure is cycled open and closed 500 times without failure; top button security, where the button is pulled with a 3-kilogram force for 10 seconds and must not detach; stitch density, where the stitch count per inch is measured with a stitch counter loupe and must match the specification; and color consistency between the visor, crown, and closure, where the Delta E between any two components must be less than 2.0.
We inspect every incoming batch against this full checklist using an AQL 2.5 Level II sampling plan. For a 5,000-unit order, we inspect 200 caps randomly pulled from throughout the lot. The acceptance number is 10. If we find 11 or more defective caps, the lot is 100% inspected and sorted before shipping. This AQL-based inspection process is consistent across all our accessories.
How do you test the top button security?
The top button is the small, fabric-covered or metal button at the very top of the crown. It is attached by a metal tack that is pressed through the fabric and crimped on the inside. A loose button will fall off and become a choking hazard for children. We test every new button tack setting by pulling the button with a digital force gauge set to 3 kilograms of pull force for 10 seconds.
What is the acceptable stitch density range for a baseball cap seam?
Standard seam stitch density is 8 to 10 stitches per inch. A density below 8 indicates a loose, weak seam that may open under tension. A density above 10 indicates a tight seam that may pucker the fabric. The inspector uses a stitch counter loupe, a magnifying lens with a 1-inch scale, to count the stitches in a random 1-inch section of seam.
Conclusion
The top three quality issues with mass-produced baseball caps, crooked center front seams, warped or delaminated visors, and puckered embroidery, are all preventable with specific process controls: laser-guided cutting and seam alignment for straight seams, waterproof polypropylene visor boards and continuous adhesive lamination for warp-free visors, and cutaway backing stabilizers with calibrated thread tension for smooth embroidery. Beyond these three, sweatband attachment, closure durability, top button security, and stitch density are checked on every batch using an AQL 2.5 sampling plan.
Our Zhejiang factory has invested in the laser cutting tables, the laser seam guides, the adhesive roll coaters, and the digital thread tension meters that eliminate these defects at the source. We provide the full QC inspection report with every shipment.
If you are experiencing quality issues with your current baseball cap supplier and need a factory with documented process controls, contact our Business Director, Elaine. She will send you a sample cap with our standard construction, the QC checklist, and a sample inspection report. Write to her at elaine@fumaoclothing.com. Let's build caps that pass inspection on the first pull.