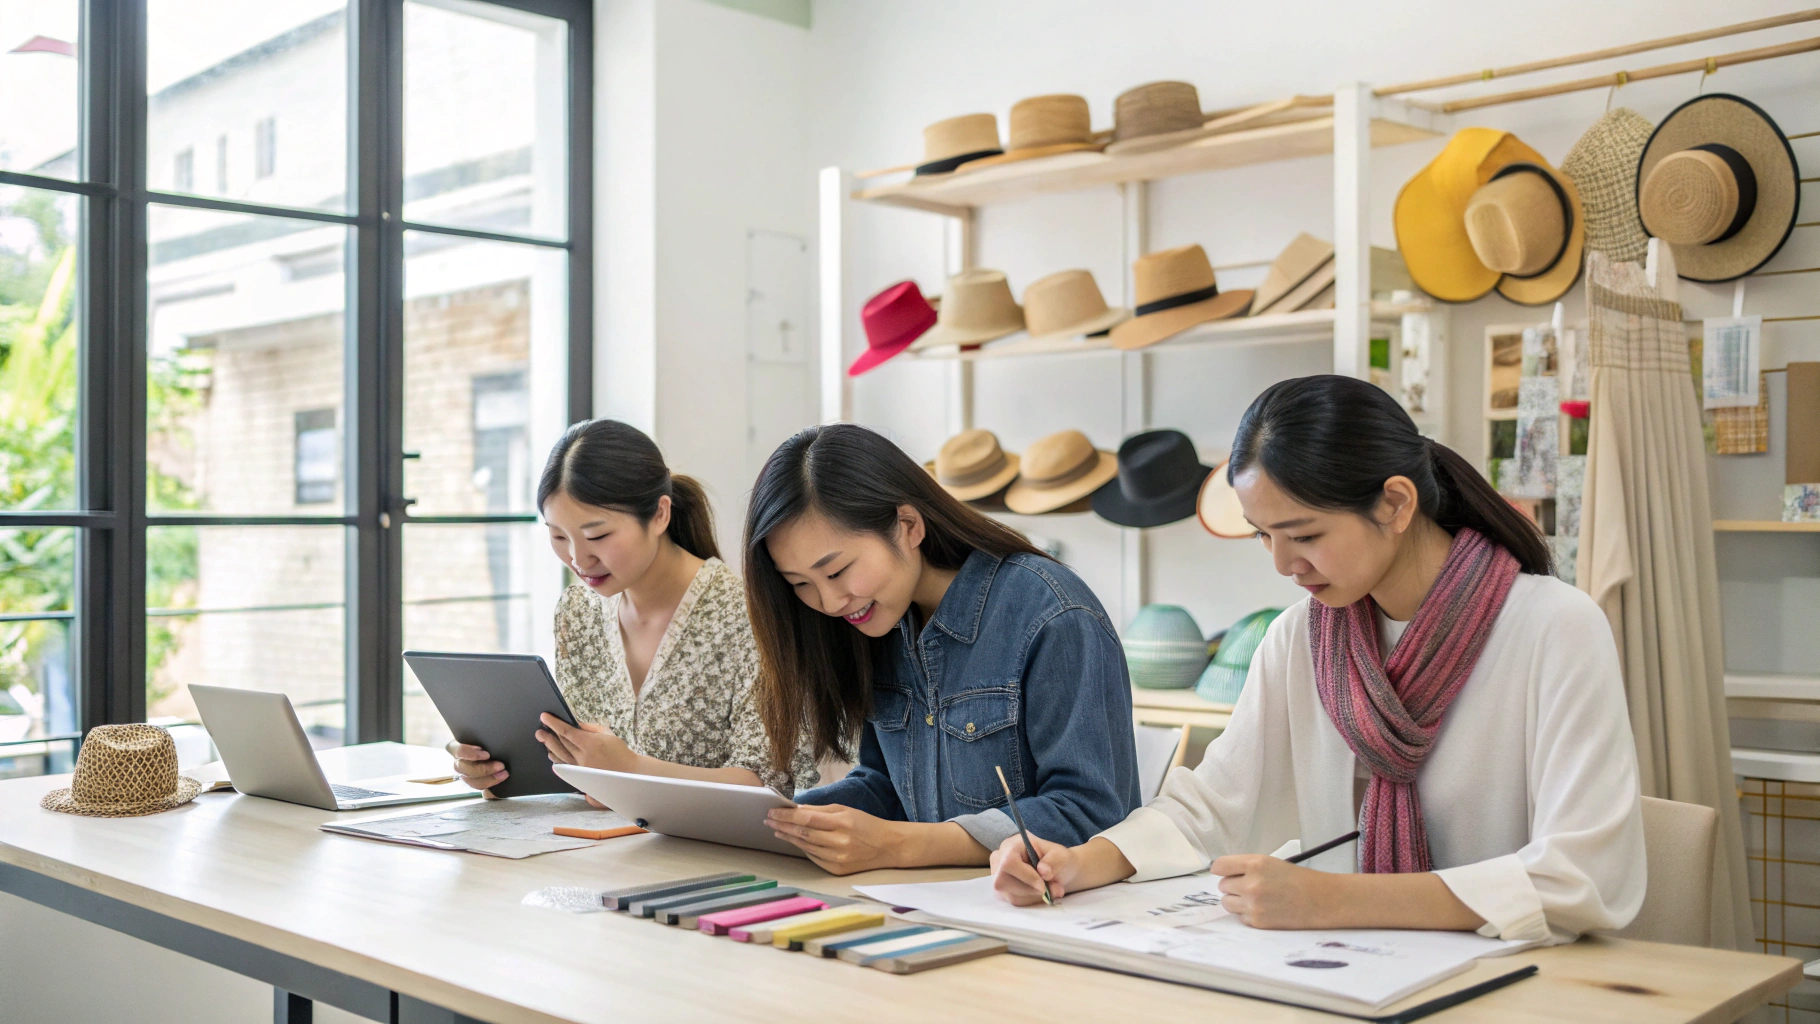
I remember when we started our design team. It was 2010. We had one designer. She had one desk. She had paper and pencils. That was it. We made simple hair bands. Nothing fancy. Then a client from Paris visited us. She looked at our studio. She laughed. She said "this is not a design team. This is a kindergarten." I was embarrassed. But she was right. We had no tools. We could not compete. So I invested. I bought software. I bought tablets. I bought measuring tools. I built a real design team. Now we have 12 designers. Each one has professional tools. We can make anything. Hair clips, hats, belts, bags. Fast and accurate. Let me tell you what tools you need. I will save you the trial and error I went through.
An accessory design team needs five categories of tools. First, sketching and rendering software like Adobe Illustrator and Procreate. Second, 3D modeling tools like Rhino or CLO 3D for virtual samples. Third, color management tools including Pantone books and light booths. Fourth, measuring and prototyping tools like calipers, cutting mats, and sample-making equipment. Fifth, project management software like Trello or Asana to track development. The total investment for a basic setup is $5,000 to $10,000 per designer. For a full professional setup, budget $15,000 to $25,000 per designer.
You might think tools are not important. You might think a good designer can work with anything. That is wrong. A good designer with bad tools is slow. A good designer with good tools is fast. And speed matters. In our business, the first brand to launch a trend wins. The second brand is too late. So tools are not a cost. They are an investment. Let me show you exactly what we use and why.
What Software Does Every Accessory Designer Need?
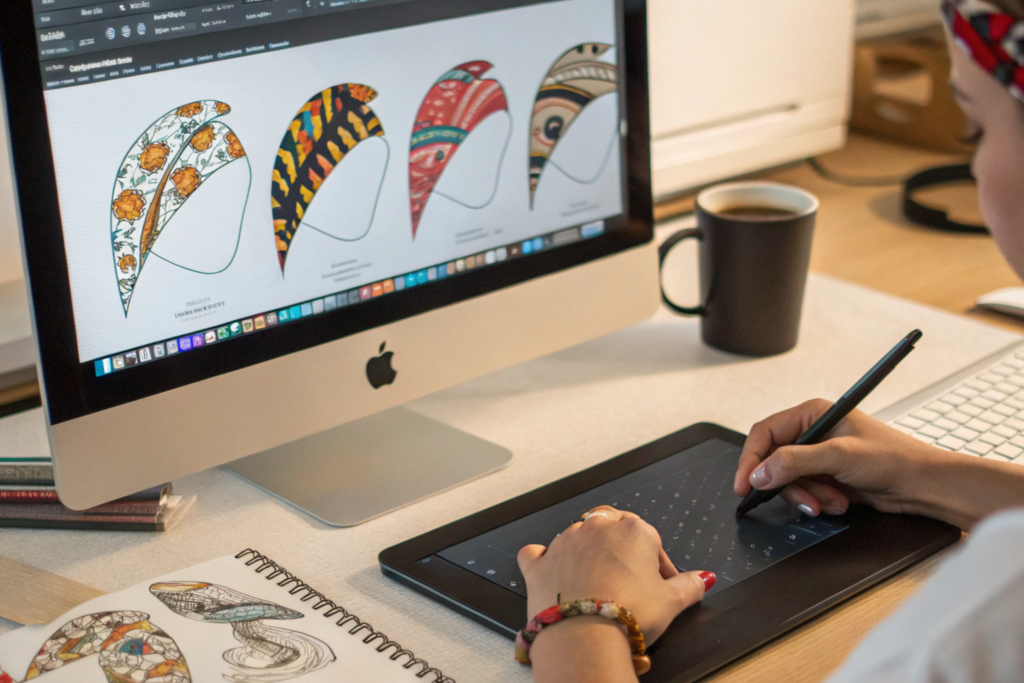
Software is the backbone of modern design. I learned this the hard way. In 2012, we did everything by hand. A client asked for a change. We had to redraw everything. It took 3 days. Now with software, the same change takes 10 minutes. I have a designer named Li on my team. She is 28 years old. She grew up with computers. She can make a new hair clip design in 30 minutes. From idea to finished rendering. My older designers took 3 hours. The difference is software skill. So train your team well. Pay for courses. It is worth it.
Every accessory designer must know Adobe Illustrator. It is the industry standard for vector drawing. You use it for flat sketches, technical drawings, and colorways. The second most important is Procreate on iPad. It is the best for quick hand sketches and concept art. For 3D modeling, Rhino is great for hard accessories like belts and bags. CLO 3D is better for soft accessories like hats and scarves. For color management, use Pantone Studio. For project tracking, use Asana or Trello. The total software cost per designer is about $1,500 per year. Adobe Creative Cloud costs $600 per year. Procreate is a one-time $10. Rhino is $1,000 one-time. CLO 3D is $500 per year. Pantone Studio is $150 per year.
Adobe Illustrator - This is for technical drawings. You draw the exact shape of a hair band. You add measurements. You show where the elastic goes. You show the stitch lines. Factories need this to make samples. Without Illustrator, you cannot communicate clearly. We use it for every product.
Procreate - This is for creative sketches. You draw ideas quickly. You try different colors. You try different shapes. It feels like drawing on paper. But you can erase and change easily. We use it for the first stage of every project.
Rhino - This is for hard accessories. Belts with metal buckles. Bags with plastic frames. Hair clips with metal springs. Rhino makes 3D models. You can rotate them. You can see how they look from every angle. You can send the file to a 3D printer. We use Rhino for all our hard goods.
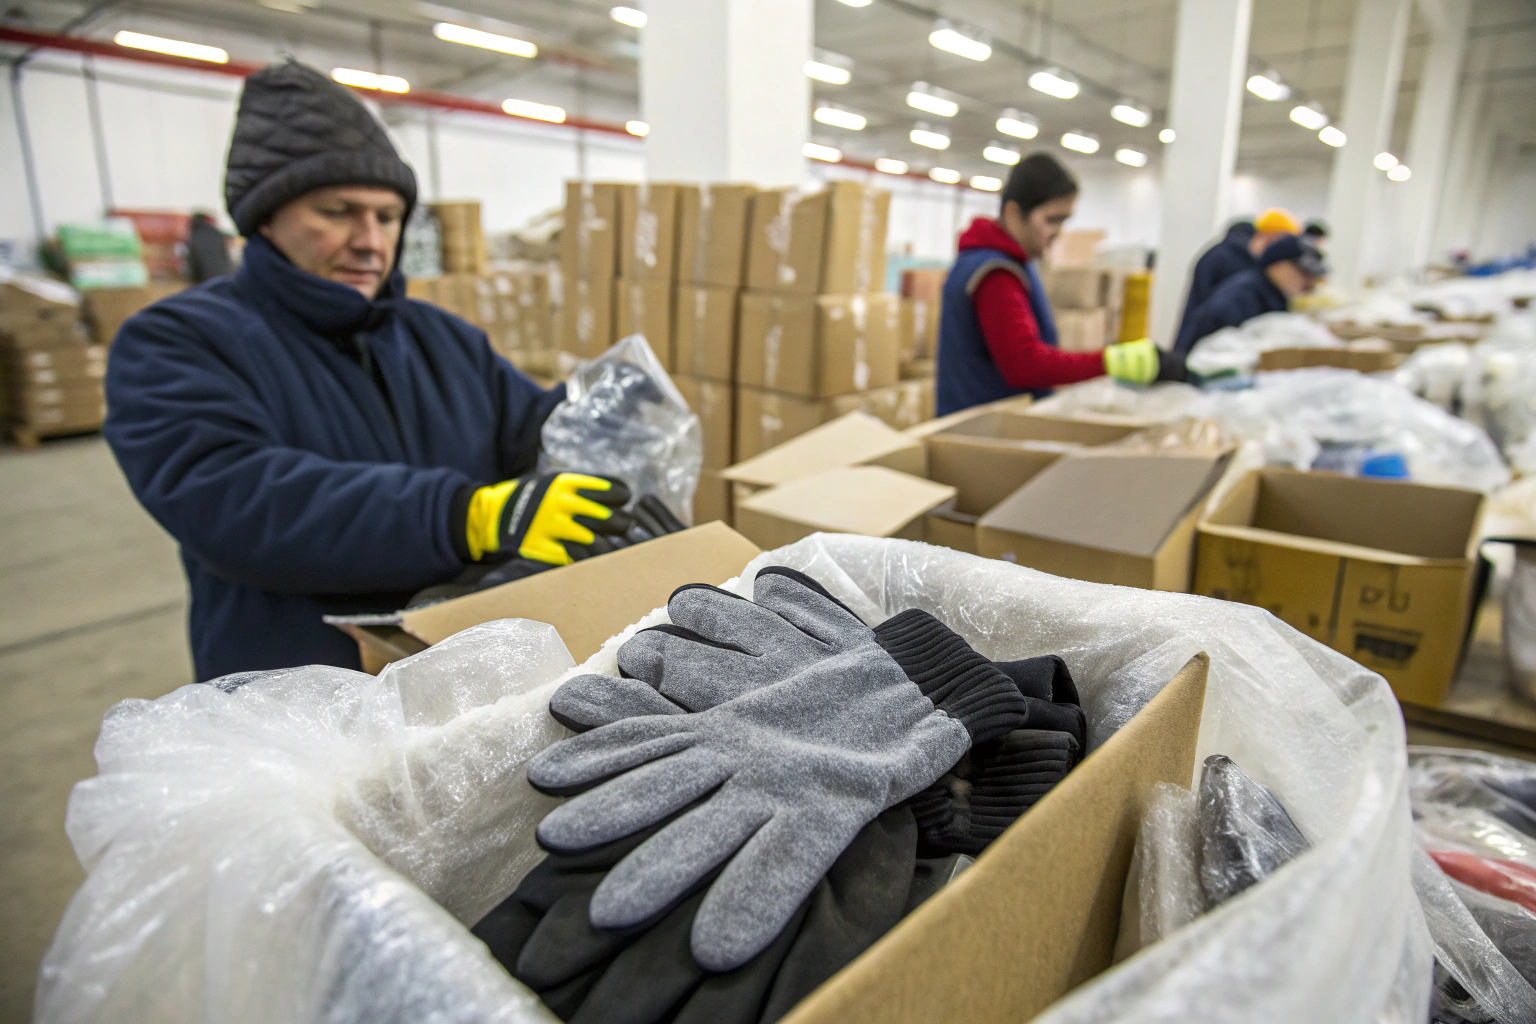
CLO 3D - This is for soft accessories. Hats, scarves, gloves, beanies. CLO simulates fabric. It shows how a hat will drape. It shows how a scarf will fold. You can change the fabric type. You can change the pattern. It saves us from making 10 physical samples. We make 1 physical sample instead. Huge time saver.
We use Adobe Illustrator tutorials to train new designers. The official tutorials are free and good. For Procreate, we buy courses on Skillshare. For Rhino, we use LinkedIn Learning. Training costs $500 per designer per year. We pay it. It pays back in faster work.
Do we need AutoCAD or SolidWorks?
Only if you make very technical accessories. Like bags with complex buckles. Or hats with mechanical parts. For 90% of accessories, Rhino is enough. AutoCAD is for architects and engineers. SolidWorks is for mechanical engineers. They are too heavy for hair bands and scarves. Save your money. Start with Illustrator and Procreate. Add Rhino if you make hard goods. Add CLO 3D if you make soft goods. That is enough.
What about free software like Inkscape or GIMP?
Free software is tempting. But it has problems. Inkscape cannot open Adobe files. Most factories use Adobe. They will send you Adobe files. You will not be able to open them. GIMP is not vector-based. It is for photos, not drawings. Accessory design needs vector files. Vector files can scale to any size. Photo files get blurry. So pay for Adobe. It is the industry standard. You cannot avoid it. Think of it as a cost of doing business.
What Physical Tools Belong In A Design Studio?
Software is great. But you cannot touch software. You cannot feel the fabric. You cannot measure the thickness. Physical tools are still essential. I learned this when a designer made a belt on her computer. It looked perfect. But when we made the sample, the buckle was too small. Her computer showed the right size. But her screen was 15 inches. The real belt was 40 inches. The scale was wrong. She needed a ruler. She needed to draw it on paper first. Now we use both. Digital for speed. Physical for accuracy.
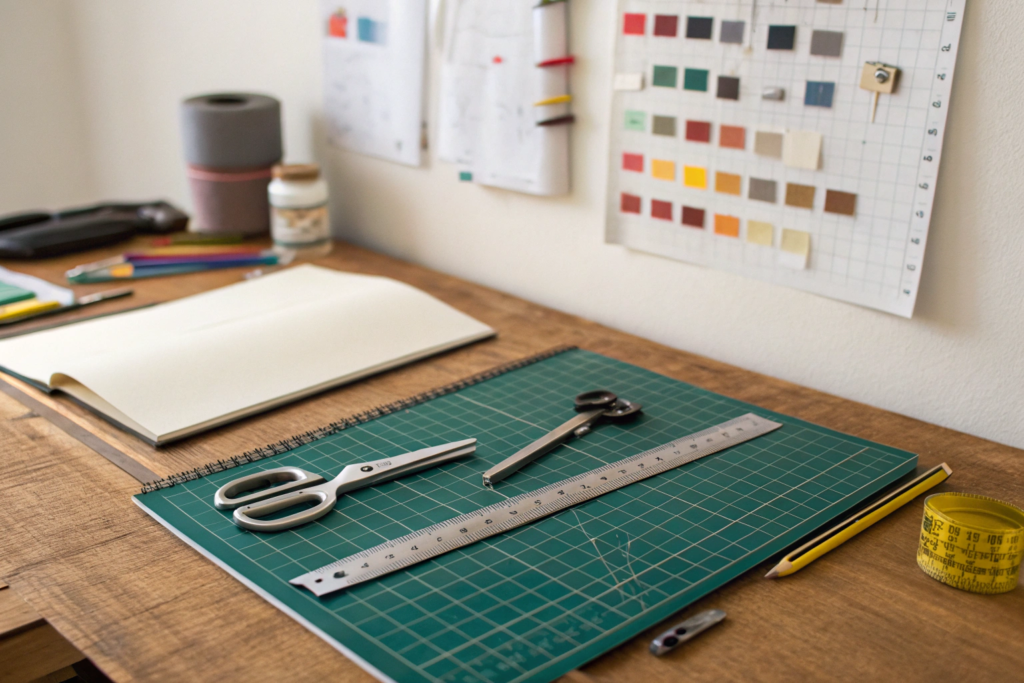
Every design studio needs a cutting mat at least 24 by 36 inches. You need a metal ruler, a clear plastic ruler, and a flexible measuring tape. You need digital calipers for measuring thickness down to 0.01mm. You need a set of French curves for drawing smooth shapes. You need a light box for tracing. You need a dress form or head form for hats and scarves. You need a stapler, scissors, X-Acto knife, and replacement blades. You need a staple gun for fabric samples. The total cost for physical tools is about $500 per workstation. This is a one-time cost. Buy good quality. Cheap tools break.
Here is our exact physical tool list. I use these every week.
Cutting mat - We use A2 size, 24 by 18 inches. It protects the desk. It has grid lines for measuring. We buy from Fiskars or Olfa. Cost is $40.
Metal ruler - 24 inches long. Stainless steel. It does not bend. It has cork on the back so it does not slip. Cost is $15.
Clear plastic ruler - 12 inches long. You can see through it. Good for measuring drawings. Cost is $5.
Flexible measuring tape - 60 inches long. For measuring curves and body parts. Cost is $3.
Digital calipers - Measures thickness of materials. Leather, elastic, plastic. We use Neiko brand. Accuracy to 0.01mm. Cost is $30.
French curves - A set of plastic templates. For drawing smooth curves on belts and bag handles. Cost is $15.
Light box - A flat box with a light inside. You put a drawing on top. You trace it. Good for making copies of patterns. Cost is $50.
Head form - A foam head on a stand. For designing hats and headbands. We have male, female, and child sizes. Each costs $30.
Dress form - For designing belts and scarves. Adjustable size. Cost is $150.
X-Acto knife - For cutting paper and thin materials. Blades must be changed often. Cost is $10 for the handle, $5 for blades.
Staple gun - For attaching fabric to foam boards. Cost is $20.
We buy most tools from Dick Blick Art Materials. They have good quality. For calipers, we use Amazon. For head forms, we buy from local beauty supply stores. Do not buy the cheapest option. Cheap calipers break. Cheap rulers bend. Spend a little more. It lasts for years.
Do we need a 3D printer?
Yes, if you make hard accessories. Belt buckles, bag frames, hair clip springs. A 3D printer makes plastic samples. You can test the fit. You can test the function. You do not need metal yet. Plastic is fine for testing. A good entry-level 3D printer is the Creality Ender 3. It costs $200. The material costs $20 per roll. We have three printers. They run every day. But if you only make soft accessories like scarves and hats, you do not need a 3D printer. Focus on sewing tools instead.
What about a sewing machine for sample making?
Yes, you need a sewing machine. Even if your factory does the bulk production. Your design team needs to make samples. You need to test if a hat shape works. You need to test if a belt stitch is strong. You do not need an industrial machine. A home sewing machine is fine for samples. We use Brother brand. Cost is $200 to $300. You also need basic sewing supplies. Thread, needles, pins, scissors. Another $50.
How Do You Manage Color Across The Design Team?
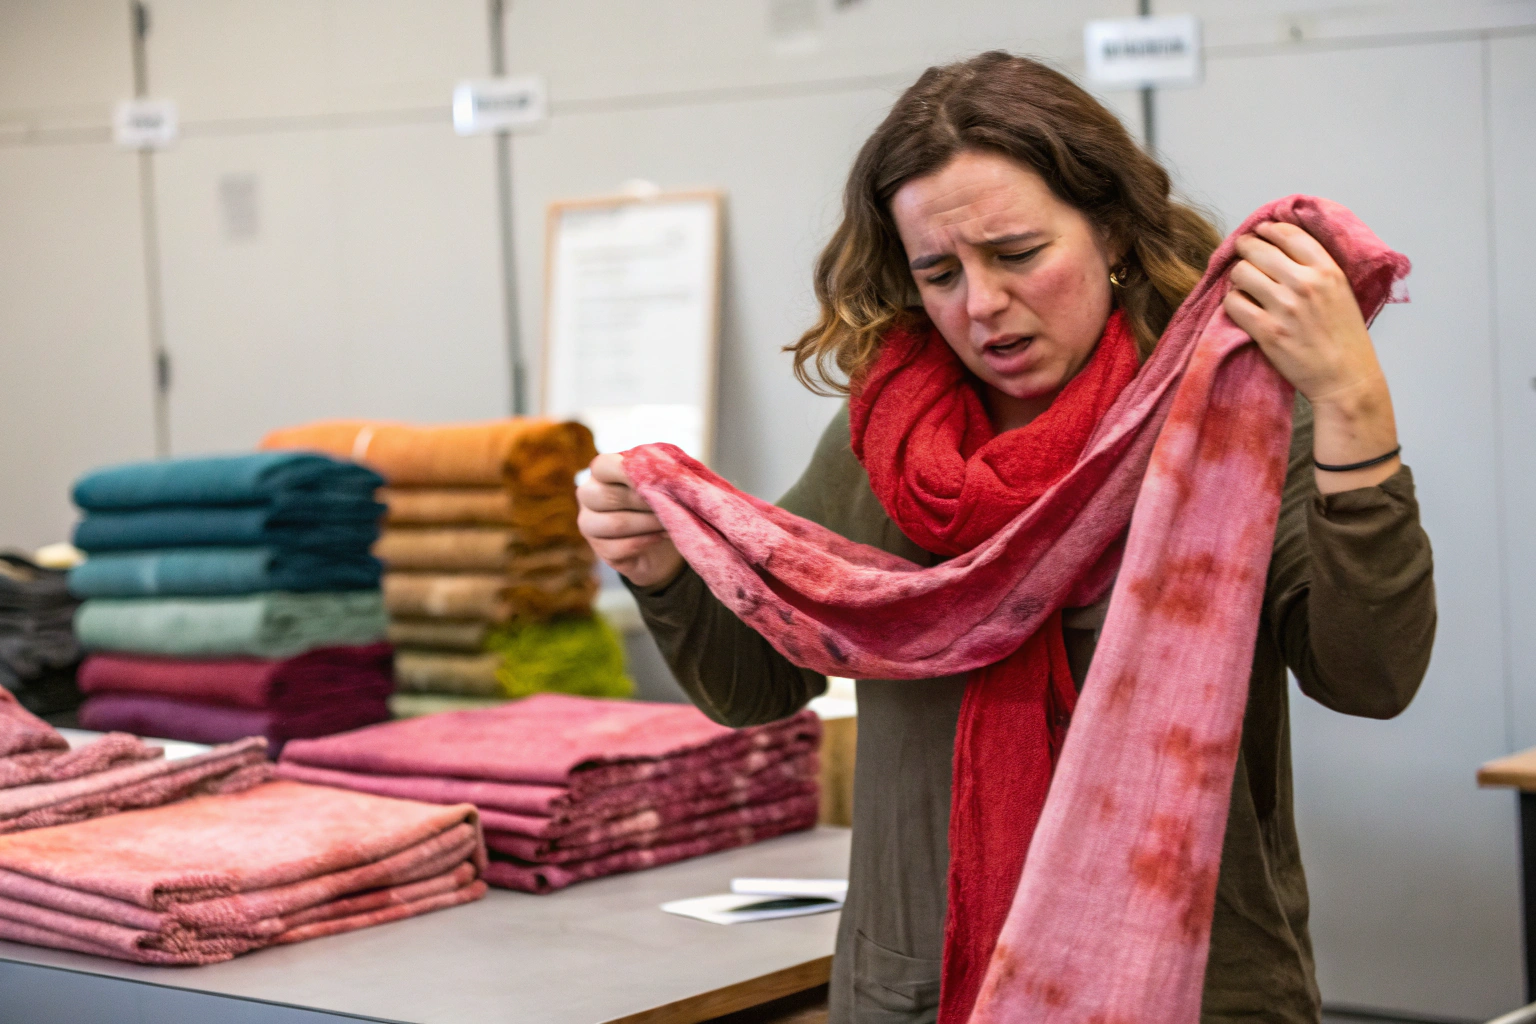
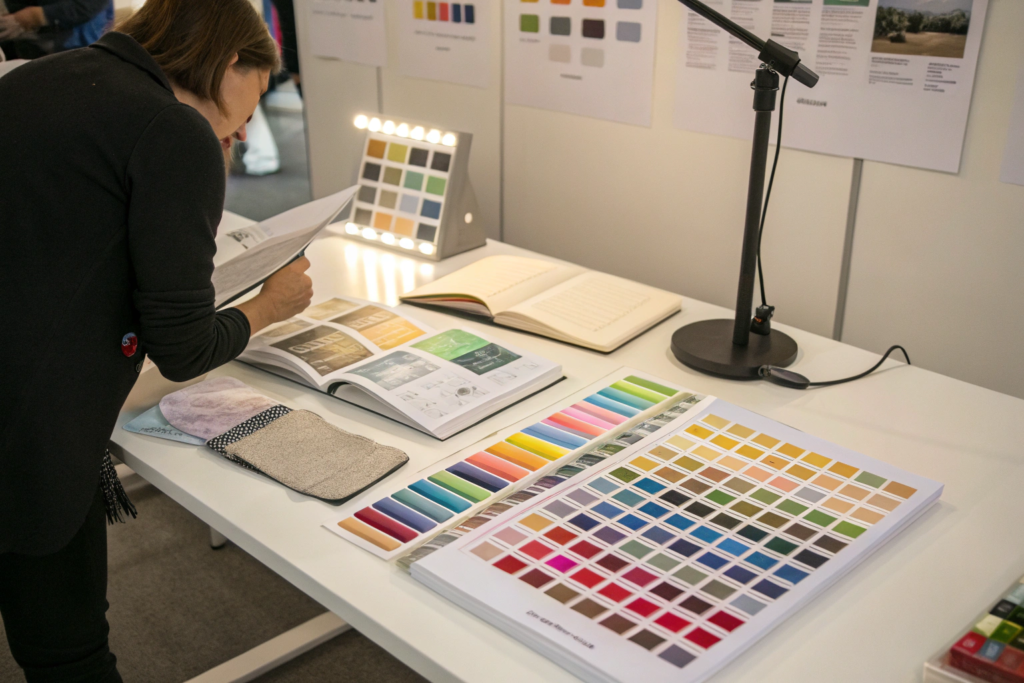
Color is the hardest thing to manage. I have said this before. I will say it again. Different screens show different colors. Different materials absorb dye differently. Different lights change how colors look. Without tools, your team will fight about color. One designer says it is blue. Another says it is purple. They are both looking at the same thing. But their screens are different. So we invested in color management tools. Now we have no arguments. Everyone uses the same standard.
Every design team needs a full set of Pantone books. You need the Solid Coated series for shiny materials. You need the Solid Uncoated series for matte materials. You need the Cotton TCX series for fabrics. You need a light booth with at least three light settings: daylight D65, store light TL84, and home light A. You need a spectrophotometer to read color values. You need a physical library of dyed fabric swatches from your factory. The total cost for color tools is about $2,500 for the Pantone books, $800 for a light booth, and $500 for a spectrophotometer. This is expensive. But it saves you from costly color mistakes.
Pantone Solid Coated book - This has 2,000+ colors printed on glossy paper. Use this for shiny materials like polyester, nylon, and coated fabrics. Cost is $200. Replace every 18 months because colors fade.
Pantone Solid Uncoated book - Same colors but on matte paper. Use this for cotton, wool, and matte finishes. Cost is $200.
Pantone Cotton TCX book - This has colors on actual cotton fabric. Use this for fabrics. It is the most accurate. Cost is $800.
Light booth - A box with different lights. You put your sample inside. You see how it looks in daylight, store light, and home light. This prevents surprises. A sample that looks good in daylight might look yellow under store light. You need to know this before bulk production. We use the X-Rite Judge QC light booth. Cost is $800.
Spectrophotometer - A machine that reads color numbers. It tells you exactly how red or blue or yellow a color is. It gives a Delta E number. Delta E below 1.0 means the colors match perfectly. Delta E above 2.0 means humans can see the difference. We use the Ci64 from X-Rite. Cost is $500.
We also keep a physical library. Every time we make a new color for a client, we save a fabric swatch. We label it with the client name and the Pantone number. We have over 3,000 swatches now. When a client reorders, we pull the swatch. We match it exactly. No guessing.
How do we calibrate our computer screens?
This is very important. If your screen is not calibrated, your Pantone book is useless. You need a screen calibrator. It is a device that hangs on your screen. It measures your screen's colors. Then it adjusts your screen to be accurate. We use the Datacolor SpyderX. Cost is $150. We calibrate every designer's screen once per month. We also set all screens to the same brightness. 120 cd/m2 is the standard. Do not skip this step. An uncalibrated screen will ruin your color work.
What is the difference between RGB and CMYK?
RGB is for screens. Red, Green, Blue. CMYK is for printing. Cyan, Magenta, Yellow, Black. Accessory design uses CMYK for printing on fabric. But factories often use special dyes. So CMYK is just a starting point. Always make a physical sample. Do not trust your screen. Do not trust your printer. Only trust the dyed fabric under a light booth. That is the real color.
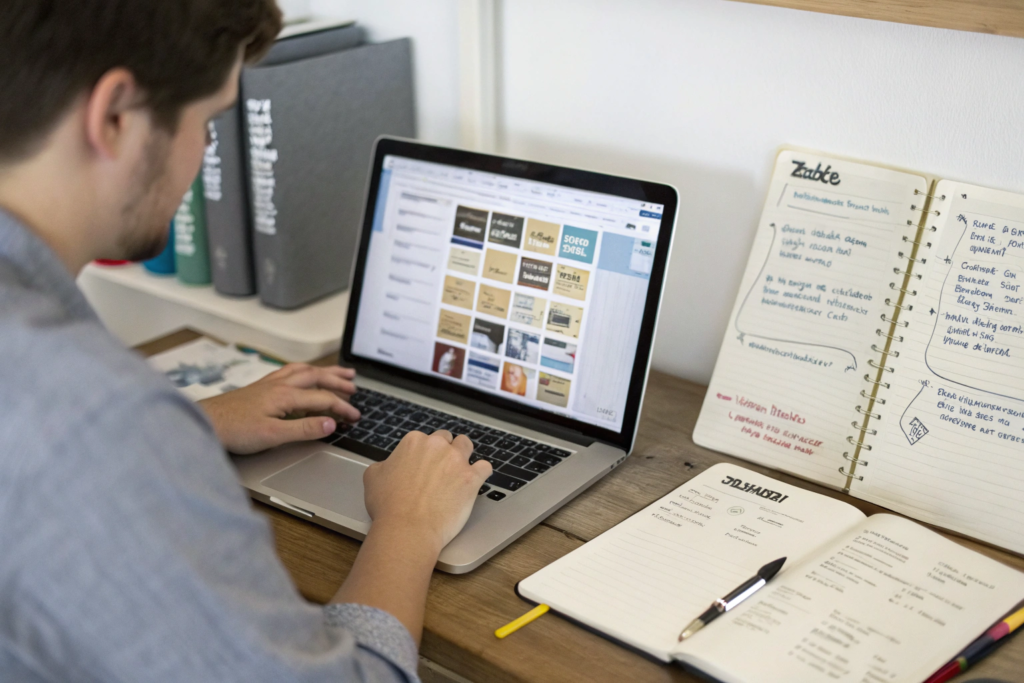
How Do You Organize Design Files And Track Projects?
Organizing files is boring. But it is essential. I learned this when we lost a design. A client approved a hair clip. We made 10,000 pieces. But the production team used the wrong file. They used an old version. The clip was the wrong size. We had to redo everything. The problem was file organization. The old file and new file had the same name. No one knew which was which. Now we have a strict system. We never lose files. We never use wrong versions.
Every design team needs a file naming system. Use this format: ClientName_ProductType_Date_Version. For example, Walmart_HairBand_20250315_v3.ai. Never use "final" or "latest" in file names. They are lies. Use version numbers only. Store files on a shared cloud drive like Google Drive or Dropbox. Not on local computers. For project tracking, use Trello or Asana. Create a board with columns: Idea, Sketch, Sample, Approved, Production. Move cards from left to right. For communication, use Slack or WeChat. Keep all design feedback in one place. Do not use email for design feedback. It gets lost.
We learned this system from Trello design workflows. Their templates are free and good. We adapted them for accessories. You can do the same.
What is a tech pack and why do I need it?
A tech pack is the instruction manual for your product. It tells the factory exactly what to make. It has drawings with measurements. It has material lists. It has color codes. It has stitch types. It has packing instructions. Without a tech pack, the factory will guess. Guessing leads to mistakes. Mistakes cost money. We refuse to start production without a signed tech pack. It protects both sides. You can make a tech pack in Adobe Illustrator. There are templates online. Use them.
How do I share large design files with factories?
WeChat and email have file size limits. For large files, use WeTransfer. It is free for files up to 2GB. Or use Google Drive. Share a link. The factory can download directly. For very large files like 3D models, use Dropbox. We have a paid Dropbox account. $15 per month. Worth it. Do not use USB drives. They get lost. They get viruses. Cloud is safer.
Conclusion
Building a design team is not cheap. Tools cost money. Software costs money. Training costs money. But not having a design team costs more. I learned this. In 2010, we had no design team. We only made what clients asked. We had no original products. We had no brand. Then we invested. We bought tools. We hired designers. We built systems. Now we have 12 designers. We make our own collections. Clients come to us for our designs. Not the other way around.
The tools I shared are what we use. Adobe Illustrator for technical drawings. Procreate for sketches. Rhino and CLO 3D for 3D. Pantone books for color. Light booth and spectrophotometer for color accuracy. Cutting mats, rulers, calipers for physical work. Trello for project management. Google Drive for file storage. None of these are optional for a professional team. You can start small. One designer. One computer. One Pantone book. One cutting mat. Then grow. Add tools as you grow. But start somewhere. Do not wait. Your competitors are not waiting.
At Shanghai Fumao, we have the tools. We have the team. We have the systems. But we also know that every brand is different. Your tools might be different from ours. That is fine. The important thing is to have tools that work for you.
I invite you to visit our design studio in Zhejiang. See our tools. See our workflow. Ask us questions. Or send us your designs. We can make them for you. Or we can help you build your own design team. We share what we know. That is how we build trust.
To start your accessory design project, please email our Business Director, Elaine. Her email is elaine@fumaoclothing.com. Tell her what products you want to make. She will connect you with our design team. You will get a free consultation. No pressure. Just honest help.