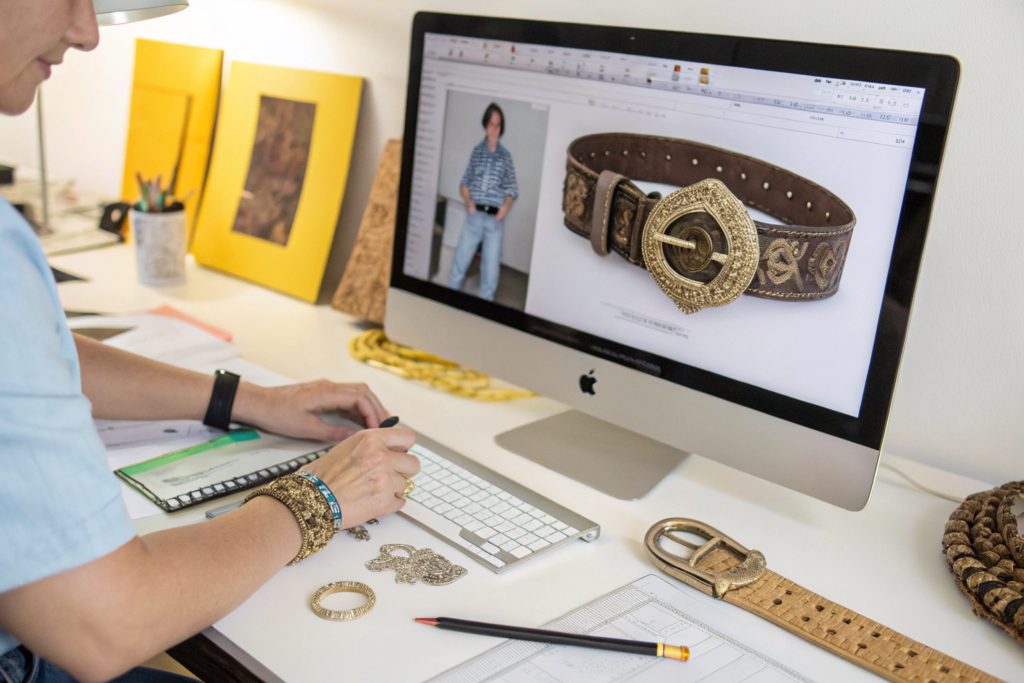
A few years ago, I received an email from a client named Chloe. She ran a small, cult-favorite vintage-inspired brand. She had found a photograph in an old 1970s magazine—a beautifully worn, intricately tooled leather belt with a massive, ornate brass buckle. She had been searching for a manufacturer to replicate it for nearly a year. Every factory she contacted told her the same thing: "We need a CAD file," or "We only make modern styles," or "The minimum order for a custom brass buckle is 10,000 pieces." She was a designer, not a CAD engineer. She had a vision, not a tech pack. She asked me, "Can you just... look at this photo and make this belt?" I told her, "Yes, we can. That is exactly what we do." If you are like Ron, you understand that the most unique and defensible products often come from the past. The fear of having a brilliant vintage reference that no modern factory can interpret is the wall that stops many great collections from ever being born.
Yes, we can absolutely replicate a vintage belt design from a photo. This is a core specialty we call "Photo-to-Product Development." The process is a structured journey that begins with reverse-engineering the design from your reference images, creating detailed digital renderings and 3D models for your approval, and then using a combination of scanning, 3D printing, CNC machining, and traditional casting to perfectly recreate the buckle, leatherwork, and finish. A single, clear photo is enough to start the dialogue. Multiple photos from different angles, along with basic measurements, dramatically increase the accuracy and speed of the process.
I run AceAccessory in Zhejiang Province. My design team are part artist, part archaeologist. They love the challenge of a vintage mystery. They study the patina on a buckle, the curve of a hand-stitched edge, the way the leather has creased with age. A vintage belt is not just a shape. It is a story of material, craft, and time. Replicating it requires not just copying a shape, but understanding the original manufacturing technique and then deciding which elements to perfectly recreate and which to "modernize" for comfort, durability, and cost-effectiveness. Let me walk you through the exact step-by-step process of how we take a faded photograph and turn it into a tangible, beautiful, production-ready belt.
How Does the "Photo-to-Product" Design Process Work?
The journey from a 2D photograph to a 3D, manufacturable product is a fascinating blend of art, detective work, and digital technology. It is a structured process that ensures we capture the Soul of the vintage piece, not just the rough outline.
The Three-Phase Replication Process:
Phase 1: The Architectural Study (Visual Deconstruction).
This is the most critical phase, and it happens entirely in the mind of our senior designer. We are not just looking at the photo. We are Reverse-Engineering the Original Maker's Intent. We ask a series of specific, technical questions: How many individual pieces of leather were used? What is the edge finish—burnished, painted, or raw? Is the buckle solid brass, stamped steel, or cast zinc? What is the stitch length (SPI)? Is the patina a result of aging or was it an original design element? We create a detailed Visual Analysis Document that breaks down the belt into its component parts and notes these hypotheses.
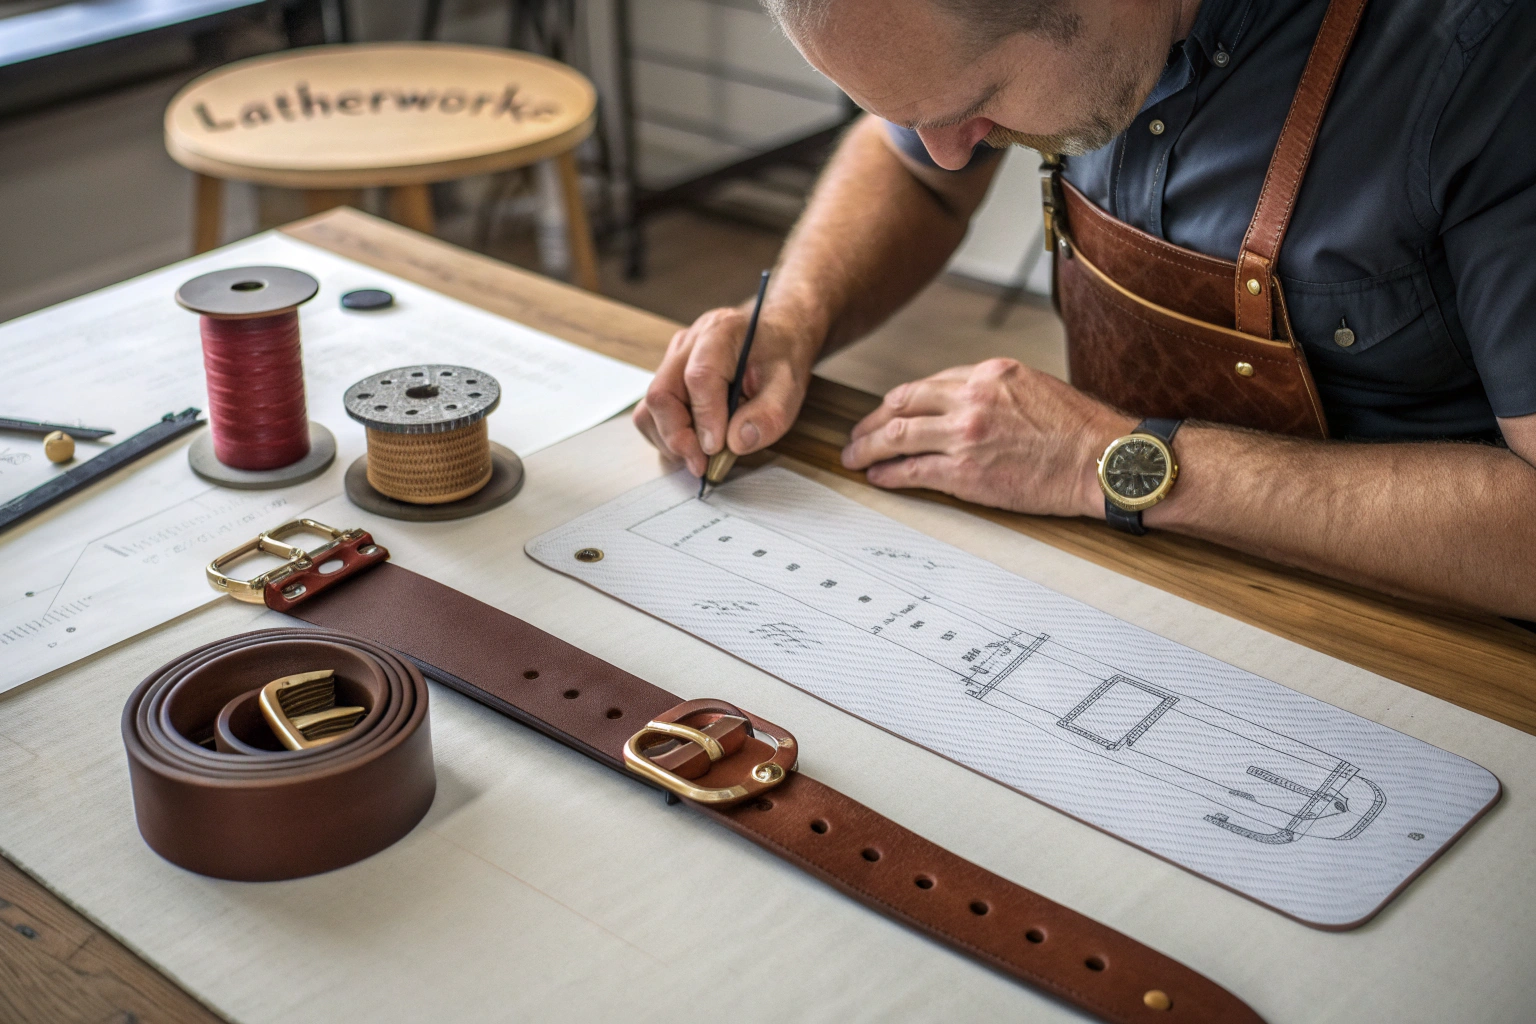
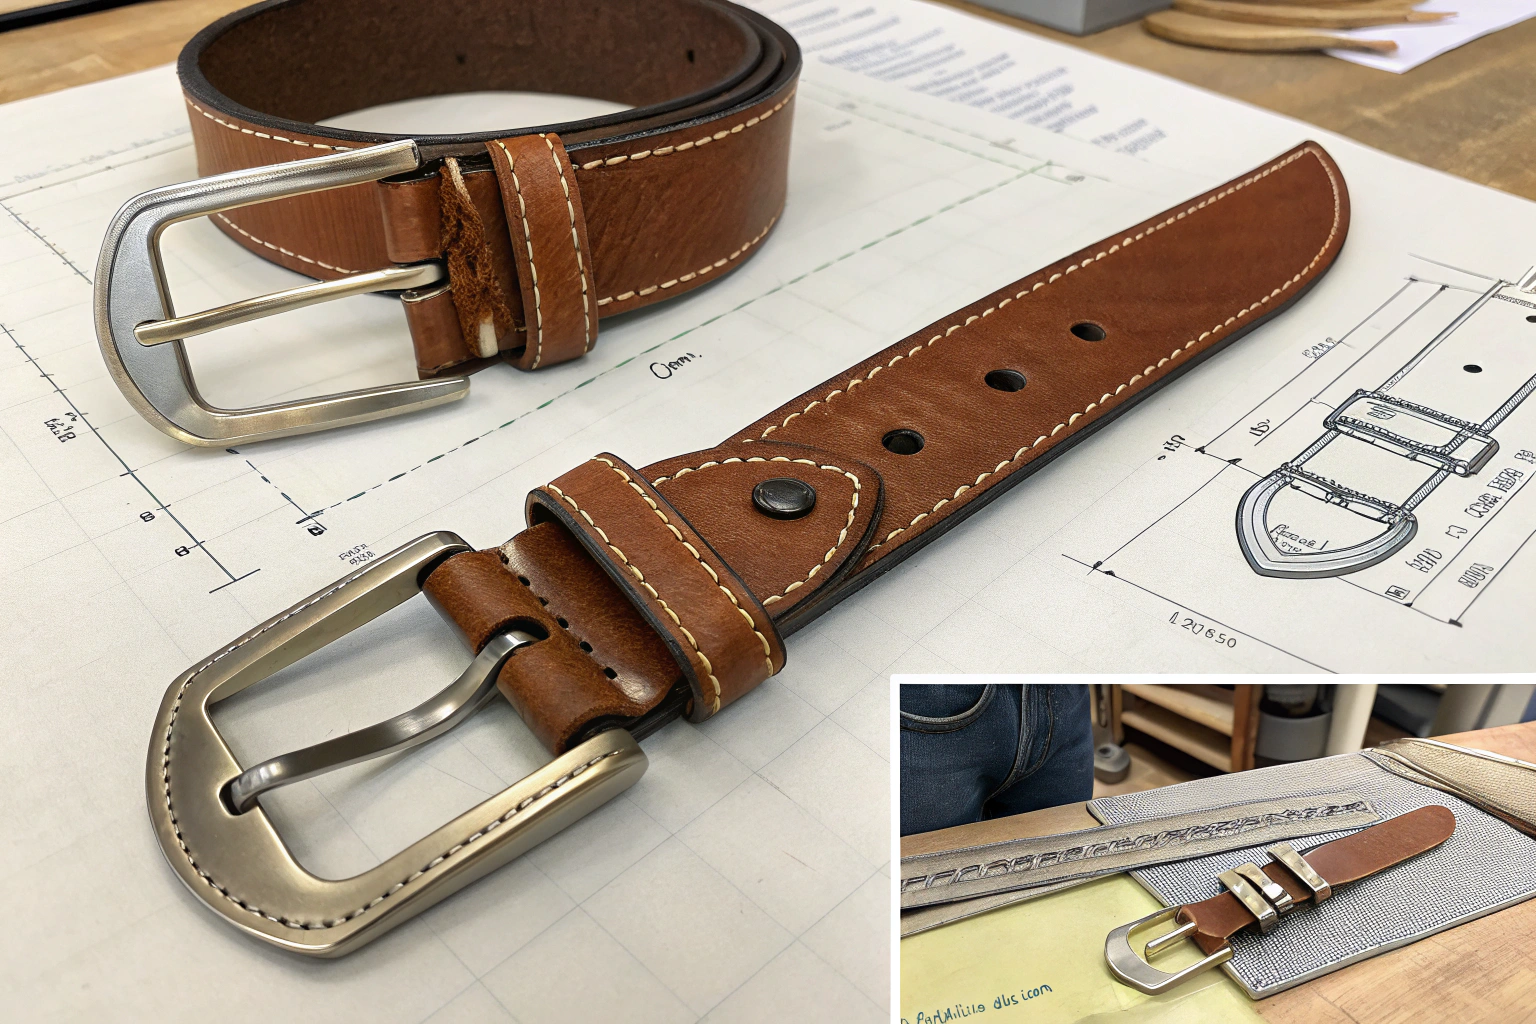
Phase 2: The Digital Reconstruction (CAD and 3D Modeling).
Using the measurements we have from you (or estimated from standard proportions), we begin building the belt and buckle in the digital world. The buckle is the most complex part. Our 3D artist uses a photo as an "underlay" in their modeling software. They painstakingly trace the curves, sculpt the 3D relief, and reconstruct the ornate details. This is where a single photo becomes a challenge. Multiple angles are incredibly helpful for accuracy.
Phase 3: The Physical Prototype (The "Moment of Truth").
The digital model is sent to a high-resolution 3D printer. Within a day, you have a physical, holdable resin prototype of the buckle. This prototype is then finished (sanded, primed) and painted to simulate the final metal finish (e.g., antique brass). We attach it to a sample leather strap. This is the "First Article Prototype." It is the physical manifestation of the digital model. You hold it, feel it, and give feedback: "The flower petals need to be 10% larger, and the curve of the prong is slightly too sharp."
This three-phase process turns a vague idea and a faded memory into a precise, manufacturable, and approved physical sample. It is the foundation of our custom design service .
What Information Do You Need from a Photo to Start the Replication?
A single, grainy, angled photo is a difficult starting point, but it is a starting point. To maximize accuracy and minimize guesswork, we ask our clients to become detectives themselves and provide everything they can.
The "Perfect Reference" Checklist:
- The Hero Shot: A clear, well-lit, high-resolution, Straight-On photo of the buckle. This is the single most important image.
- The Profile Shot: A Side View of the buckle. This reveals the curvature, the relief height, and the thickness of the metal.
- The Back Shot: A photo of the Back of the Buckle. This shows the attachment mechanism (loop, bar, clip) and any hidden markings.
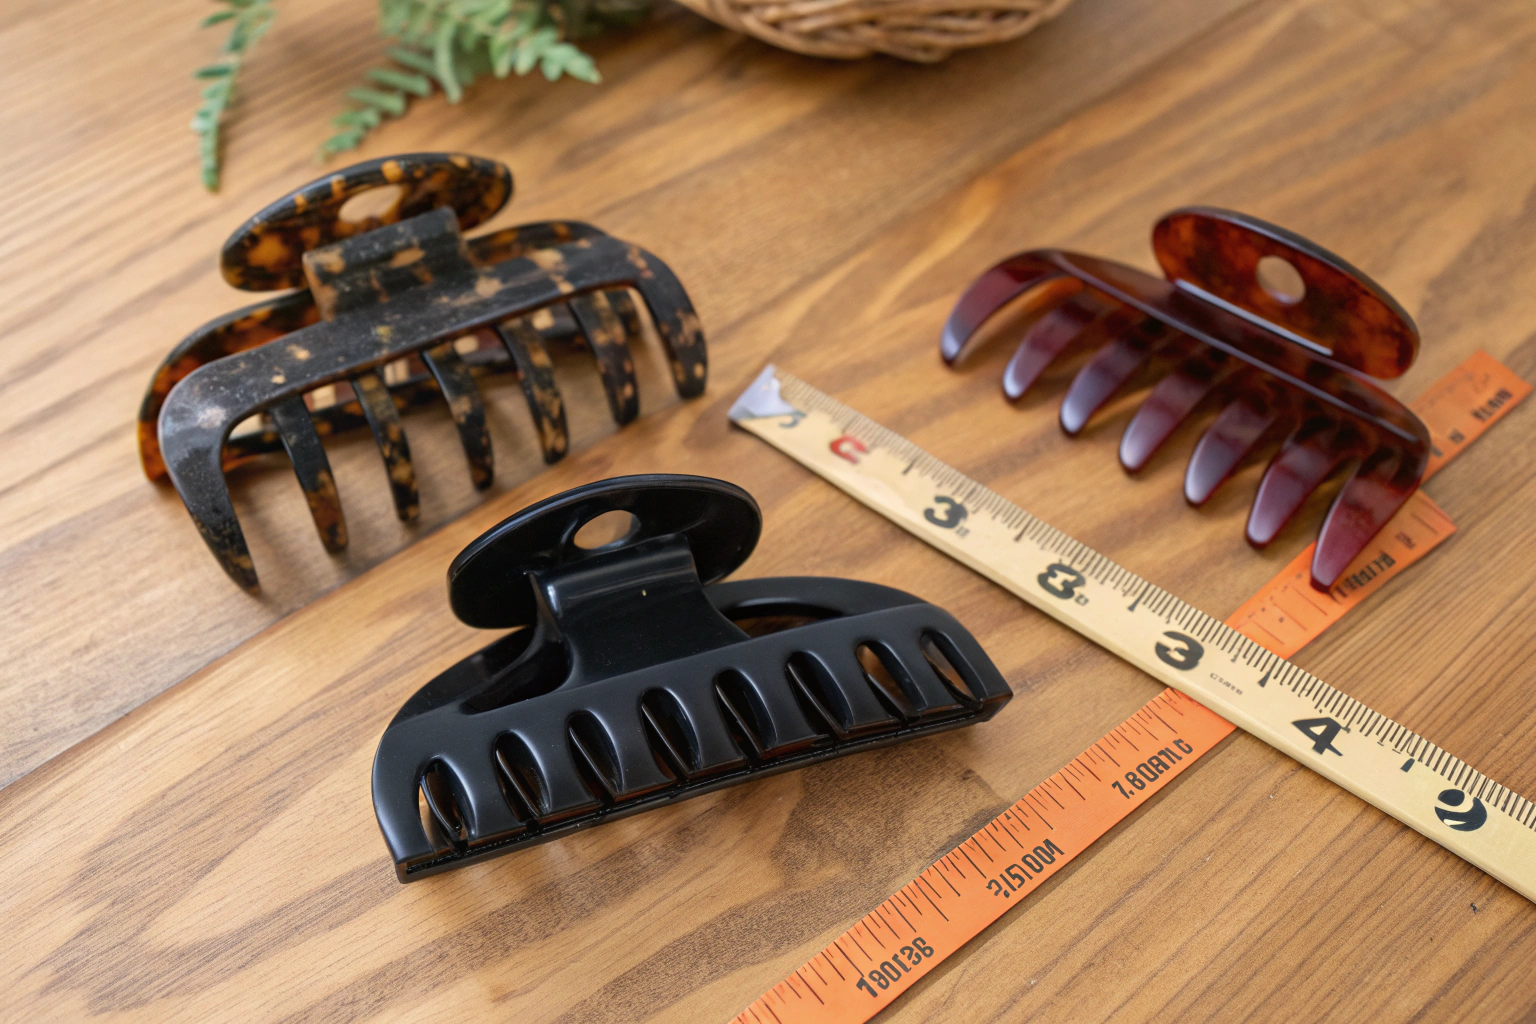
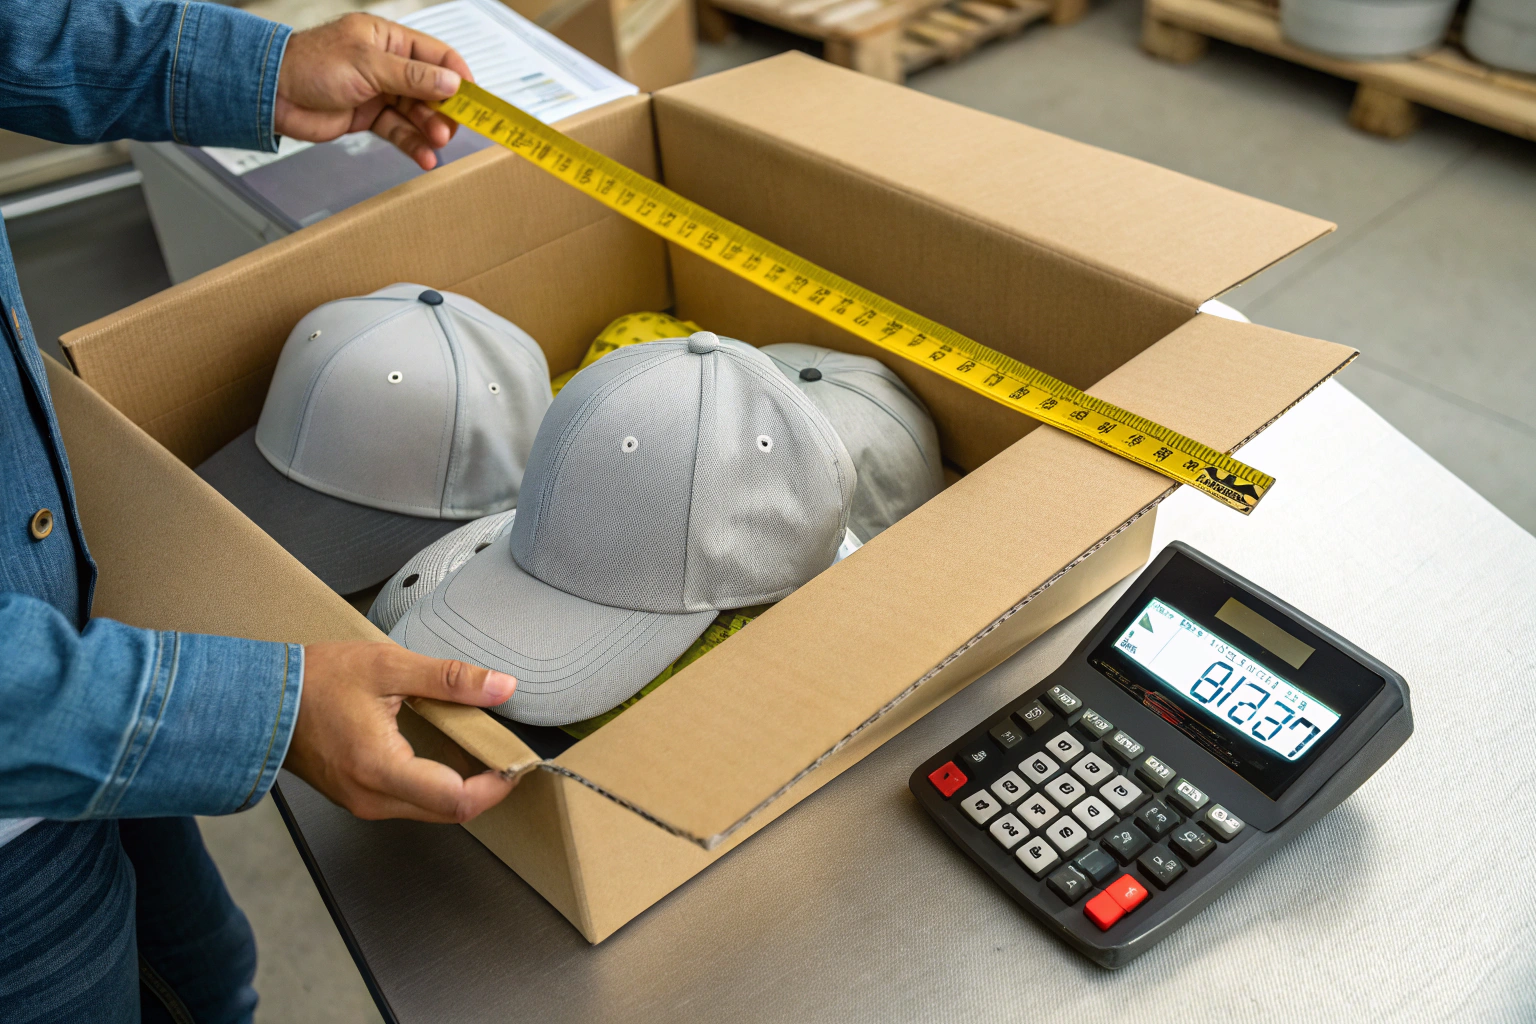
- The Context Shot: A photo of the belt being worn, or held in a hand. This provides crucial Scale. Is it a massive, 4-inch wide statement piece or a delicate 1-inch accessory?
- The Dimensions: This is the game-changer. If you have access to the physical vintage belt, even for a moment, take a photo of a ruler next to it. The exact width, height, and thickness of the buckle, and the width of the strap, eliminate all guesswork.
- The Material Notes: Your observations on the material. "It feels heavy and cool, like solid brass." "The leather is thick but soft, maybe 4-5mm with an aniline finish."
The more of these elements you provide, the faster and more accurate the digital reconstruction will be. At AceAccessory, we use a shared client portal where you can upload all your reference images and notes. We review them and send a "Design Kick-Off" questionnaire that clarifies any remaining ambiguities.
How Are Missing Details Filled in Using "Period-Appropriate" Logic?
Often, you will only have one incomplete photo. The back of the buckle is a mystery. The exact stitch pattern is unclear. This is where our team's expertise in Fashion Archaeology becomes invaluable. We don't guess randomly. We make informed, period-appropriate deductions.
The Logic of Deduction:
- Clue 1: The Era. The photo is dated 1972. We know that in the early 1970s, solid brass was far more common than zinc alloy for high-quality belts. We know that edge painting was usually dark brown or black, not the bright colors of the 1980s. This guides our material and finish hypotheses.
- Clue 2: The Construction. Even in a blurry photo, a trained eye can see the "ghost" of a hand-stitch. It has a slight, beautiful irregularity. A machine stitch is perfectly uniform. We can determine the original SPI.
- Clue 3: The Wear Pattern. Where is the patina? If the high points of the buckle are shiny and the recesses are dark, this tells us the original finish was likely a dark antique, not a shiny polish. The wear tells us the history of the object.
We present our deductions to you not as assumptions, but as Design Proposals. "Based on the era and the visible wear, we propose a solid brass buckle with a dark antique finish and a 5mm thick, hand-burnished leather strap. What is your feedback?" This collaborative dialogue is how we fill the gaps in the historical record and create a design that feels authentic, even where the original details are lost. It is a signature part of our vintage replication expertise .
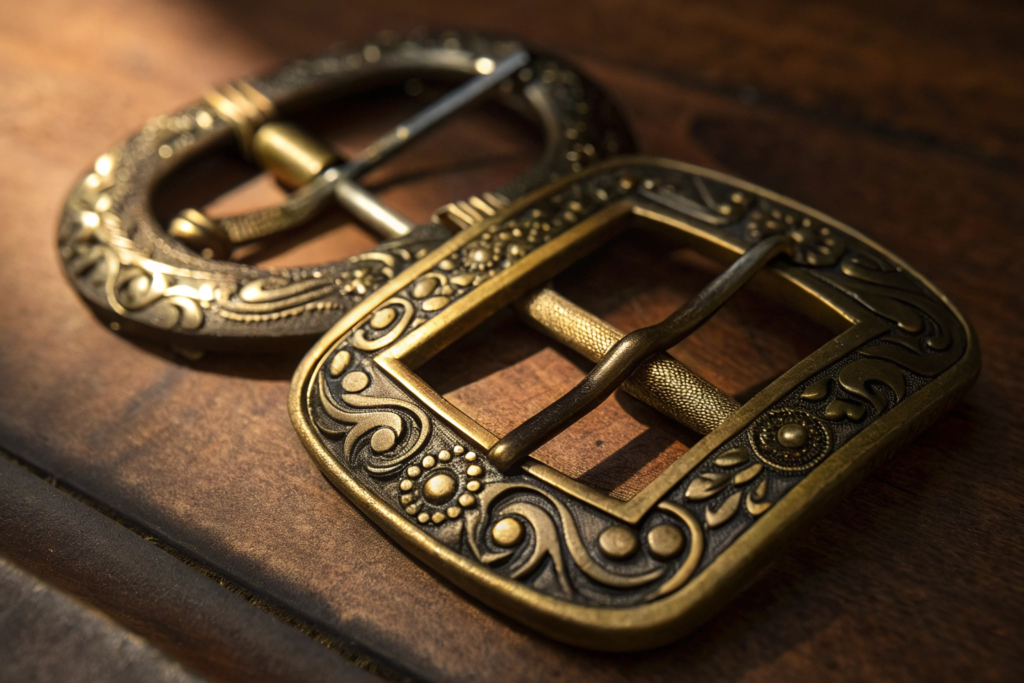
How Do You Replicate Complex Vintage Buckle Shapes and Finishes?
The buckle is the soul of a vintage belt. It is often the most complex and challenging element to replicate. A vintage buckle might be Stamped, Cast, Engraved, or Etched. Each original manufacturing method leaves a distinct "fingerprint," and we can replicate them all. The finish is just as important as the shape. A perfect shape with a flat, modern gold plating will look like a cheap costume piece. The Patina is the secret.
We have three primary paths for buckle replication, chosen based on the design complexity and the desired quantity.
Technology Pathways for Vintage Buckle Replication:
| Original Method | Our Replication Technology | Best For | Key Advantage |
|---|---|---|---|
| Hand-Engraved / Deeply Sculpted | High-Definition 3D Scanning & CNC Machining. The original is scanned, and a brass block is carved by a micron-precise CNC mill. | Master prototypes, low-volume, ultra-high-fidelity luxury pieces. | Perfectly captures organic, hand-crafted irregularities. |
| Cast Brass / Zamak | 3D Printed Master & Lost Wax/Investment Casting. A high-detail resin master is 3D printed, a silicone mold is made, and wax copies are cast in metal. | Intricate, 3D, sculptural buckles. Volumes of 200-5,000 pcs. | Captures deep, complex 3D detail with a beautiful, slightly grainy "cast" texture. |
| Stamped & Formed Sheet Metal | CNC Machined Stamping Dies. A hardened steel die is created, and the design is stamped into thick sheets of brass or steel, then formed into a 3D shape. | Classic, hollow-back, geometric or shallow-relief designs. High volumes (1,000+). | Fast, incredibly consistent, low per-unit cost. |
At AceAccessory, we have all three in-house capabilities. We guide our clients to the appropriate technology based on the aesthetic of the original piece and their budget.
How Is an Antique Brass Patina Chemically Recreated in the Factory?
New, shiny brass looks out of place on a vintage-inspired belt. The magic is in the Patina—the darkened, oxidized, "lived-in" look that gives a brass object its soul. We recreate this using a controlled Chemical Aging Process.
The Art of the Patina:
- Surface Preparation: The raw cast or machined brass buckle is thoroughly cleaned and polished to a bright shine. This is the "blank canvas."
- Chemical Application: The buckle is dipped in or brushed with a specialized Liver of Sulfur solution (potassium polysulfide). This is where the art comes in. The concentration of the solution, the temperature, and the immersion time all affect the final color.
- The Reaction: The sulfur reacts with the copper in the brass, instantly beginning to darken the surface. Colors shift rapidly from gold to bronze to deep brown to near-black.
- The "Stop" and the "Highlights": At the precise moment the desired deep tone is achieved, the buckle is plunged into cold water to stop the chemical reaction. But it still looks flat and dead. The magic happens next.
- The "Relieving" (Highlighting): A skilled artisan uses a soft cotton buffing wheel and a fine polishing compound to Gently Rub Away the Patina from the High Points. The raised edges, the proud surface of a flower petal, become bright and shiny again. The dark patina remains trapped in the deep crevices and recessed details.
- Sealing: The final, perfectly contrasted patina is sealed with a clear, museum-quality microcrystalline wax or a thin lacquer to prevent further oxidation and to make it stable to the touch.
This process is what gives a replicated buckle its Authentic, Aged Soul. It is not a flat, uniform color. It is a landscape of light and shadow that looks like it has developed over decades. At AceAccessory, our finishing artisans are masters of this chemical artistry. This is the difference between a "cast" buckle and a beautifully finished piece .
Can You Match a Specific Worn Leather Texture and Sheen?
A vintage belt's leather is not just a color. It is a Topography. It has a visible grain, creases, and a specific depth of sheen—often a soft, burnished glow rather than a high-gloss plastic shine. Matching this requires more than just finding a similar color.
The Leather "Personality" Match:
- Grain Analysis: We look at the photo under a magnifying loupe. Is it a smooth full-grain calfskin? A pebbled cowhide? An exotic embossed pattern? We source a base leather that matches the Grain Structure of the original as closely as possible.
- The "Milled" or "Tumbled" Process: New leather is stiff and perfect. Vintage leather is soft and has a subtle, all-over micro-creasing. To achieve this instantly, we take the newly made strap and place it in a large Industrial Milling Drum—essentially a giant, rotating drum with wooden paddles. The strap tumbles around, softening the fibers and creating a beautiful, uniform, natural "broken-in" crease pattern. The duration of milling dictates the softness.
- The Aniline Finish: We use Aniline Dyes that soak into the leather rather than sitting on top with a heavy pigment coat. This allows the natural grain and the new micro-creases to be visible, just like the original. The surface is then treated with a wax, not a plastic spray, to give it a soft, Burnishable Sheen that will continue to wear and develop character with use.
This combination of grain-matching, milling, and aniline finishing allows us to recreate the tactile and visual soul of a well-loved vintage leather strap. It is not just a color match; it is a Personality Match.
What Are the Minimums and Lead Times for Vintage Replicas?
The vintage replication market is often driven by small, independent brands, not massive corporations. The typical wall they hit is the high MOQ for custom molds. We have structured our service specifically to tear down that wall.
Our MOQ Philosophy for Vintage Replicas:
We offer three tiers, based on buckle technology:
- Tier 1: CNC Machined Solid Brass (Ultra-Low MOQ). No mold is needed. The buckle is carved directly from a brass block. MOQ: 50-100 Pcs. Ideal for a limited-edition run, a luxury collection, or an initial market test.
- Tier 2: Lost Wax Casting (Moderate MOQ). A silicone mold is made from a 3D-printed master. This mold has a limited life. MOQ: 100-300 Pcs. The perfect sweet spot for a boutique brand's seasonal collection. No expensive steel die.
- Tier 3: Steel Die-Casting / Stamping (Classic MOQ). For scaling a proven design. A permanent steel mold is created. MOQ: 500-1,000 Pcs. Lowest per-unit cost, highest upfront investment.
The "Mixed Re-order" Flexibility:
You can start with a 100-piece CNC run. If it sells out, you can use the exact same digital file to move to a casting mold for your 300-piece reorder. If it becomes a flagship style, you can then invest in a permanent steel die. The design file is consistent; only the production technology scales. This is a scalable manufacturing pathway .

How Long Does the Full Sampling and Production Cycle Take?
The timeline for a vintage replica is slightly longer than a standard design because of the intensive reverse-engineering phase. A realistic timeline is 4-6 Weeks for the First Perfect Sample, and then 25-35 Days for Bulk Production.
The Phased Timeline:
- Phase 1: Design & Digital Modeling (1-2 Weeks): Submitting your photos, our "Architectural Study," and sending you a 3D rendering for initial feedback. This timeline depends heavily on the completeness of your reference materials and your response time on approvals.
- Phase 2: Prototyping (2-3 Weeks): 3D printing the buckle master, creating a silicone mold, casting a first brass sample, applying the patina, and making a sample leather strap. We ship you the "First Article Prototype." You touch it, wear it, and give final feedback. This often requires one round of adjustments.
- Phase 3: Bulk Production (25-35 Days): Once the "Gold Seal" sample is approved, the bulk production timeline mirrors our standard belt production, as discussed in our 20,000 belts QC article.
At AceAccessory, we manage this timeline with a dedicated project manager who keeps you informed at every stage. We understand you are building anticipation for a launch, and we respect the calendar.
Is Custom Material Matching Available for Vintage Belt Replica Orders?
For those seeking to breathe new life into a bygone era, the question of custom material matching for vintage belt replica orders stands as a pivotal inquiry. Imagine the rich patina of aged leather, its surface worn smooth by decades of use, or the subtle sheen of polished brass buckles that once adorned the waistlines of dapper gentlemen and elegant ladies alike. Can such timeless textures and hues be meticulously recreated, tailored to match the unique materials of a cherished original vintage belt? Yes, custom material matching is indeed available for vintage belt replica orders, offering a bridge between the past and present.
Skilled artisans delve into the specifics of your vintage piece, analyzing the grain, thickness, color depth, and even the faint scent of aged leather or the cool, metallic tang of tarnished hardware.
Conclusion
Replicating a vintage belt design from a photo is a journey of rediscovery and re-creation. It is a process that bridges the gap between a faded, tactile memory and modern manufacturing precision. It requires a partner who is not just a factory, but a team of designers, historians, and artisans who can decipher the clues left in a photograph, faithfully reconstruct the design in the digital world, and then bring it to life using the optimal blend of modern technology and old-world craft.
The result is not a cheap costume, but a faithful, wearable homage. A piece that captures the authentic soul and character of the original, built with the durability and consistency of modern, ethical production. The walls of high MOQs and "CAD-file-only" submissions have been torn down. The only thing you need to bring is your inspiration.
If you have a vintage photograph, a piece of a broken heirloom, or just a reference image of a belt that haunts your imagination, send it to us. Let's start the conversation. Contact our Business Director, Elaine. Upload your reference images and she will initiate the Architectural Study for your project. Email Elaine at: elaine@fumaoclothing.com