I opened a shipment of 2,000 resin hair clips last spring. The acetate was beautiful. A marbled tortoiseshell pattern in rich amber and caramel tones. The metal spring mechanism was strong and smooth. But every single clip had a faint, cloudy ring of dried glue where the decorative resin flower met the clip base. Under the bright lights of the boutique display case, the residue was invisible. Under a customer’s bathroom vanity light, it looked like a manufacturing flaw. My buyer returned 1,200 units. The cost of the return, the lost revenue, and the damaged relationship taught me that glue residue is not a minor finishing issue. It is a quality failure that destroys the perceived value of the product.
You avoid glue residue on resin hair clips by implementing a three-control system. First, material control. Use a low-viscosity, cyanoacrylate-based adhesive or a UV-curable resin adhesive specifically formulated for bonding smooth, non-porous surfaces. Second, process control. Apply the adhesive with a precision dispensing tip no larger than 20 gauge, use a jig or fixture to hold components in precise alignment during curing, and remove any excess adhesive immediately with a lint-free microfibre swab before the adhesive skins over. Third, quality control. Inspect every bonded clip under 3x magnification and UV light, which causes adhesive residue to fluoresce, making invisible residue visible.
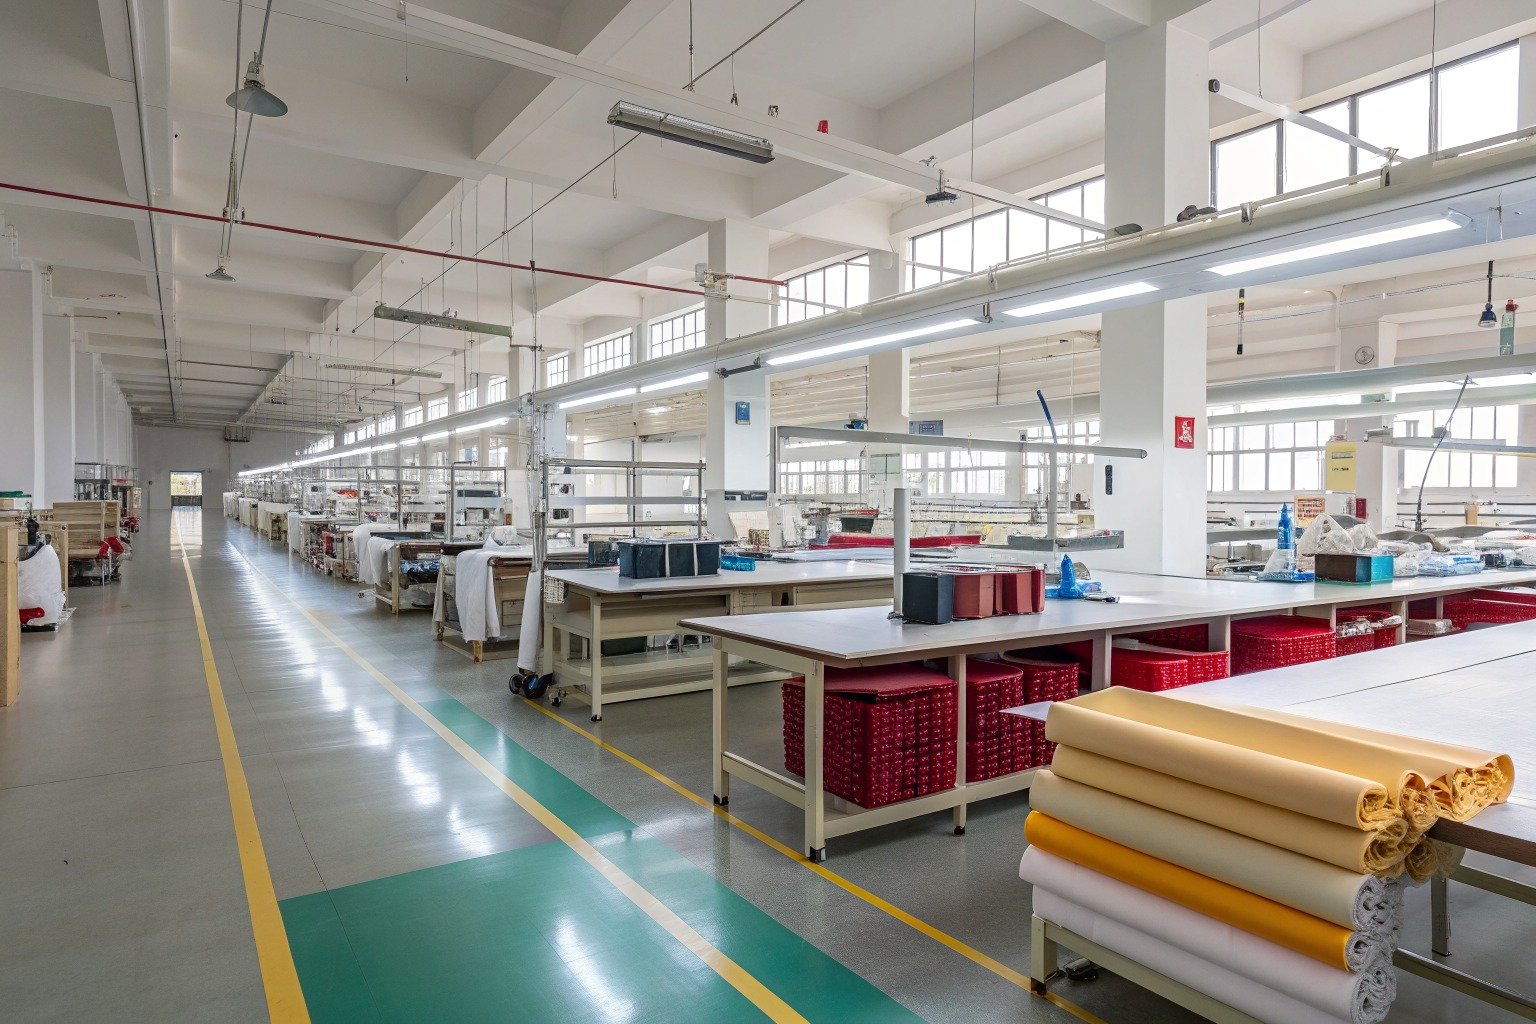
I run a fashion accessories factory in Zhejiang. Resin and acetate hair clips with bonded decorations account for a significant portion of my output. I learned glue residue control the hard way, through returns, credits, and one very uncomfortable conversation with a German buyer who held a clip up to a window and pointed to a smear I could not see with my naked eye. I want to explain exactly how we solved this problem, the adhesives we use, the application methods that prevent overflow, and the inspection techniques that catch residue before it catches a customer’s eye.
What Causes Glue Residue on Resin Hair Clips During the Bonding Process?
Glue residue is not a random accident. It is the predictable result of specific, controllable variables in the bonding process. When a factory worker picks up a bottle of industrial adhesive, squeezes a blob onto a resin clip base, presses a decorative flower into the blob, and wipes the overflow with a rag, residue is guaranteed. The problem is not the worker’s carelessness. It is the absence of engineered controls on adhesive viscosity, application volume, placement accuracy, and cleaning method. Fix these variables, and glue residue disappears.
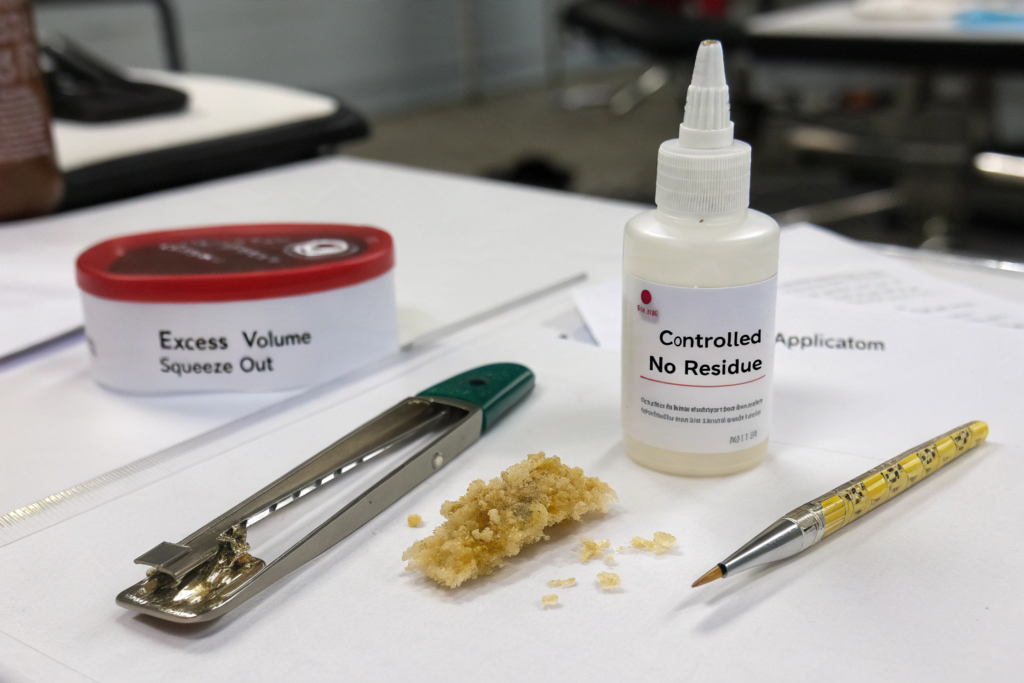
Glue residue on resin hair clips is caused by four controllable factors. Excess adhesive volume, where more adhesive is applied than the bond gap requires, causing squeeze-out when the components are pressed together. Inappropriate adhesive viscosity, where a thin, watery adhesive wicks into surface micro-scratches and spreads beyond the bond area before curing. Delayed cleanup, where excess adhesive is allowed to partially cure and form a skin, making clean removal impossible without solvents that can etch or cloud the resin surface. And misalignment during curing, where the decorative component shifts after placement, smearing the uncured adhesive across a wider area than intended.
I analyzed my glue failure returns two years ago. Every clip with residue had the same signature. A wide, irregular adhesive spread pattern indicating a large volume applied from a standard squeeze bottle. A cloudy surface haze around the bond area indicating that a solvent-based cleaner had been used to try to remove cured adhesive. And slight misalignment of the decoration, indicating that the component had shifted during curing. I changed all three variables, adhesive volume, adhesive chemistry, and curing fixture, and the residue problem disappeared.
Why Does Adhesive Viscosity Determine Whether Squeeze-Out Occurs on Smooth Resin?
Resin and acetate are non-porous surfaces. They have no fiber structure to absorb excess adhesive. When two smooth resin surfaces are pressed together with adhesive between them, the adhesive has nowhere to go except outward, into the visible area surrounding the bond. The volume of adhesive applied, and its viscosity, determine how far the squeeze-out spreads.
A low-viscosity adhesive, thinner than 100 centipoise, flows like water. It spreads rapidly across the resin surface, wicking into micro-scratches and traveling far beyond the intended bond area. A medium-viscosity adhesive, between 500 and 1,500 centipoise, flows like honey. It stays where it is placed, fills the bond gap without spreading, and any squeeze-out remains tightly confined to the immediate edge of the bond. For bonding decorations to resin hair clips, a medium-viscosity adhesive is the correct choice. The adhesive viscosity selection for non-porous plastic bonding provides technical guidance on matching viscosity to surface type and bond gap.
How Does Curing Time Affect the Ability to Clean Excess Adhesive Without Surface Damage?
Adhesive curing follows a curve. In the first seconds after application, the adhesive is liquid and can be wiped away cleanly with a dry swab. After a minute or two, depending on the adhesive chemistry, the surface begins to skin over. A thin polymer film forms on the exposed adhesive while the interior remains liquid. Attempting to wipe at this stage smears the partially cured adhesive into a thin, hazy film that bonds to the resin surface and cannot be removed without solvents. After full cure, the adhesive is solid and can only be removed mechanically, which scratches the resin.
The window for clean removal is narrow and adhesive-specific. Cyanoacrylate adhesives skin over in 5 to 30 seconds, requiring immediate cleanup. UV-curable adhesives remain liquid indefinitely until exposed to UV light, giving the worker unlimited time to position components, check alignment, and remove any excess before curing. This extended open time is the primary advantage of UV-curable adhesives for decorative resin bonding. The adhesive open time and curing characteristics for consumer goods assembly data guides the selection of adhesive chemistry based on the assembly process speed and the required cleanup window.
What Adhesives and Application Methods Eliminate Glue Residue on Resin Accessories?
The choice of adhesive is the single most important decision in residue prevention. A general-purpose cyanoacrylate from a hardware store is formulated for maximum bond strength on everything. It is thin, aggressive, and difficult to control. An adhesive formulated specifically for decorative bonding on smooth plastics has a different balance of properties. Controlled viscosity, controlled open time, and compatibility with the specific resin chemistry of the clip and the decoration.
The best adhesives for residue-free resin hair clip bonding are UV-curable resin adhesives with a viscosity of 800 to 1,200 centipoise for general decorative bonding, and low-blooming cyanoacrylate gels with a viscosity above 1,500 centipoise for bonding metal components to resin where UV light cannot penetrate. Application must be through a precision dispensing system, either a pneumatic dispenser with a 20-gauge or 22-gauge blunt-tip needle, or a pre-filled precision applicator pen. The adhesive is applied as a single, small dot or a thin, controlled bead, never from a squeeze bottle.
I converted my entire resin bonding station to UV-curable adhesives and pneumatic dispensing eighteen months ago. The adhesive cost per unit increased by approximately $0.02. The return rate for glue residue dropped from 3% of units to 0%. The math is simple. Two cents of adhesive prevention saves the cost of a returned unit, the shipping, the credit, and the relationship damage. It is the highest-return investment on my factory floor.
How Does UV-Curable Adhesive Allow Unlimited Positioning Time Before Instant Cure?
A cyanoacrylate adhesive begins curing the moment it is exposed to moisture in the air. The worker has seconds to position the decoration, check alignment, and remove excess. Any delay, any distraction, and the adhesive skins over. The worker feels pressured, and pressure causes mistakes. Excess is not cleaned. Alignment is not checked.
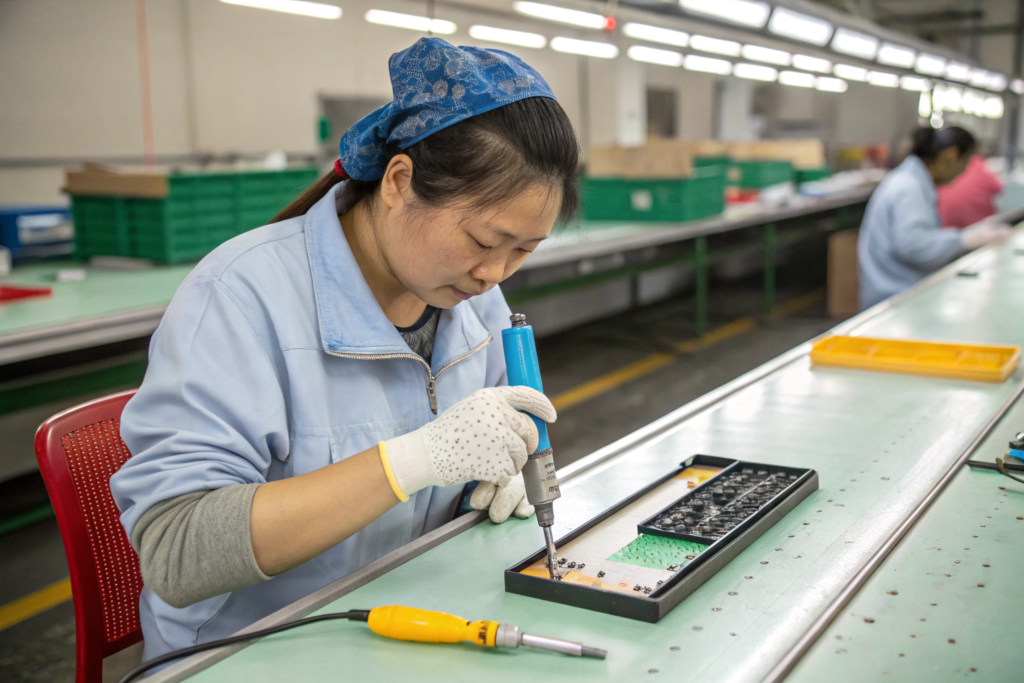
A UV-curable adhesive consists of liquid monomers and a photoinitiator. The adhesive remains liquid indefinitely under normal factory lighting. The worker can apply the adhesive, place the decoration, check the alignment from multiple angles, adjust the position if needed, and carefully inspect for any squeeze-out. When everything is perfect, the assembly is placed under a UV curing lamp for 5 to 15 seconds. The photoinitiator absorbs the UV energy and triggers instantaneous polymerization. The liquid becomes solid in seconds, but only when the worker chooses. This UV-curable adhesive technology for precision assembly is the standard in medical device and electronics manufacturing, where residue and alignment errors are unacceptable.
What Dispensing Tooling Prevents Adhesive Over-Application on Small Decorative Components?
A standard squeeze bottle dispenses adhesive by finger pressure. The volume dispensed depends on how hard the worker squeezes, how full the bottle is, and how warm the adhesive is. The variation in dispensed volume is enormous, often 300% to 500% between a gentle squeeze and a firm squeeze. A decorative flower on a resin hair clip needs approximately 0.02 milliliters of adhesive. A squeeze bottle cannot reliably dispense this volume.
A pneumatic dispensing system uses compressed air, regulated to a precise pressure, to push adhesive through a precision needle tip. The worker presses a foot pedal. The same volume is dispensed every time, regardless of bottle fill level or adhesive temperature. The needle tip, typically 20-gauge with an inner diameter of 0.6 millimeters, places the adhesive exactly on the bond point. For very low volumes, a pre-filled precision applicator pen with a felt tip or a micro-brush provides even finer control. The precision fluid dispensing for small component assembly technology eliminates over-application as a cause of glue residue.
What Quality Control Inspection Techniques Detect Invisible Glue Residue?
Glue residue that is invisible under factory lighting becomes visible under retail display lighting. Factory lighting is often diffuse overhead fluorescent. Retail lighting is bright, directional, and high-contrast. A customer picks up the clip, holds it close to their eyes, angles it toward the light. The residue that was invisible in the factory is now a glaring flaw. The QC inspection must replicate the conditions under which the customer will view the product, and it must use tools that make the invisible visible.
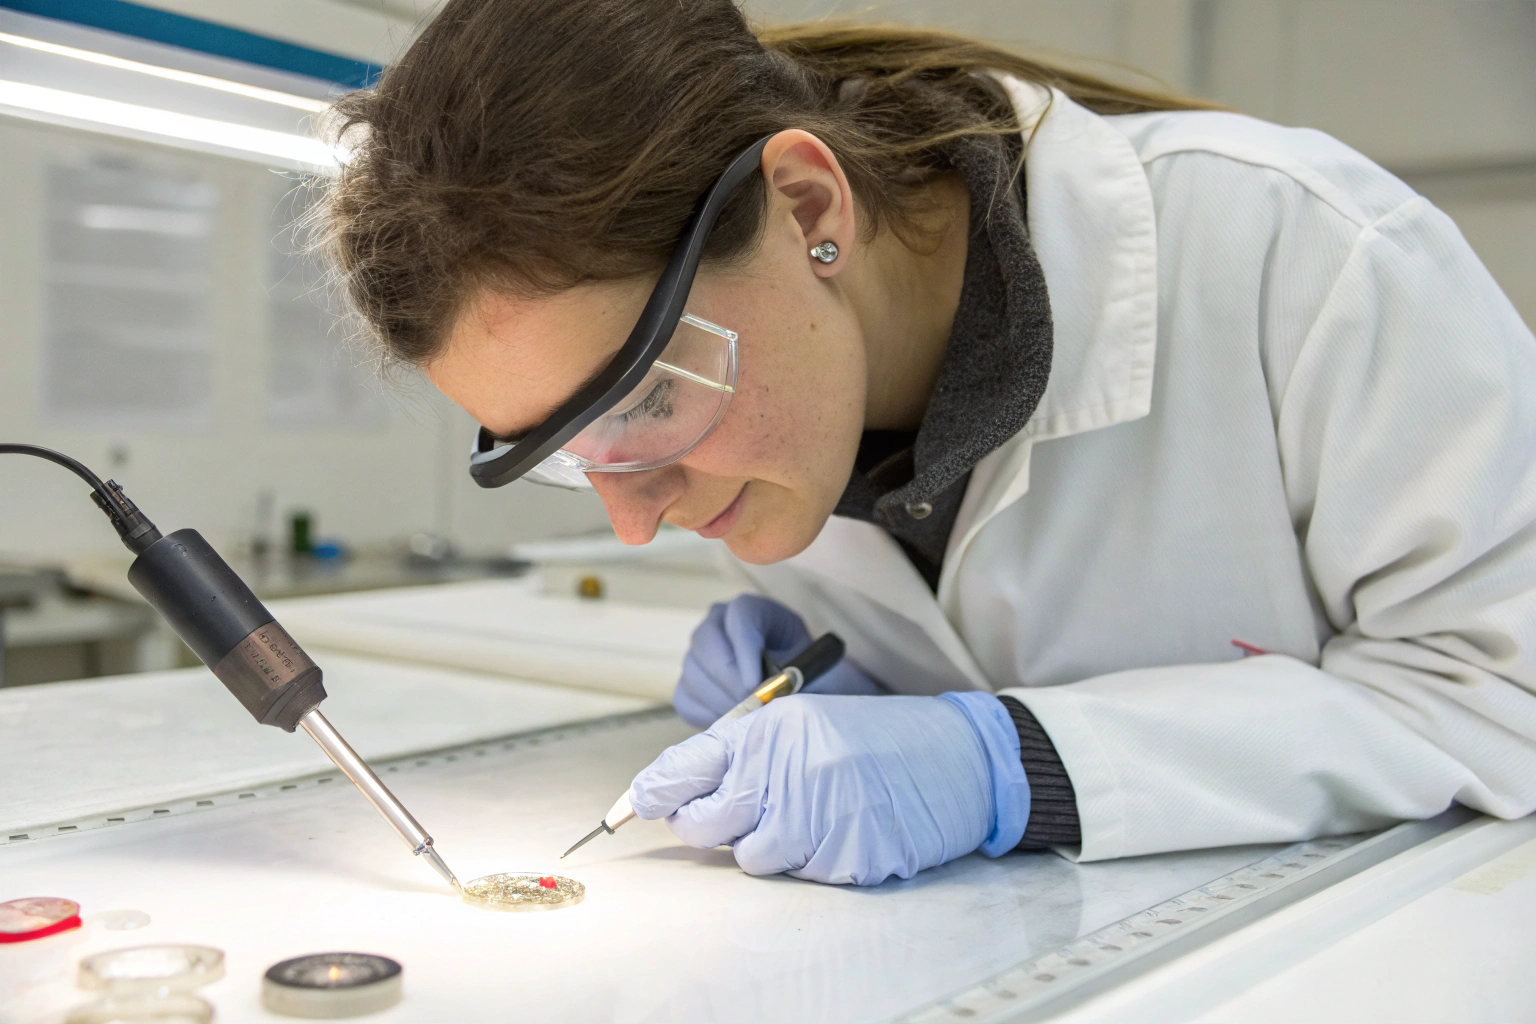
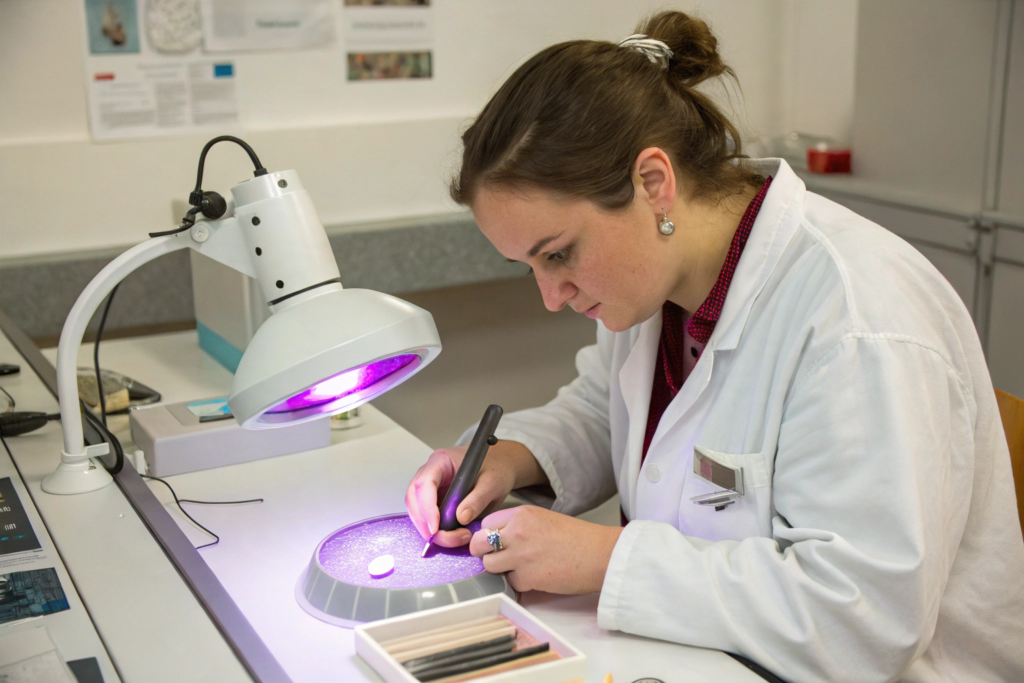
Effective QC inspection for glue residue on resin hair clips requires three lighting conditions and one detection tool. First, inspect under bright, directional LED lighting at a color temperature of 4,000 to 5,000 Kelvin, which simulates retail display lighting. Second, inspect under a D65 daylight simulation lamp, which reveals color differences between the adhesive and the resin. Third, inspect under 365-nanometer UV light, which causes most cyanoacrylate and UV-curable adhesives to fluoresce with a pale blue or yellow glow, making even microscopic residue immediately visible. The inspection must be performed at 3x magnification using a bench magnifier or head-worn loupes.
I installed UV inspection lamps at every resin bonding QC station after the German buyer incident. The lamps cost $40 each. The first week they were in use, my inspectors found residue on 4% of units that had passed visual inspection under normal light. Those units were cleaned or reworked before they entered the packing line. The UV lamps paid for themselves before the end of the first shift.
Why Does UV Light Cause Adhesive Residue to Fluoresce When It Is Invisible Under Normal Light?
Many adhesives contain chemical compounds that absorb ultraviolet light and re-emit it as visible light, a phenomenon called fluorescence. Cyanoacrylate adhesives often contain fluorescent brighteners or stabilizers that glow pale blue under 365-nanometer UV. UV-curable adhesives contain photoinitiators that are inherently UV-reactive and glow yellow or pale green.
A thin smear of adhesive that is optically clear and invisible under white light becomes a glowing beacon under UV. The fluorescence contrast between the adhesive and the non-fluorescent resin surface makes detection trivial. The inspector does not need to hunt for residue. It announces itself. The UV fluorescence inspection for adhesive residue detection technique is standard in the electronics, medical device, and automotive industries, where adhesive residue is a functional defect rather than a cosmetic one. Adopting this technique for resin accessories is a low-cost, high-impact quality improvement.
What Magnification and Lighting Standards Should a Residue QC Station Include?
The human eye can resolve details down to approximately 0.1 millimeters under optimal conditions. A hairline smear of adhesive residue can be narrower than this limit. The inspector needs magnification to see what the customer will see when they hold the clip close to their face.
A proper residue QC station includes a bench magnifier with 3x magnification and an integrated LED ring light, a handheld 365-nanometer UV inspection lamp, and a D65 color-matching lamp for color contrast inspection. The inspection procedure is written. Hold the clip under the D65 lamp at arm’s length. Rotate it through 360 degrees. Bring it to the magnifier and inspect the bond area at 3x. Illuminate with the UV lamp and inspect again. Any residue visible at any stage is a fail. The clip is routed to the rework station. The QC inspection workstation standards for small consumer goods outlined in ISO 9001 quality management systems provide a framework for standardizing these inspection conditions.
How Do You Clean or Rework Resin Hair Clips That Have Glue Residue After Bonding?
Prevention is the goal. But even with controlled adhesives, precision dispensing, and UV inspection, some units will have residue that must be removed. The rework process is dangerous. The wrong cleaning method damages the resin surface worse than the residue. A solvent that dissolves the adhesive also dissolves or etches the resin. A mechanical scraper leaves scratches. The rework must remove the adhesive and leave the resin surface optically perfect.
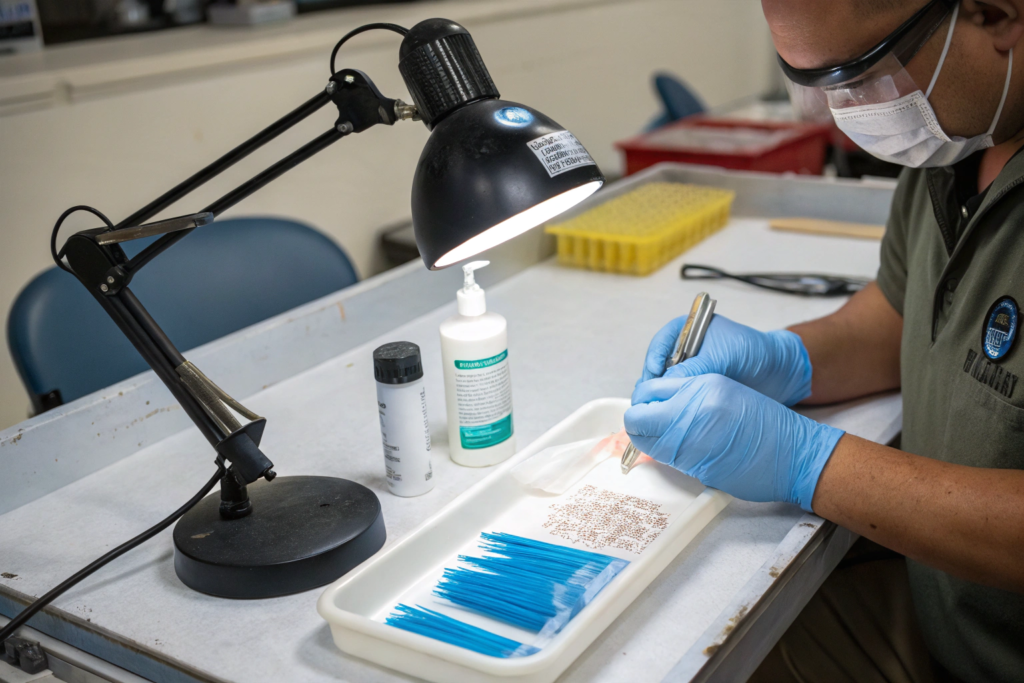
Safe rework of glue residue on resin hair clips depends on the adhesive type and the residue age. For uncured or partially cured cyanoacrylate residue, a dry, lint-free polyester cleanroom swab, used immediately with gentle pressure, can lift the liquid adhesive without spreading it. For cured cyanoacrylate, a specialized cyanoacrylate debonder gel, tested on an inconspicuous area of the same resin material, can soften the adhesive for gentle removal. For UV-curable adhesive residue that was cured unintentionally, a brief soak in a warm, mild detergent solution can reduce adhesion, followed by gentle mechanical removal with a soft plastic scraper. Acetone and aggressive solvents should never be used on resin clips, as they will etch, cloud, or craze the surface.
I keep a rework station separate from the main bonding line. The station is equipped with the tested debonder gel, an assortment of lint-free swabs, plastic scrapers in three shapes, and a polishing compound for removing any micro-scratches that occur during rework. The rework procedure is documented, trained, and audited. A clip that has been reworked is re-inspected under UV and magnification before it can proceed to packing.
What Cleaning Agents Remove Cured Adhesive Without Etching or Clouding Resin Surfaces?
Resin, acetate, and acrylic are thermoplastics. They are soluble in a wide range of organic solvents. Acetone, the most common adhesive remover, dissolves resin on contact. A worker who grabs a bottle of nail polish remover and dabs it on a glue spot creates an etched, cloudy crater that is worse than the original residue. The clip is destroyed.
The only safe cleaning agents for resin are those that have been specifically tested on the exact resin formulation used in the clips. A cyanoacrylate debonder based on propylene carbonate or gamma-butyrolactone is generally safe for most acetate and acrylic resins, but must be tested on a sample clip before use in production. For UV adhesives, a warm water bath with a pH-neutral detergent is the safest starting point. The solvent compatibility testing for plastics provides chemical resistance data for common resin materials, but batch testing is always required because resin formulations vary between suppliers.
What Rework Documentation Tracks Recurring Glue Residue Issues to Their Root Cause?
A clip is reworked. It passes re-inspection. It ships. The root cause of the residue is still present on the bonding line, and the next batch will have the same problem. Rework without root cause analysis is an infinite loop.
Each reworked clip is logged with the date, the batch number, the bonding station operator, the adhesive lot number, and the type of residue found, squeeze-out, smear, or misalignment. The rework log is reviewed weekly. If a specific operator has a high residue rate, they are retrained. If a specific adhesive lot is associated with residue, the viscosity is checked and the lot may be quarantined. If a specific clip design consistently generates residue, the bond geometry is reviewed. The corrective and preventive action process in manufacturing closes the loop from detection to prevention.
Conclusion
Glue residue on resin hair clips is not an unavoidable manufacturing byproduct. It is a controllable quality variable that can be engineered out of the production process through three interventions. You learned that the root cause is not worker carelessness. It is the combination of inappropriate adhesive viscosity, over-application from uncontrolled squeeze bottles, and inspection under inadequate lighting. A low-viscosity adhesive applied with a squeeze bottle to a smooth resin surface will squeeze out. A medium-viscosity adhesive applied with a pneumatic precision dispenser will not.
We walked through the adhesive technology. UV-curable adhesives give the worker unlimited positioning time and the ability to inspect and clean before curing. When everything is perfect, a 5-second UV exposure locks the bond instantly. This eliminates the time pressure that causes residue to be left uncleaned. We covered the dispensing tooling. A pneumatic dispenser with a fine-gauge needle tip delivers the same micro-volume every cycle, eliminating over-application.
We built the inspection system. D65 daylight, LED retail lighting, and 365-nanometer UV fluorescence together make residue visible regardless of how thin or clear it is. The UV lamp, a $40 investment, reveals residue that is optically invisible under normal light. And we addressed the rework protocol. The tested, resin-safe debonder. The warm detergent soak. The absolute prohibition on acetone. The rework log that tracks residue to its root cause and prevents recurrence.
At AceAccessory, I have invested in UV-curable adhesives, pneumatic dispensing, and UV inspection at every resin bonding station in my Zhejiang factory. The cost of these controls is recovered in the first week of production through the elimination of returns, credits, and rework. More importantly, my buyers trust that the clips they receive will be residue-free under any lighting condition, from factory floor to boutique window.
If your current supplier is delivering resin hair clips with glue residue and you need a factory that has engineered this problem out of existence, I invite you to contact our Business Director, Elaine. She can share our adhesive specification, our QC inspection protocol with UV fluorescence images, and samples from our most recent production batch. Reach her at elaine@fumaoclothing.com. Let’s produce resin accessories where the only thing visible is the beauty of the design.