
In the world of leather and PU accessory manufacturing, the quality of edge painting is often the defining detail that separates a premium product from an average one. A belt with clean, smooth, perfectly painted edges conveys craftsmanship, durability, and attention to detail. Conversely, messy, peeling, or uneven edge paint is an immediate red flag for poor quality, leading to customer complaints, returns, and brand damage. For brands and buyers sourcing belts, understanding this critical finishing step is essential to ensuring you receive products that meet your quality standards. So, how can you guarantee that the belts you order have impeccably finished edges?
At AceAccessory, as a professional manufacturer specializing in fashion belts, PU belts, and genuine leather accessories, we treat edge painting as a core competency, not an afterthought. Achieving a perfect edge requires a combination of precise material preparation, skilled application technique, proper curing, and rigorous quality control. It is a process where both art and science meet, and cutting corners at any stage will be visibly apparent in the final product.
This guide will walk you through the key steps and standards for ensuring belt edges are painted correctly. We'll cover the essential preparation of the belt blank, the technical details of the application process, the critical role of drying and finishing, and the specific quality checks you should require from your supplier. By understanding this process, you can communicate effectively with your manufacturer and implement the right inspections to secure a flawless product.
Why is Edge Preparation the Most Critical First Step?
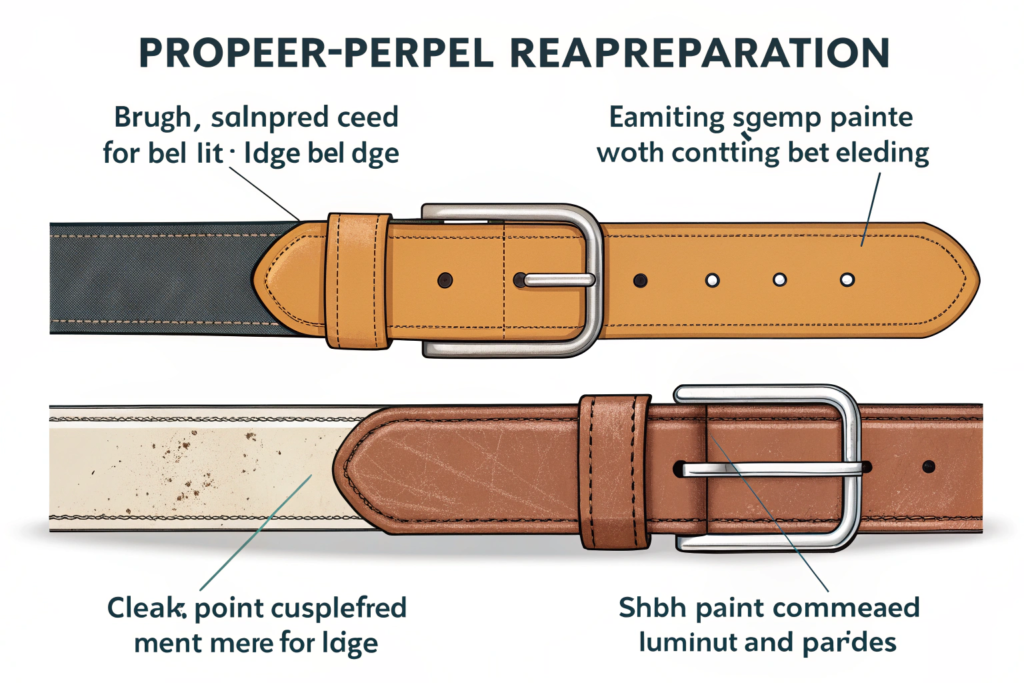
The longevity and appearance of edge paint are 90% determined by the preparation of the belt edge before any paint is applied. A poorly prepared edge—whether too rough, uneven, or contaminated—will cause the paint to chip, peel, or look lumpy no matter how good the paint or application is. Preparation is about creating a stable, clean, and uniform canvas for the paint to adhere to.
The preparation process, often called "edge finishing" or "burnishing" in its raw form, involves several key actions: skiving, sanding, and cleaning. Each step must be executed with precision. At our facility, Shanghai Fumao, we invest in trained operators and proper tools for this stage because we know it is the foundation of quality. Rushing or automating this step without skill leads to inconsistent results that are costly to fix later.
How should the belt edge be shaped and sanded?
First, the cut belt blank must have its edges skived or beveled. This means shaving the top and bottom corners of the edge at a 45-degree angle, creating a slight rounded profile rather than a sharp 90-degree corner. This bevel does two things: it removes the weak, fibrous "feather" edge of the leather or PU, and it provides a larger surface area for the paint to grip.
After beveling, the edge must be sanded progressively. Starting with a coarser grit (e.g., 180-grit) to remove major irregularities and then moving to finer grits (400-grit, then 600-grit or higher) to achieve a glass-smooth surface. The sanding must be even along the entire length of the belt, including the curved tip. Any dips, bumps, or rough spots left will telegraph through the paint. A high-quality factory will have a dedicated sanding station with adjustable guides to ensure consistency.
Why is degreasing and priming essential before painting?
Even after sanding, microscopic dust, oils from handling, or release agents from synthetic materials can remain on the edge. These contaminants will create a barrier, preventing proper paint adhesion. The edge must be thoroughly cleaned with a specialized degreaser or alcohol and allowed to dry completely.
Following cleaning, a primer or base coat is often applied. This is a thin, adhesive layer specifically formulated to bond with both the leather/PU substrate and the subsequent layers of edge paint. It seals the pores and creates a uniform surface for the topcoat. Skipping the primer is a common shortcut taken by low-cost producers and is a primary cause of paint failure. You should explicitly ask your supplier if they use a primer in their process.
What Are the Technical Details of the Painting Process Itself?
The actual application of the edge paint is where skill meets technology. It is not simply "painting" but a controlled layering process. The goal is to build up multiple thin, even coats to achieve full, opaque coverage with a smooth, rounded profile that is pleasant to the touch.
The two most common professional methods are using a precise edge painting roller machine or skilled hand-application with a fine roller or brush. Machine application offers superior consistency for long, straight edges, while skilled handwork is better for complex shapes, curved tips, and small batches. The best factories often combine both. The paint itself is crucial—it must be flexible, durable, and color-matched to the belt. High-grade water-based or solvent-based edge paints from reputable brands like Fenice, Giardini, or Uniters are industry standards for quality.
How many coats are necessary, and how are they applied?
A professional finish requires a minimum of 2-3 coats, with light sanding between coats. The process is:
- First Coat: A thin base layer that soaks into the primed surface. It will look translucent and uneven—this is normal.
- Intermediate Sanding: After the first coat is fully dry, it is lightly sanded with very fine paper (e.g., 800-grit) to remove any raised fibers or slight imperfections.
- Second & Third Coats: Subsequent coats are applied, each building opacity and smoothness. Each coat must be allowed to dry completely before the next is applied. Rushing this by using heat guns improperly can cause bubbles or cracks.
- Final Sanding/Buffing: After the final coat, the edge is gently buffed with a soft cloth or super-fine abrasive pad to achieve a matte or semi-gloss finish, depending on the desired look.
This multi-coat, sanded process is what creates the durable, polished edge that lasts the life of the belt.
What are the common pitfalls during application?
- Paint Viscosity: Paint that is too thick will create lumps; too thin will run and create drips on the belt surface.
- Inadequate Drying Time: Applying the next coat too soon traps solvents, leading to long-term softening and peeling.
- Poor Temperature/Humidity Control: Applying paint in a cold, damp environment prevents proper curing.
- Contaminated Tools: Using dirty rollers or brushes introduces debris into the paint finish.
A professional workshop will have controlled environmental conditions and strict protocols for tool cleanliness.
Why Are Drying, Curing, and Final Finishing Non-Negotiable?
The work isn't done when the last coat of paint is applied. The physical drying (touch dry) and the chemical curing (full hardening) of the paint are critical for performance. Proper curing can take 24-48 hours, depending on the paint chemistry and environment. This is where patience pays off. Belts that are moved, packed, or quality-checked before the paint is fully cured will develop fingerprints, stick to packaging, or scuff easily.
After curing, the final finishing step involves a light wax or edge sealing application. A thin coat of clear edge wax or sealant is rubbed onto the painted edge and then polished with a canvas or denim cloth. This step does several things: it adds a subtle sheen, fills any microscopic pores, and provides an additional protective layer that enhances water resistance and reduces the chance of the paint cracking with flexing.

How can you test if the edge paint is properly cured?
A simple but effective test is the thumbnail test. Gently press your thumbnail into the edge paint on an inconspicuous area (like inside the buckle end). On a properly cured edge, the paint should be hard and resilient, with no dent or impression left. If your nail leaves a mark, the paint is still soft and has not fully cured, indicating rushed production. This is a key check during your quality inspection.
What is the role of final inspection and grading?
Every belt should undergo a final visual and tactile inspection specifically for edge quality. Inspectors should look for:
- Consistency: Color and sheen must be uniform from end to end.
- Smoothness: No bumps, lumps, or grit inclusions. The edge should feel smooth when rubbed gently with a finger.
- Adhesion: No lifting or bubbling at the interface between the paint and the leather/PU.
- Cleanliness: No paint smears or drips on the face or back of the belt.
Belts with edge defects should be rejected and sent for rework (sanding and repainting) or graded as seconds. A reputable factory will have a clear grading standard for this.
How to Specify and Inspect Edge Quality with Your Supplier?
As a buyer, you must be proactive. Don't assume edge painting is done to a high standard. You must specify your requirements and verify them through samples and production inspections.
- Specify in Your Tech Pack: Your technical package should include a detailed section on edge finishing. Specify: "Edges to be painted with [e.g., Fenice] paint, color-matched to belt. Process to include beveling, sanding, priming, and minimum 2 topcoats. Finish: semi-gloss, sealed with edge wax."
- Approve a Physical Golden Sample: The sample you approve must have perfect edges. Examine it under good light and perform the thumbnail test. This sample becomes your binding quality standard.
- Implement Staged QC Inspections:
- During Production (DUPRO): Ask for photos of the edges after the first coat and after the final coat on early production pieces.
- Pre-Shipment Inspection (PSI): Ensure your inspector or third-party service has specific instructions to check edge painting. They should use the approved sample as a reference and perform checks on a percentage of belts from the batch.
What are the red flags in a supplier's process?
Be wary if a supplier:
- Cannot explain their edge painting process in detail.
- Claims they can turn around painted belts in less than 24 hours (indicating inadequate drying/curing time).
- Quotes a price significantly lower than the market average (they are almost certainly skipping steps like priming, multiple coats, or using inferior paint).
- Is reluctant to provide a detailed sample or allow inspections focused on edge finish.
What Types of Paint Adhere Best to Leather and Fabric Belt Edges?
When it comes to reviving the look of a well-loved belt, whether it's a supple leather strap with frayed edges or a fabric-woven band showing signs of wear, choosing the right paint is crucial for a lasting, professional finish. The ideal paint must not only cling stubbornly to the unique textures of leather and fabric but also resist the daily rigors of use—scratches from keys, moisture from rain, and the gentle friction of waistbands.
Acrylic-based paints often take center stage here, their water-based formulas offering a vibrant palette that ranges from deep, rich browns to bold, contemporary hues. These paints dry to a smooth, durable film that flexes slightly with the belt's movement, preventing cracking or peeling over time. For leather edges, which can be porous and prone to absorbing liquids, a primer specifically designed for leather surfaces is a game-changer.
Conclusion
Ensuring your belt edges are painted correctly is a matter of demanding a meticulous, multi-step process from your manufacturing partner. It requires proper material preparation, skilled multi-coat application, patient curing, and a final protective finish. There are no shortcuts to a durable, beautiful edge that signifies quality.
By understanding this process, specifying it clearly, and enforcing it through samples and inspections, you protect your brand's reputation and deliver products that customers will value and trust. The edge of a belt is a small detail that makes a massive statement about your commitment to quality.
If you are looking for a manufacturing partner who masters the art and science of premium edge finishing for leather and PU belts, we invite you to collaborate with us. At Shanghai Fumao, our dedicated finishing department upholds the highest standards in edge painting, ensuring every belt that leaves our factory is a testament to impeccable craftsmanship. To discuss your next belt project, contact our Business Director, Elaine, at elaine@fumaoclothing.com. Let's craft details that define excellence.