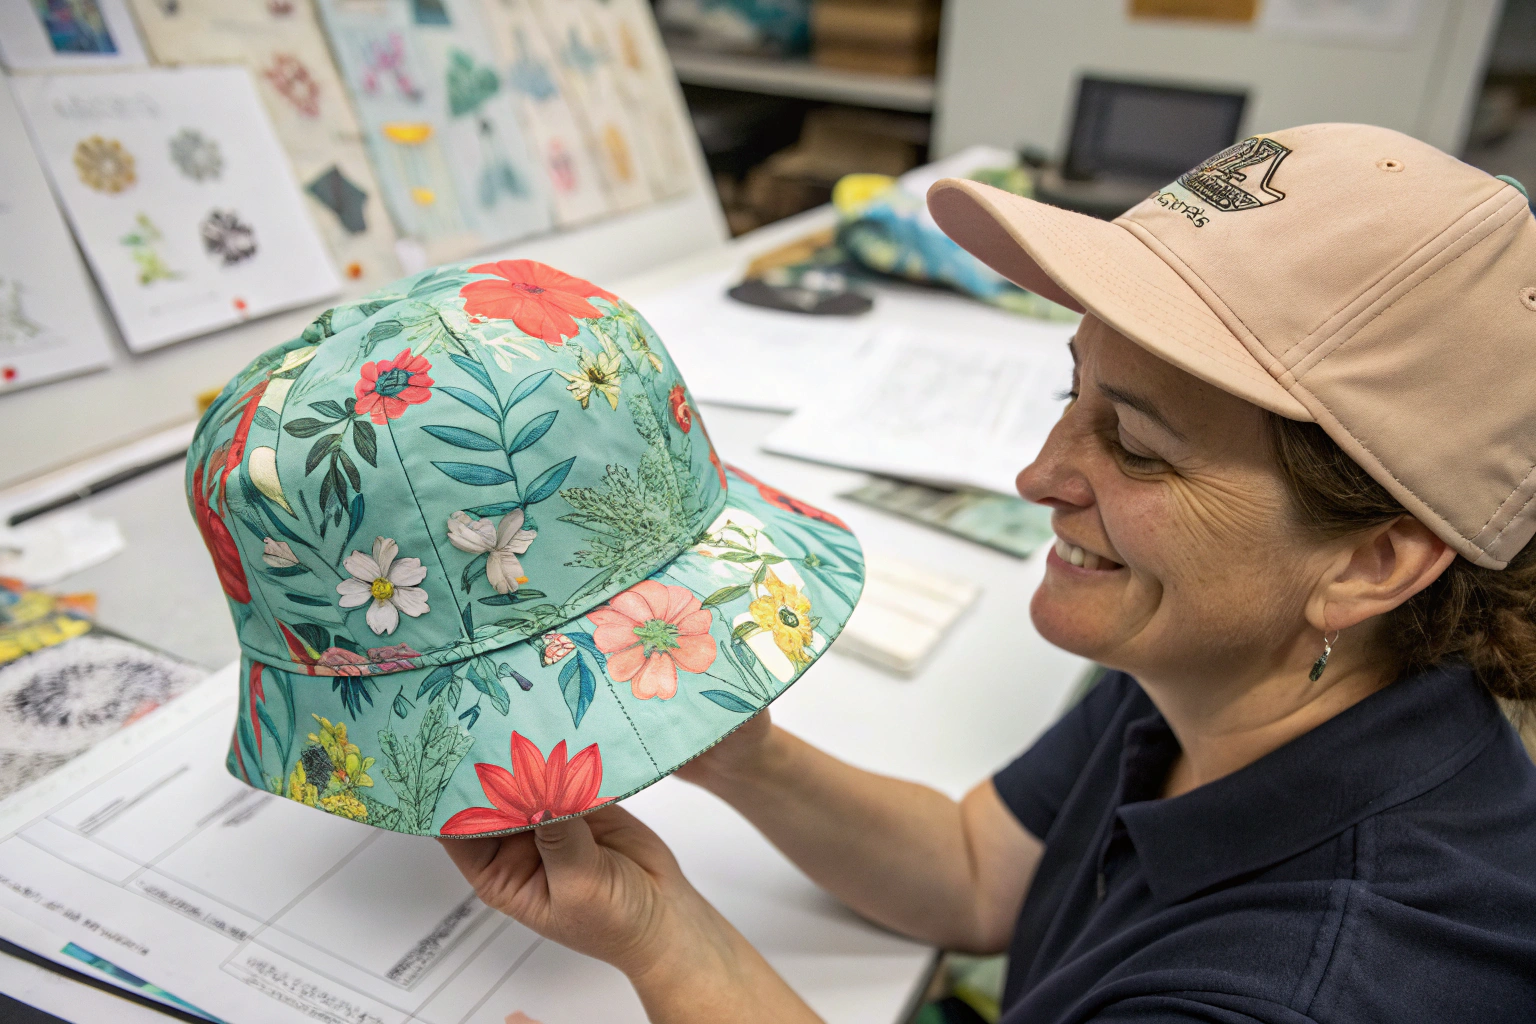
A product developer from a major outdoor gear subscription box company called me in mid-March with a timeline that made my production manager inhale sharply. Her company had secured a collaboration with a well-known artist to create a limited-edition rain hat for their spring box. The artist’s design was a vibrant, all-over print featuring hand-painted watercolor florals that needed to wrap the entire hat, including the visor. The collaboration had been announced to subscribers, and the boxes were scheduled to ship in late May. She needed a physical sample, with the exact print, the exact fabric, and the exact visor shape, to photograph for the box insert and to approve for production. She had exactly three weeks. She had already been turned down by two factories who told her the minimum sampling timeline for a custom printed rain hat was five to six weeks. She was preparing to tell her marketing team that the hero product of the spring box would be photographed as a digital rendering instead of a physical sample. I reviewed the design files, confirmed our sublimation printing schedule, and gave her a timeline that worked. The sample was in her hands in eighteen days. The box shipped on time. The rain hat was the most popular item in the box’s history.
Our factory can produce a sample of a custom printed rain hat with a visor in as fast as 7 to 10 business days from artwork approval, using our express sampling workflow and international priority courier service. This timeline covers the digital artwork preparation, the sublimation printing of the fabric panels, the fabric cutting and sewing of the crown, brim, and visor, the visor insert fabrication or sourcing, the final assembly and finishing, the quality control inspection, and the express air shipping. For a standard custom printed rain hat using a stock fabric and a one or two-color print, the sample can be completed in 5 to 7 business days. The total door-to-door time to a major city in North America or Europe is typically 10 to 14 days, including 2 to 4 days of express courier transit. For clients with critical presentations, buyer meetings, subscription box deadlines, or photoshoot schedules, this speed is the difference between securing the program and losing it.
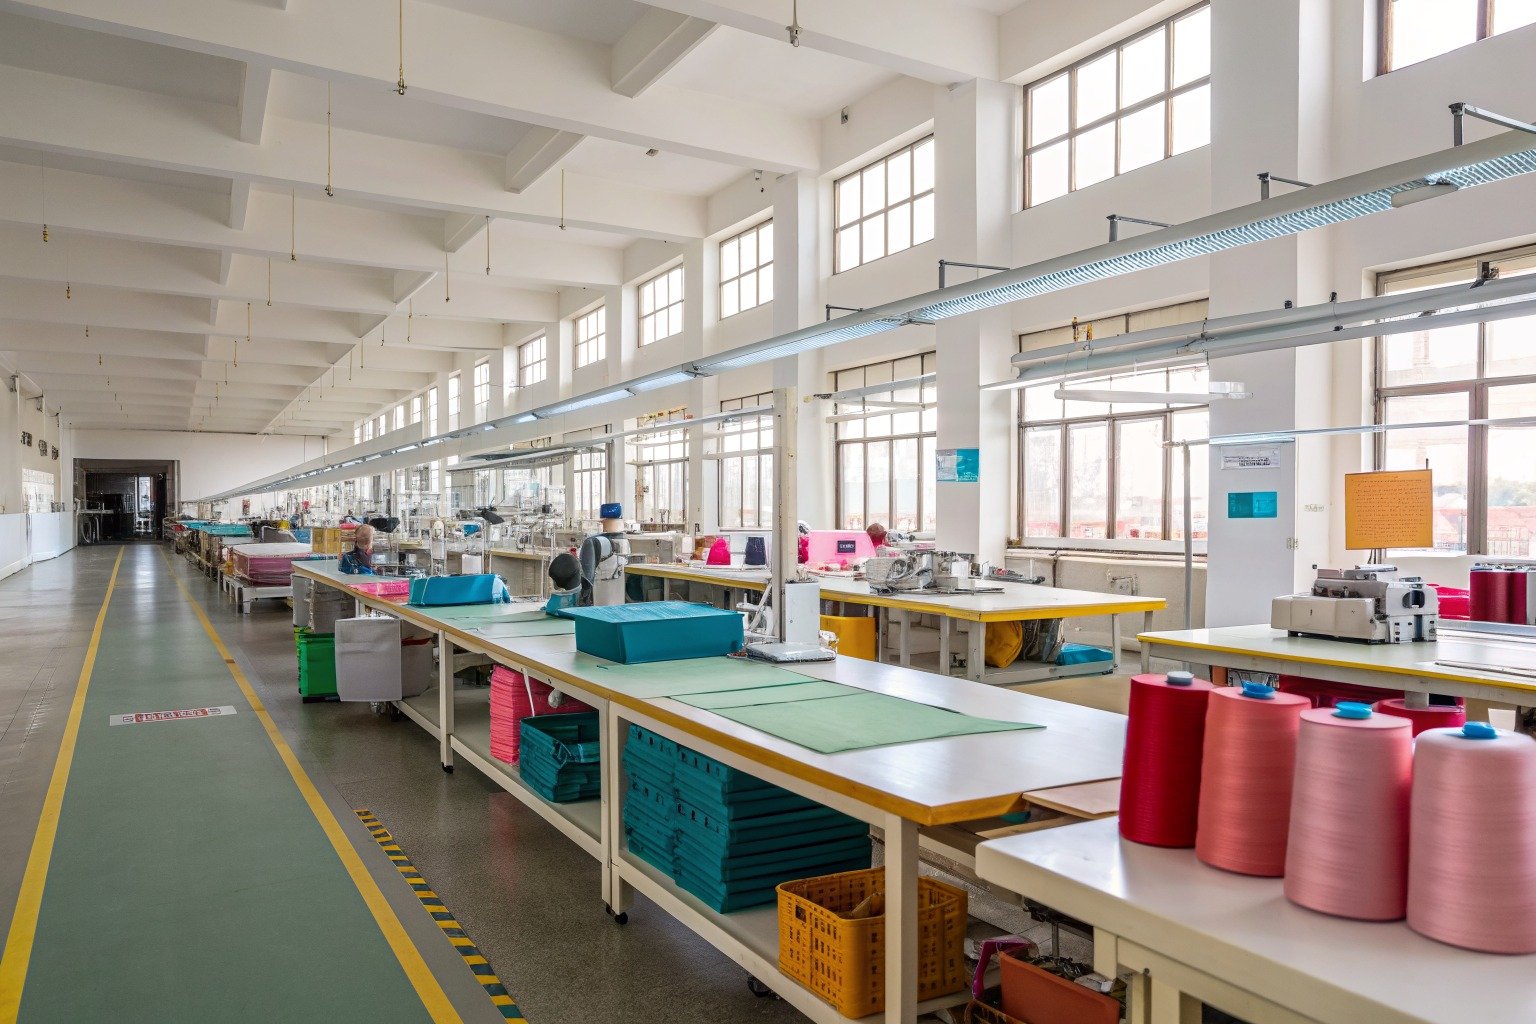
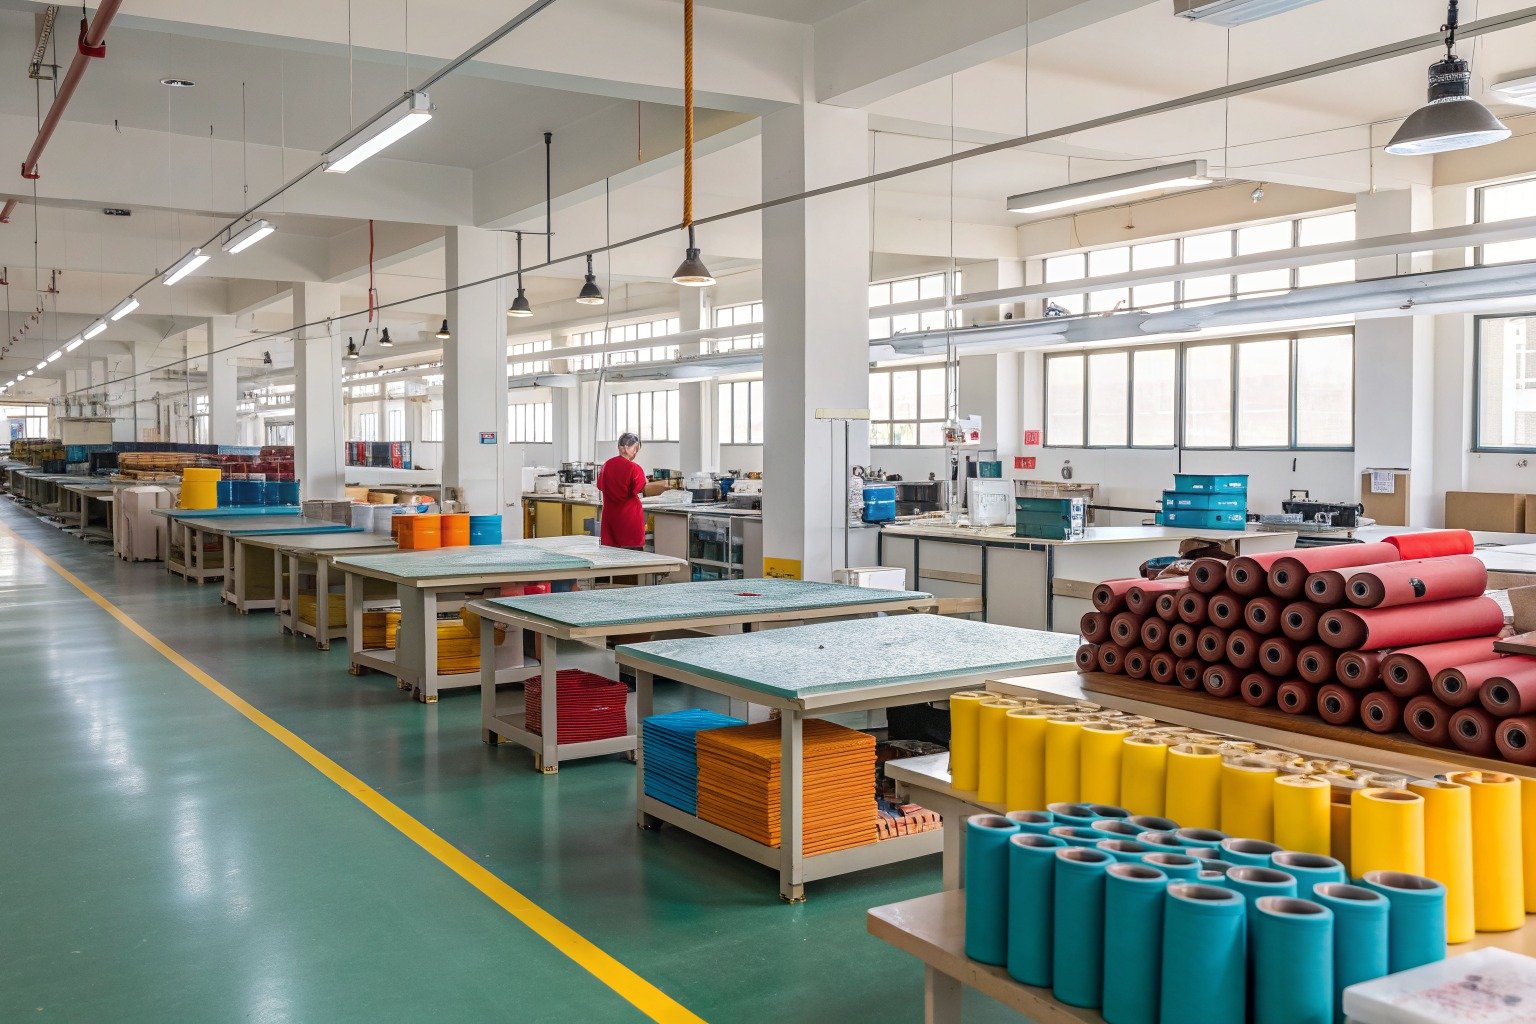
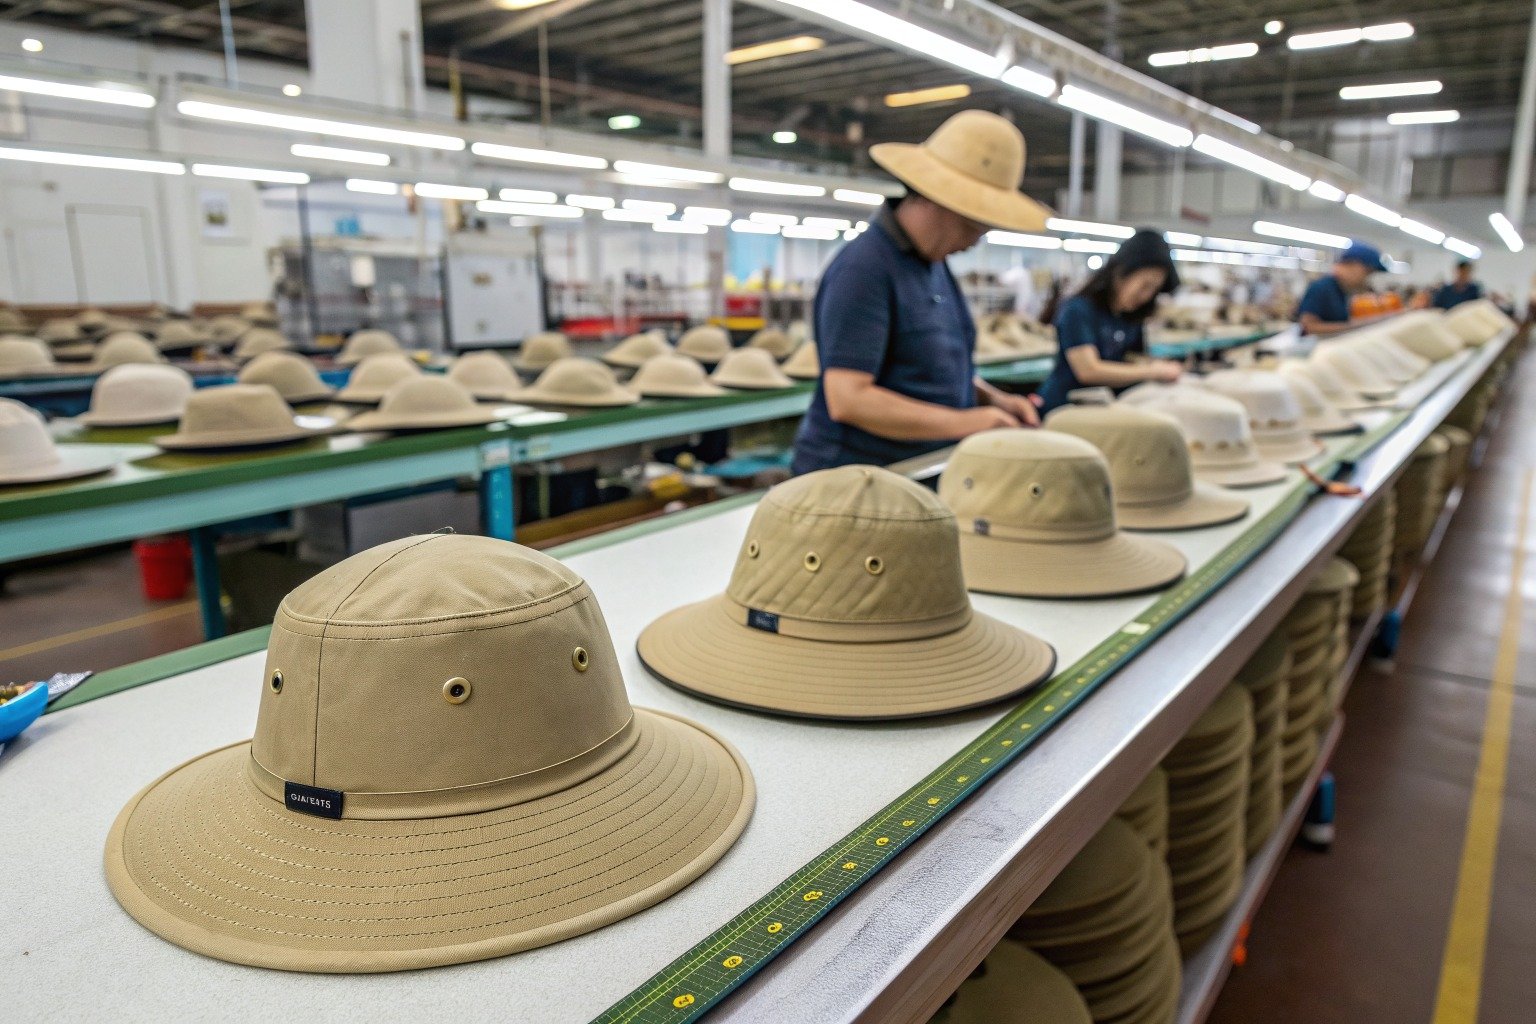
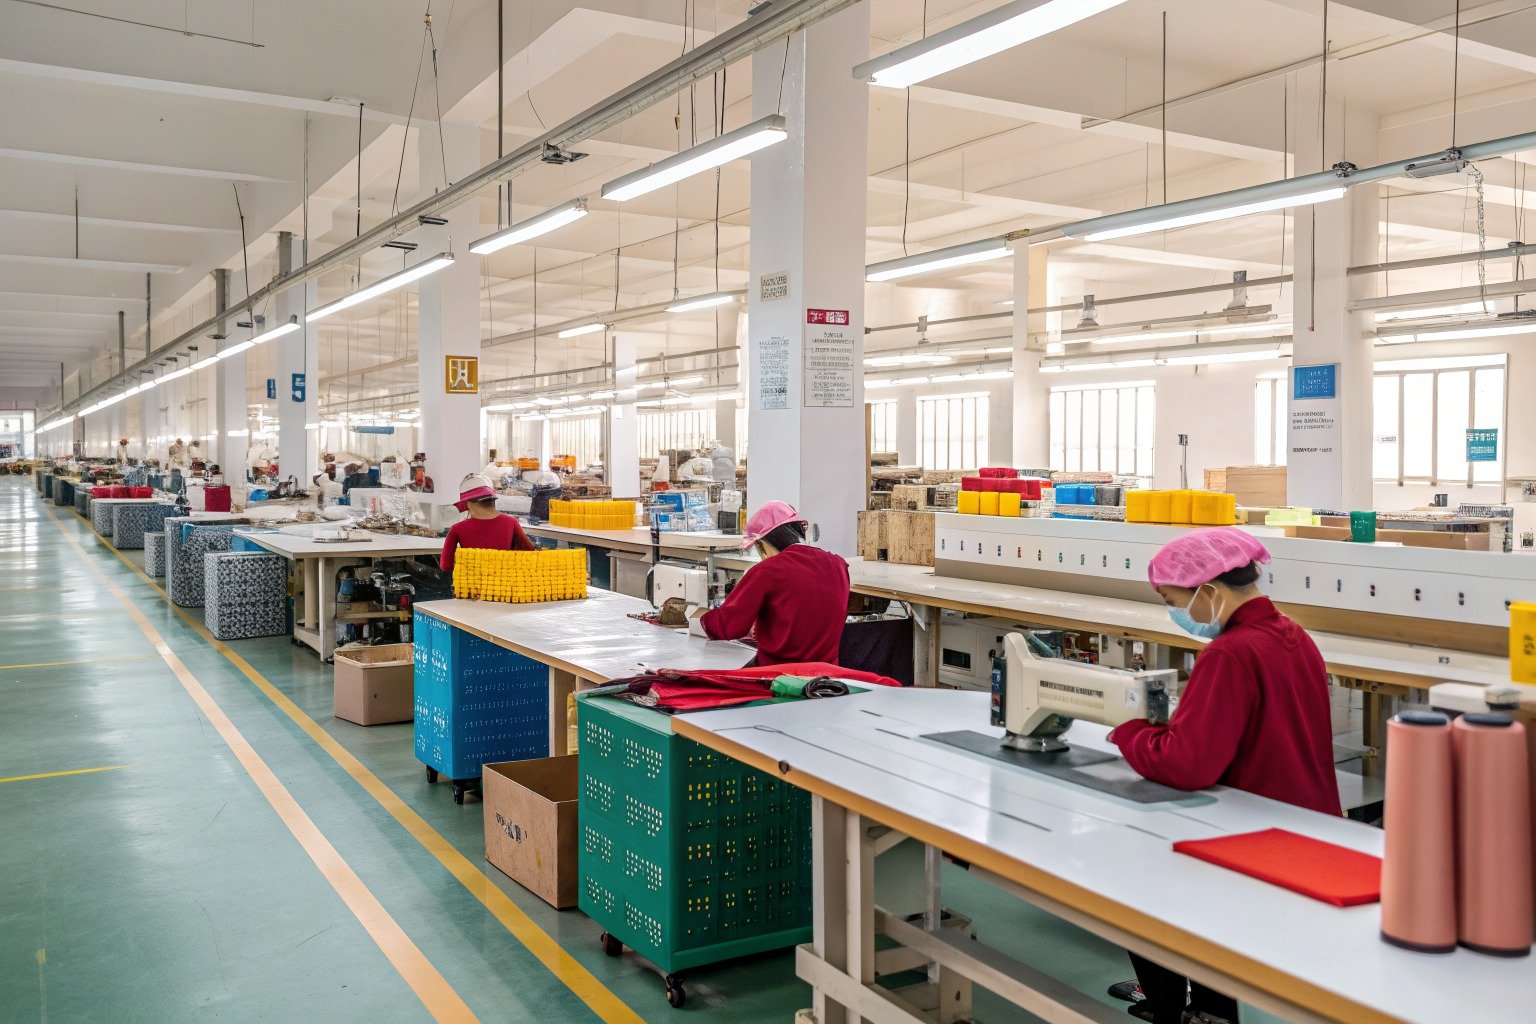
A rain hat with a visor is a technical accessory. It must be waterproof. It must have a shaped brim that channels rain away from the face. The visor must be stiff enough to hold its shape but flexible enough to be comfortable. The print must be vibrant and durable, able to withstand repeated exposure to rain and moisture. Producing a sample of this product at speed requires a factory that has all the necessary capabilities under one roof, sublimation printing, technical fabric cutting, visor fabrication, and waterproof seam sealing. At AceAccessory, rain hats are a core product category, and our rapid sampling cell is designed to turn concept into physical sample in days, not weeks. Let me walk you through exactly how we achieve that speed.
What Is the Standard Sampling Timeline for a Printed Rain Hat
The sampling timeline for a custom printed rain hat with a visor is determined by a sequence of operations. Some can run in parallel. Others must be sequential. The printing of the fabric is the starting point. The visor insert can be prepared in parallel. The cutting and sewing follow the printing. The quality control is the final gate. The standard timeline assumes that the factory has the necessary materials in stock, waterproof fabric, visor inserts, and that the artwork is provided in a production-ready format. The clock starts when the artwork is approved.
The standard sampling timeline for a custom printed rain hat with a visor breaks down into five stages. Stage one, artwork preparation and printing setup, takes 1 to 2 days. The artwork is reviewed for print readiness, color separations are created if necessary, and the sublimation transfer paper is printed. Stage two, fabric printing and curing, takes 1 to 2 days. The design is transferred from the paper to the waterproof polyester fabric using a heat press. The dye is permanently bonded into the fabric fibers. Stage three, visor insert preparation, takes 1 to 2 days. If a stock visor insert is used, it is pulled from inventory. If a custom-shaped visor is required, it is cut from sheet plastic and shaped. This stage runs in parallel with stages one and two. Stage four, fabric cutting and sewing, takes 2 to 3 days. The printed fabric is cut into the crown, brim, and visor panels. The visor insert is sewn into its fabric cover. The crown and brim are assembled. The seams are sealed for waterproofness. Stage five, finishing, QC inspection, and packing, takes 1 day. The hat is pressed, the final shape is verified, all seams are checked, and the print quality is inspected. The total standard timeline is 7 to 10 business days.
This timeline is achievable with a dedicated sampling team, a well-stocked inventory of standard components, and a streamlined workflow. It requires that the artwork is submitted in the correct format, that the fabric and visor insert specifications are finalized at the time of order, and that the client is available to approve any checkpoints quickly. Let me detail the two most time-critical stages.
How Long Does Sublimation Printing Take for Waterproof Hat Fabric?
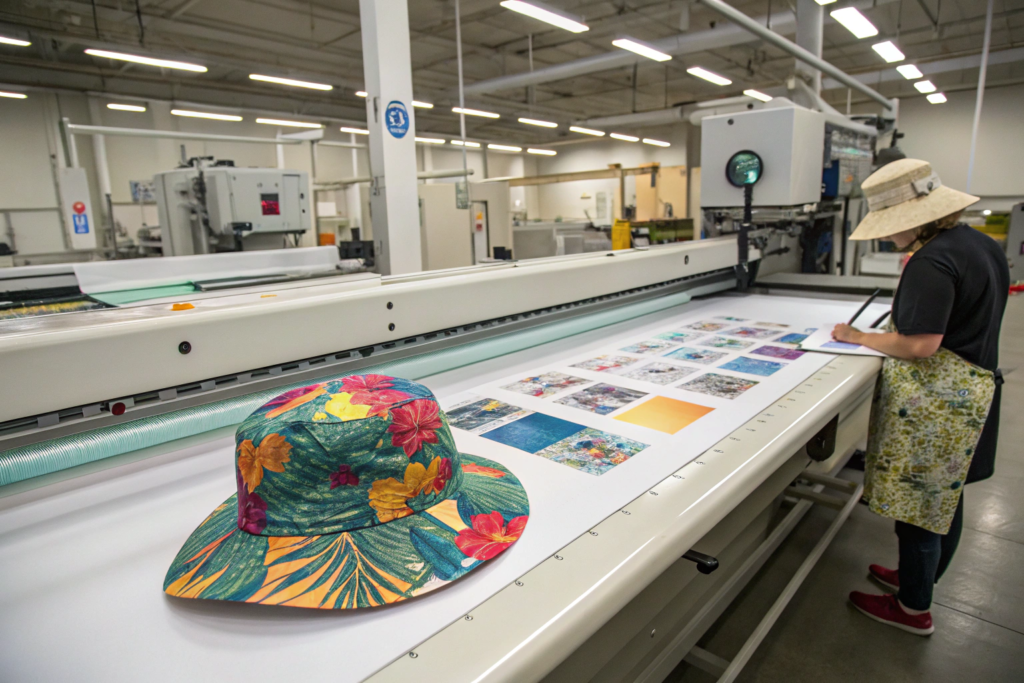
Sublimation printing is the standard method for custom printed rain hats because it produces a permanent, waterproof print. The dye is not sitting on top of the fabric. It is inside the fibers. The print will never crack, peel, or fade with exposure to rain. The sublimation process for a rain hat sample begins with the digital artwork file. The design is laid out in a repeating pattern or placed as a single image on the hat panel template. The file is printed onto a special transfer paper using sublimation inks. The printed paper is then placed in contact with the waterproof polyester fabric. The fabric and paper are fed into a heat press, which applies high temperature, typically 200 degrees Celsius, and pressure for a specific dwell time, typically 45 to 60 seconds. The heat converts the solid dye on the paper directly into a gas. The gas penetrates the polyester fibers. When the fabric cools, the dye is permanently trapped inside the fibers. The printing process for a sample hat, including the file preparation, the test print, and the final print, takes 1 to 2 days. If the design is complex, with a repeating pattern that must align across the seams of the hat, additional time is needed for pattern matching. The fabric must be aligned precisely on the heat press so that the pattern continues seamlessly from the crown to the brim. This alignment is a manual process that requires skill and patience. The sublimation printing on waterproof fabric is essentially the same as on standard polyester, but the waterproof fabric often has a coating or a membrane on the reverse side. The heat must be applied to the uncoated face of the fabric. The coated side is protected from the heat. The ink does not penetrate the coating, which is what maintains the waterproof barrier. After printing, the fabric is cooled and inspected for print quality, color accuracy, and any defects.
What Visor Insert Options Affect the Sampling Speed?
The visor is the defining feature of a rain hat. It provides the functional benefit of keeping rain off the face, and it gives the hat its distinctive, sporty aesthetic. The visor insert is the stiffener that gives the visor its shape. The choice of visor insert has a significant impact on the sampling timeline. The fastest option is a stock visor insert. We maintain an inventory of pre-shaped visor inserts in several standard sizes and shapes. These are typically made from EVA foam, polyethylene sheet, or a recycled plastic material. They are curved, with a smooth edge, and they are ready to be sewn into the fabric cover. Using a stock visor insert adds zero time to the sampling process. The next option is a custom-cut visor insert. If the client’s design requires a specific visor shape, a longer visor, a wider visor, or a more sharply curved visor, a custom insert must be made. The shape is drawn from the client’s specifications. A template is created. The insert is cut from a sheet of the chosen material using a die cutter or a CNC knife cutter. This process adds 1 to 2 days. The final option is a custom-molded visor insert. This is for complex, three-dimensional visor shapes that cannot be cut from a flat sheet. A mold must be fabricated, and the visor material is heat-formed to the mold shape. This process adds 10 to 14 days for the mold fabrication and is not practical for a fast sample. For sampling purposes, we recommend using a stock visor insert that closely approximates the desired shape, or a custom-cut insert for a moderate shape change. The custom-molded insert is reserved for production orders where the volume justifies the mold investment. The visor insert material also affects the timeline. EVA foam is soft, lightweight, and readily available. Polyethylene sheet is stiffer and more durable. Recycled plastic inserts are available but have a longer sourcing lead time.
How Does the Waterproof Construction Affect Production Time
A rain hat is not just a fashion hat made from waterproof fabric. It is a technical product where every seam, every stitch hole, and every attachment point is a potential leak. Achieving a truly waterproof hat requires specialized construction techniques that are not used in standard hat production. The seams must be sealed. The visor attachment must not compromise the waterproof barrier. The stitching must be done with waterproof thread. These additional steps add time and cost to the production process, but they are what make the hat functional. A rain hat that leaks at the seams is not a rain hat. It is a disappointment.
Waterproof construction affects rain hat production time by adding specific, non-negotiable steps to the sewing and finishing process. Seam sealing is the most time-intensive step. After the hat is sewn, every seam that penetrates the waterproof fabric must be sealed. This is done by applying a waterproof seam tape over the stitch line on the inside of the hat. The tape is a thin, flexible strip of polyurethane or thermoplastic material with a heat-activated adhesive. A specialized heat-taping machine presses the tape onto the seam, melting the adhesive and bonding the tape to the fabric on both sides of the stitch line. The tape covers the needle holes and creates a continuous waterproof barrier. The seam sealing process takes 1 to 2 hours for a sample hat, depending on the number of seams. The visor attachment is a critical waterproofing point. The visor insert is enclosed in a fabric pocket that is sewn to the brim. The stitch line around the visor attachment must be sealed from the inside. The area where the visor meets the crown is a complex junction of multiple seams, and it requires careful taping to ensure no leaks. The thread used for all stitching is a bonded polyester or nylon thread that swells slightly when wet, helping to seal the needle holes. The thread is treated with a water-repellent finish. The fabric itself is a waterproof-breathable laminate. It has a durable water-repellent outer coating and a waterproof inner membrane. The fabric must be handled carefully during cutting and sewing to avoid damaging the membrane. The finished hat is tested for waterproofness by spraying it with water and checking for any leaks, or by using a hydrostatic head tester on a sample of the seamed fabric.
The waterproof construction steps are the reason why a rain hat sample takes longer to produce than a standard fashion hat sample. But these steps are what define the product. Let me detail the two most important waterproofing techniques.
How Are Seams Sealed on a Waterproof Rain Hat?
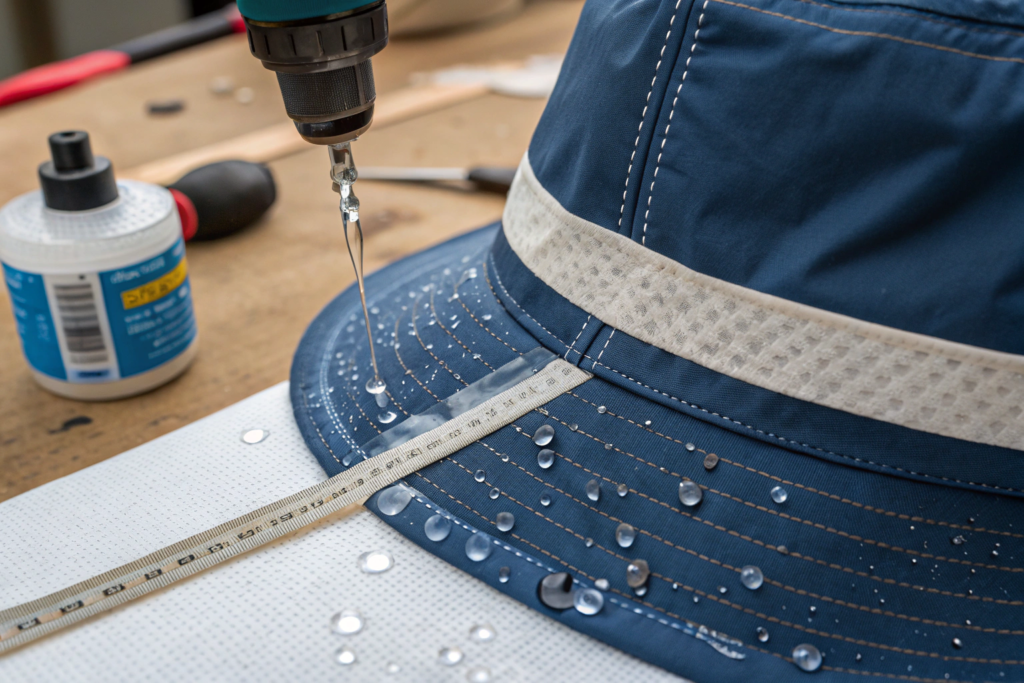
Seam sealing is the process of making the stitched seams of a waterproof garment impervious to water. When a sewing needle passes through waterproof fabric, it creates a hole. Even though the thread fills the hole, water can still wick along the thread and through the tiny gaps between the thread and the fabric. In a rainstorm, these needle holes become leaks. Seam sealing covers the stitch line with a waterproof tape that prevents water from reaching the holes. The process begins with the selection of the seam tape. The tape must be compatible with the fabric. For polyester waterproof fabrics, a polyurethane-based tape is commonly used. The tape width is typically 20 to 25 millimeters, wide enough to cover the stitch line with a margin on both sides. The tape has a heat-activated adhesive on one side. The seam sealing is done on a specialized machine called a hot air seam sealing machine. The machine has a nozzle that directs a stream of hot air onto the tape and the fabric as they pass under a pressure roller. The hot air melts the adhesive. The pressure roller bonds the tape to the fabric. The operator guides the fabric through the machine, keeping the tape centered over the stitch line. The temperature, the air pressure, and the roller speed are precisely controlled for the specific fabric and tape combination. Too much heat can damage the fabric or the waterproof membrane. Too little heat results in a weak bond. After the tape is applied, the seam is inspected visually. The tape should be smooth, with no wrinkles, no bubbles, and no lifted edges. A good seal is transparent and virtually invisible from the outside. The sealed seam is tested by applying water pressure or by spraying water directly onto the seam and checking for penetration. On a rain hat, the critical seams that must be sealed are the crown seams, where the panels of the crown are joined, the crown-to-brim attachment seam, and the visor attachment seam. Some hats also have a seam at the back for a size adjustment strap, and this seam must also be sealed.
What Thread and Stitch Types Prevent Water Leakage?
The thread and the stitch type are the first line of defense against water leakage through the seams. Even before seam tape is applied, the thread and stitch can reduce the amount of water that penetrates. The thread used for rain hats is typically a continuous filament polyester or nylon thread. These synthetic threads are non-absorbent. They do not wick water the way that cotton thread does. The thread is bonded, meaning the individual filaments are fused together, which further reduces wicking. The thread is also treated with a durable water-repellent, or DWR, finish that causes water to bead on the thread surface. The thread size is chosen to fill the needle hole as completely as possible. A thread that is too thin leaves a gap around itself. A thread that is too thick can damage the fabric. The optimal thread size is typically Tex 40 to Tex 70 for waterproof rainwear. The stitch type also matters. A lockstitch, where two threads interlock within the fabric, creates a hole that is relatively straight and can be effectively sealed with tape. A chain stitch, where loops of thread are interlocked on one side, creates a more complex hole geometry and is more difficult to seal. The lockstitch is the standard for rain hat construction. The stitch density, the number of stitches per inch, is a balance. A higher stitch density, more stitches per inch, creates more needle holes, but each hole is smaller and the seam is stronger. A lower stitch density creates fewer holes, but each hole is larger. The optimal stitch density for waterproof seams is typically 8 to 10 stitches per inch. The needle itself is important. A sharp, new needle creates a clean, round hole. A dull or damaged needle creates a ragged, irregular hole that is more prone to leaking. We use new needles for every production run and change them frequently. The combination of the right thread, the right stitch, and the right needle minimizes the amount of water that reaches the seam tape, and it ensures that the tape can form a reliable seal.
What Customization Options Affect the Sample Timeline
A custom printed rain hat can be customized in many ways beyond the print design. The visor shape, the chin strap, the drawstring, the size adjuster, the reflective elements, and the packaging all contribute to the final product. Each customization option has its own lead time, and the cumulative effect of multiple custom options can extend the sampling timeline. For a fast sample, the principle is to use as many stock components as possible. The sample proves the concept, the print, and the overall silhouette. The full customization can be reserved for the production order.
The customization options that affect the rain hat sampling timeline are the visor shape, the fabric color, the trim components, and the branding elements. The visor shape, as discussed, can range from a stock insert with zero time impact to a custom-molded insert with a multi-week lead time. For a fast sample, a stock visor shape is strongly recommended. The fabric color matters if the base fabric is not white. Sublimation printing requires a white or light-colored base fabric to display the colors correctly. If the client wants a hat with a colored underbrim or a colored lining that is not white, that fabric must be sourced or dyed, which adds time. For a fast sample, a white fabric is the fastest option. The trim components include the chin strap, the drawstring, the toggle, and the size adjuster. Stock trims in standard colors are available immediately. Custom-dyed trims to match a specific Pantone color add 7 to 10 days. Custom hardware, such as a branded toggle or a leather drawstring end, adds 10 to 14 days. The branding elements include woven labels, heat-transfer logos, and reflective patches. A stock woven label with the brand name can be produced in 3 to 5 days. A custom-shaped reflective patch adds 5 to 7 days. The packaging, a custom-printed pouch or a gift box, can add 7 to 14 days depending on the complexity. For a fast sample, simple stock trims and a standard woven label are the recommended choices.
The smart strategy is to prioritize the print, which is the most visually impactful customization, and to keep all other elements simple and stock. Let me detail the two most impactful customization decisions.
Can You Print on the Visor Underside as Well as the Top?
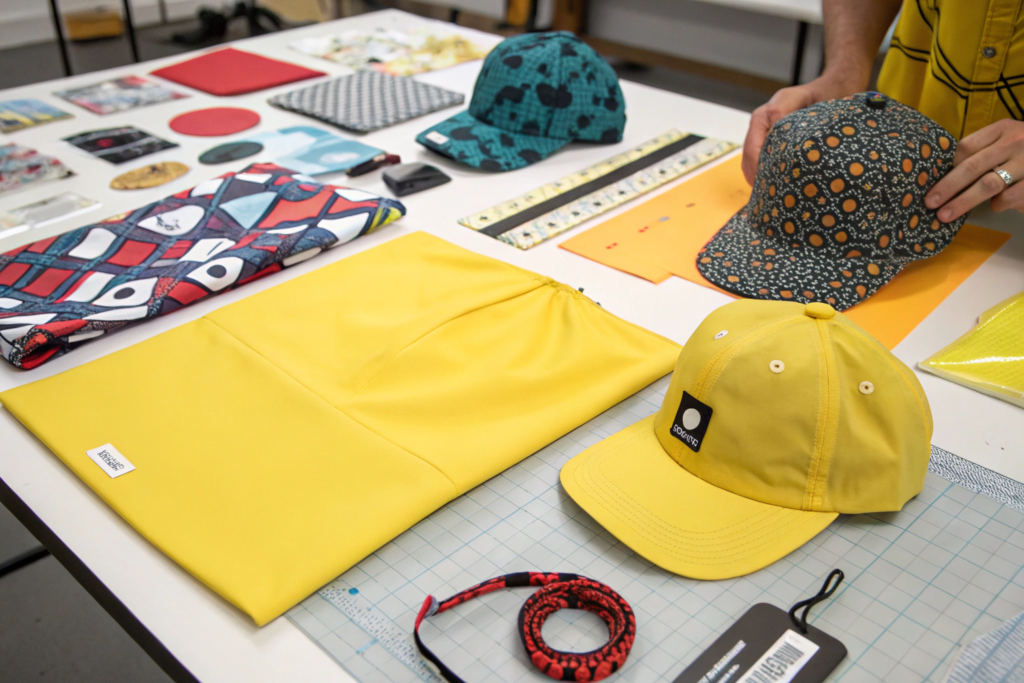
Yes, the underside of the visor is a valuable branding surface. When the wearer looks up, or when the hat is hung on a hook, the underside is visible. A contrasting print, a bold pattern, or a surprise design on the visor underside adds a premium, design-forward detail that consumers notice and appreciate. The printing process for the visor underside is the same sublimation process as the rest of the hat. The fabric for the visor cover is printed with the underside design. The visor cover is a separate pattern piece. It is typically cut in two parts, a top piece and a bottom piece, which are sewn together to encase the visor insert. Both pieces can be printed. The printing time for double-sided visor printing is essentially the same as for single-sided. Both sides are printed on the same transfer paper in one pass, or on two separate sheets. The alignment between the top and bottom prints is important. If the design is a continuous pattern that wraps around the edge of the visor, the two prints must match at the seam. This requires precise placement on the heat press. The additional time for aligning a double-sided visor print is minimal, perhaps an extra hour of setup time. The cost is the same as single-sided printing because the same amount of ink and transfer paper is used. The double-sided visor print is a relatively easy way to add a premium design detail with minimal impact on the timeline.
How Do Custom Trims Like Chin Straps Affect Lead Times?
A chin strap is a functional and often required feature on a rain hat. It keeps the hat on the head in windy conditions. A chin strap can be a simple cord with a toggle, a fabric strap with a clip, or an elastic strap with a buckle. The choice of chin strap affects both the sampling timeline and the production timeline. The fastest option is a stock chin strap. We maintain an inventory of chin straps in standard colors, black, white, navy, and grey. These are lengths of braided polyester cord with a plastic spring-loaded toggle. They can be attached to the hat with zero additional lead time. The next option is a custom-colored chin strap. The cord is dyed to match a specific Pantone color. The dyeing process takes 5 to 7 days. For a sample, we can sometimes dye a small batch in 2 to 3 days using a sample dye pot, but the color match may not be exact. For production, the full dye lot process is used. The next option is a custom-printed chin strap. The strap is a flat polyester webbing that is printed with a logo, a pattern, or a brand name using sublimation. The printing process takes 1 to 2 days once the webbing is available. The final option is a custom hardware chin strap. This might use a leather cord with a wooden toggle, a metal buckle with a brand-embossed logo, or a quick-release clip. The custom hardware pieces must be sourced or manufactured, and this can take 14 to 21 days for a custom piece. For a fast sample, a stock chin strap is always the best choice. The sample can be produced with the stock strap, and the custom chin strap can be developed in parallel for the production order.
How to Prepare Your Artwork for Fast Hat Sampling
Artwork preparation is the step that most directly affects the sampling speed. A perfectly prepared, print-ready file can go directly to the printer. A file that requires cleanup, color adjustment, or reformatting can add days of back-and-forth communication. The single most effective thing a client can do to accelerate their sample timeline is to provide production-ready artwork in the correct format, at the correct size, with the correct color specifications. The time invested in preparing the file correctly before submission is returned many times over in a faster sample.
To prepare artwork for fast rain hat sampling, provide a high-resolution raster file or a vector file with the design at the actual print size. For a rain hat, the artwork is typically mapped onto a flat template that shows the individual pattern pieces, the crown panels, the brim top and bottom, and the visor cover top and bottom. The template is available from our design team. The artwork should be placed on this template, showing how the design aligns across the different pieces. For a seamless, all-over pattern, the design must match at the seams. The colors should be specified as Pantone references or as RGB values, with the understanding that sublimation printing uses an RGB color space. The file resolution should be a minimum of 150 dots per inch at the actual print size. For a large brim panel, this means a file that is several thousand pixels wide. Vector files are preferred for logos and text elements because they are resolution-independent. The file format should be a TIFF, PSD, AI, EPS, or high-resolution PDF. Any text in the design should be converted to outlines, so the font file is not needed. A separate print specification document that summarizes the design intent, the colors, the placement, and any special instructions is extremely helpful. The artwork should be reviewed carefully before submission. A common mistake is to include a white background and expect it to print. Sublimation printers do not print white ink. Any area that should be white must be left as transparent in the file.
Providing print-ready artwork is a skill that many brand owners and designers already have. If the client does not have this capability, our design team can assist with artwork preparation, but this adds time to the pre-production process. Let me detail the two most important file preparation points.
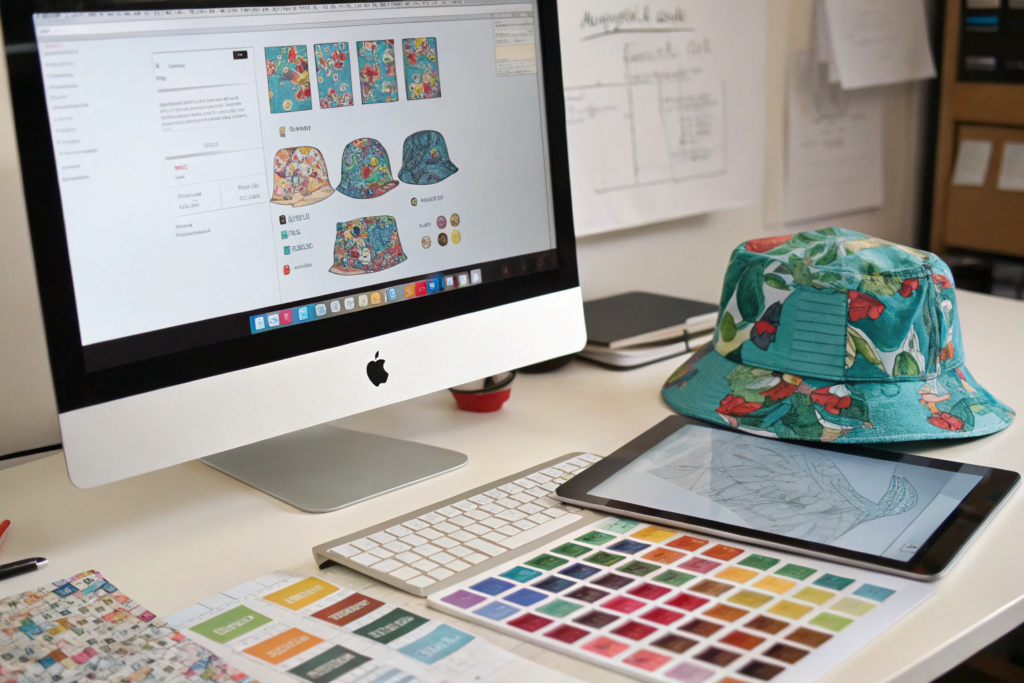
What File Format Is Best for All-Over Hat Printing?
The best file format for all-over hat printing is a high-resolution TIFF or a layered PSD, Photoshop, file at the actual print size. A TIFF file is a raster format that preserves all the color information and detail of the original design without compression artifacts. It is the standard format for high-quality digital textile printing. The TIFF should be saved at a resolution of 150 to 300 dots per inch at the final print dimensions. The color mode should be RGB, as sublimation printers use RGB color management. The file should be flattened to a single layer to reduce file size, unless specific layers are needed for the printing setup. A PSD file is useful if the design has multiple elements that may need to be adjusted independently, such as a background pattern and a foreground logo. The layers can be toggled or adjusted by our design team if minor changes are needed. The file should include the hat panel template as a separate, locked reference layer that can be turned off before printing. A vector file, such as an AI, Adobe Illustrator, or EPS, is ideal for designs that are primarily graphic, with solid colors and sharp edges. Vector files can be scaled to any size without loss of quality, and they produce the sharpest possible print. However, vector files are not suitable for photographic or painterly designs with soft gradients and textures. Those are better handled as raster files. A high-resolution PDF is an acceptable universal format. The PDF should be saved with the print production preset, with all images at 300 DPI and fonts embedded. The file size for a full hat print at actual size can be large, several hundred megabytes. This is normal and expected. The file can be shared via a file transfer service if it is too large for email. The investment in a high-quality file pays off in a high-quality print.
How Should You Specify Colors for Sublimation on Waterproof Fabric?
Color specification for sublimation printing is different from color specification for screen printing or for digital displays. Sublimation is an RGB process. The colors are created by mixing cyan, magenta, yellow, and black dyes. The color gamut, the range of colors that can be reproduced, is wide but not infinite. Some very bright, saturated colors that are visible on a computer screen cannot be achieved with sublimation dyes. To specify colors accurately, provide Pantone references. Our design team uses the Pantone Fashion, Home + Interiors guide to match the colors as closely as possible within the sublimation color gamut. A Pantone reference provides a physical color standard that can be compared to the printed sample under controlled lighting. Provide RGB values as a secondary reference. The RGB values specify the color as it appears on screen, which is helpful for the digital file preparation. Understand that the printed color on waterproof fabric may differ very slightly from the same color on uncoated polyester. The waterproof coating on the back of the fabric can affect the surface texture and the way light reflects, which can cause a slight perceptual color shift. This is usually minimal and acceptable. A physical color swatch, a piece of fabric, a Pantone chip, or a painted sample, is the most reliable reference. It eliminates the variability of screen calibration. If an exact color match is critical, a test print on the actual fabric should be produced and approved before the final sample is printed. This adds 1 to 2 days to the process but ensures color accuracy. The test print is a small swatch of the fabric with the key colors printed. The client reviews the swatch and approves the color match. The final sample is then printed using the approved color profile.
Conclusion
Producing a sample of a custom printed rain hat with a visor at speed is a capability that requires a factory to have invested in the right technology, sublimation printing, heat pressing, seam sealing, and visor fabrication, and to have organized its workflow for rapid response. The rain hat is a technical product. The print must be vibrant and permanent. The seams must be waterproof. The visor must hold its shape. Each of these requirements adds steps to the production process, but with a dedicated sampling cell and a well-stocked inventory of stock components, the total timeline can be compressed to as little as 7 to 10 business days. We have walked through the standard timeline, from the sublimation printing of the fabric to the seam sealing and final inspection. We have examined the waterproof construction techniques, the seam tape, the thread, and the stitch types that keep the rain out. We have discussed the customization options, the visor shapes, the chin straps, and the branding elements, and their respective impacts on the timeline. And we have emphasized the critical importance of production-ready artwork in accelerating the sampling process.
At AceAccessory, we love making rain hats. They are a product that combines fashion, function, and technical performance in a single, satisfying package. Our rapid sampling team understands the urgency of a subscription box deadline, a buyer presentation, or a photoshoot. They work with the focus and the speed that those deadlines demand, without compromising the quality checks that ensure the sample is a true representation of the production product. We have shipped rain hat samples to outdoor brands, fashion labels, and promotional product companies around the world, and the feedback is consistently that the sample arrived fast and looked amazing.
If you have a custom printed rain hat with a visor that you need sampled quickly, for a presentation, a photoshoot, or a production order, I invite you to contact us. Reach out to our Business Director, Elaine, at elaine@fumaoclothing.com. Tell her about your design, your materials, your timeline, and your delivery address. She can provide the hat panel template for your artwork, give you a sampling timeline estimate, and provide a quotation. Send us your artwork today, and you could be holding the physical sample in your hands next week. Let us help you create a rain hat that looks great and keeps the rain out, delivered at the speed your business demands.