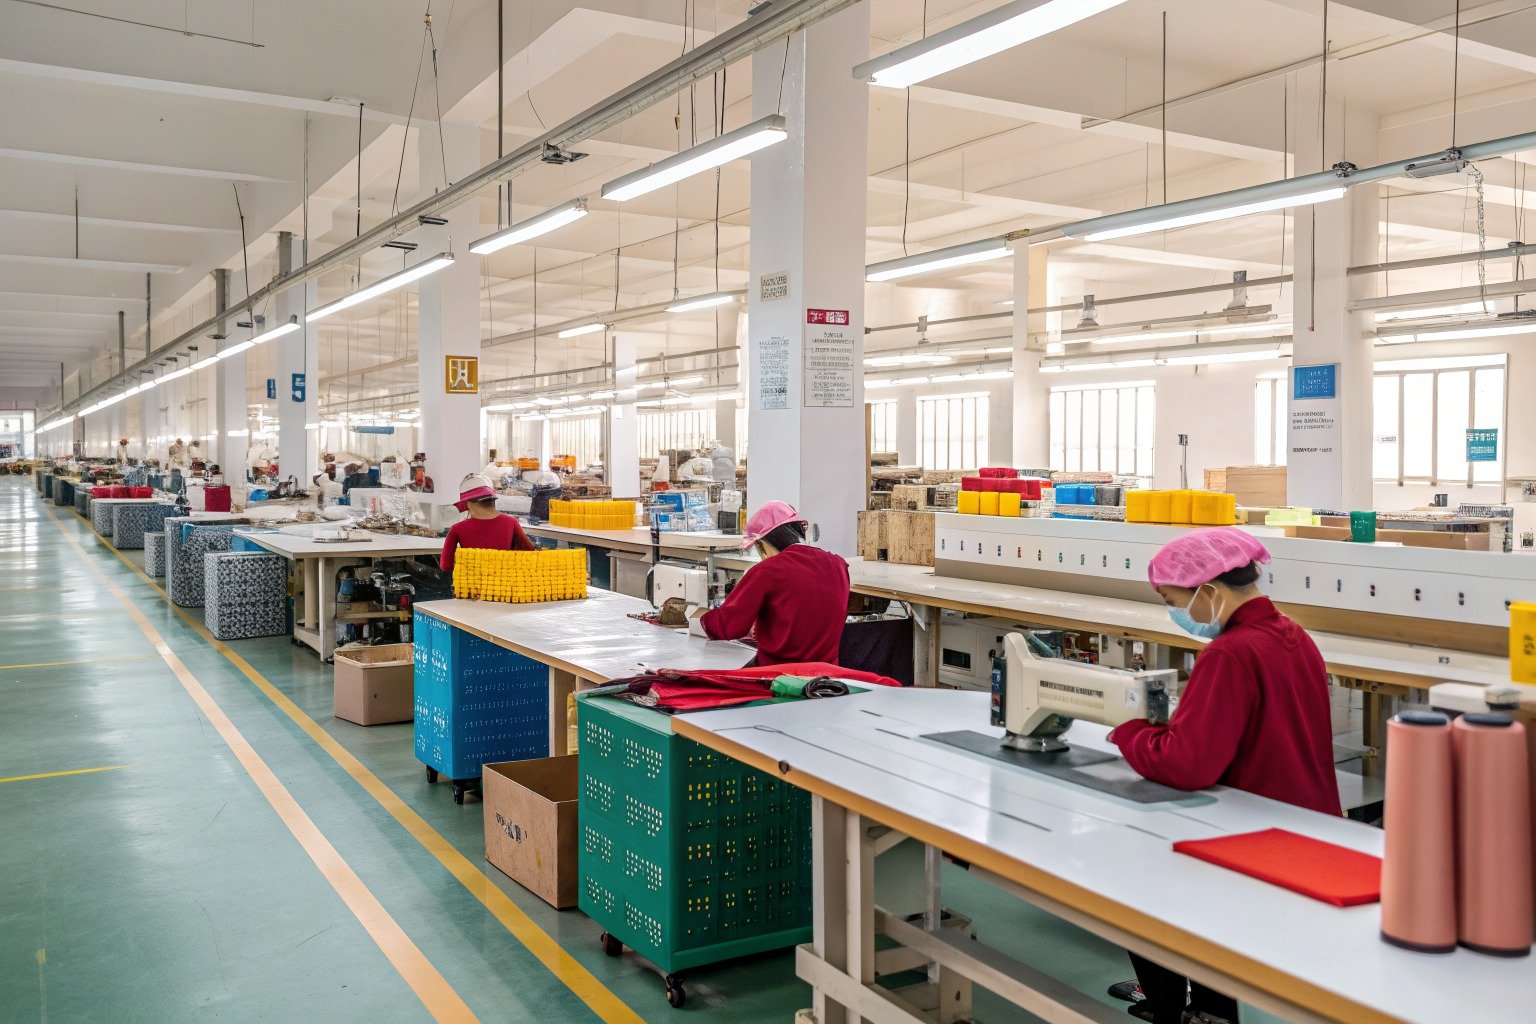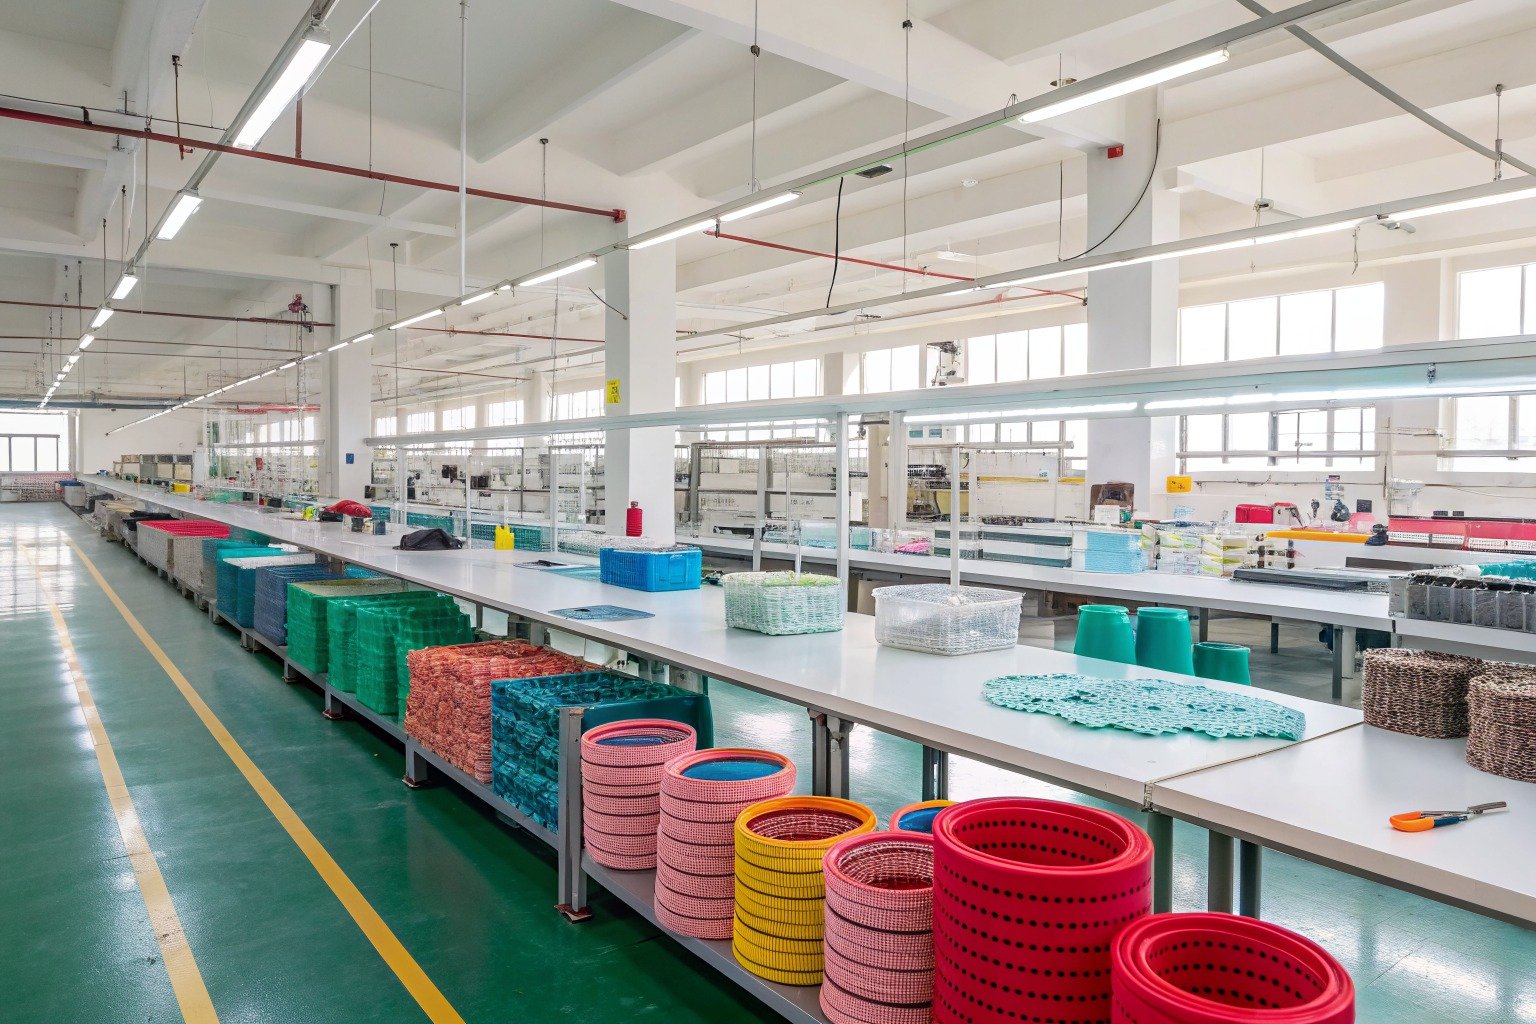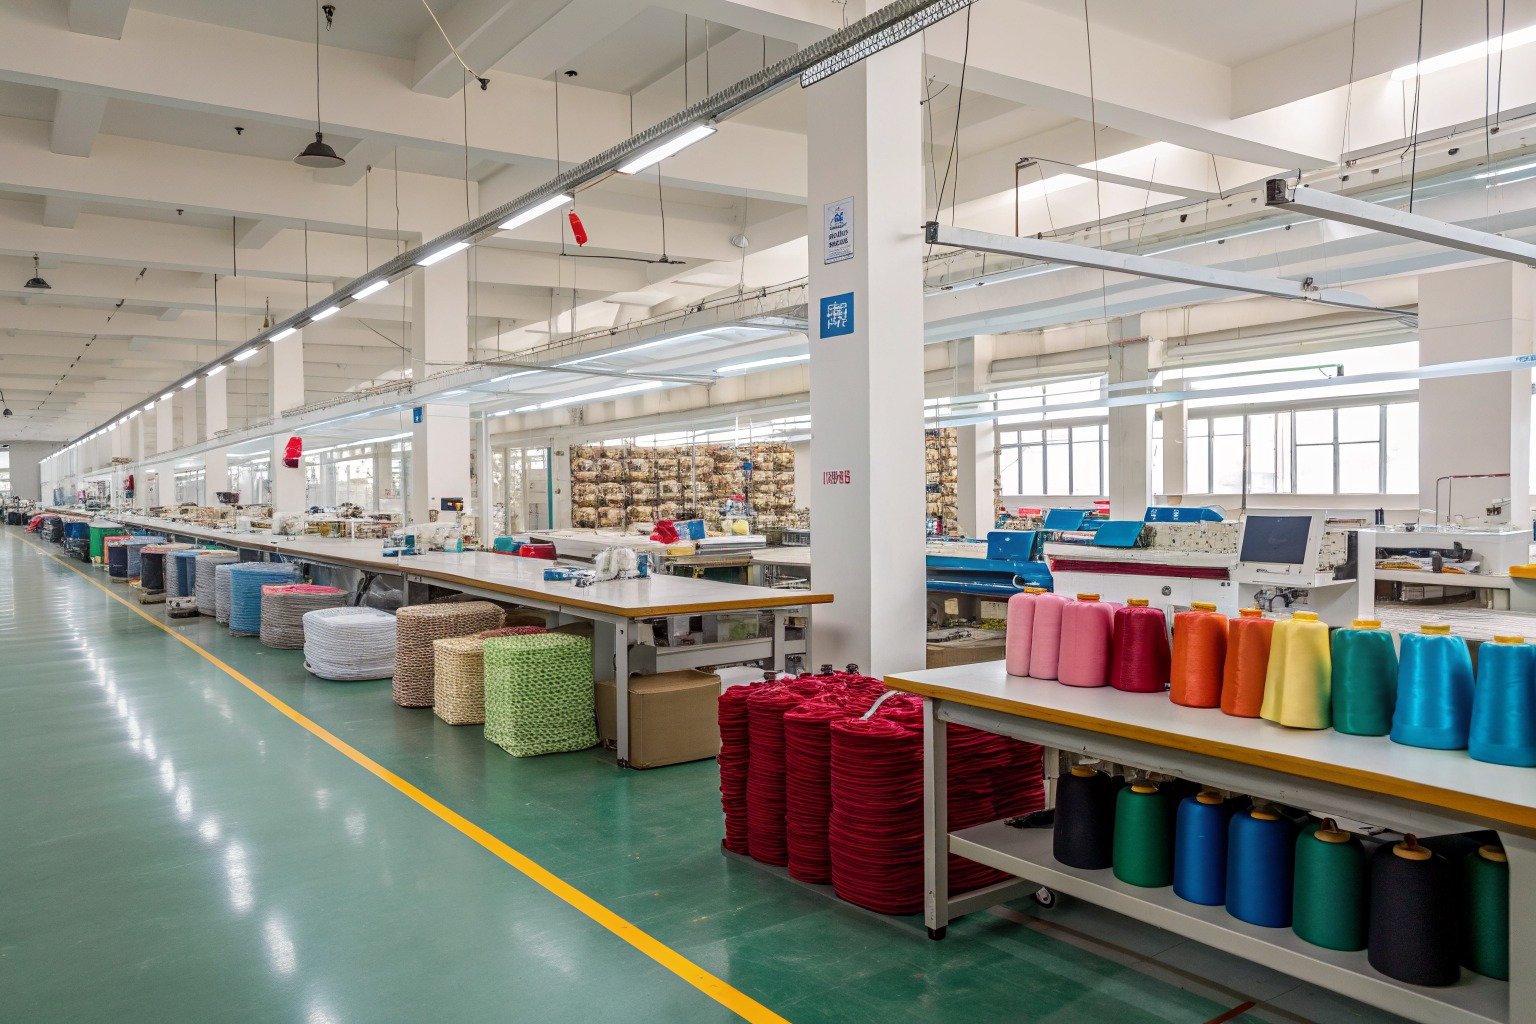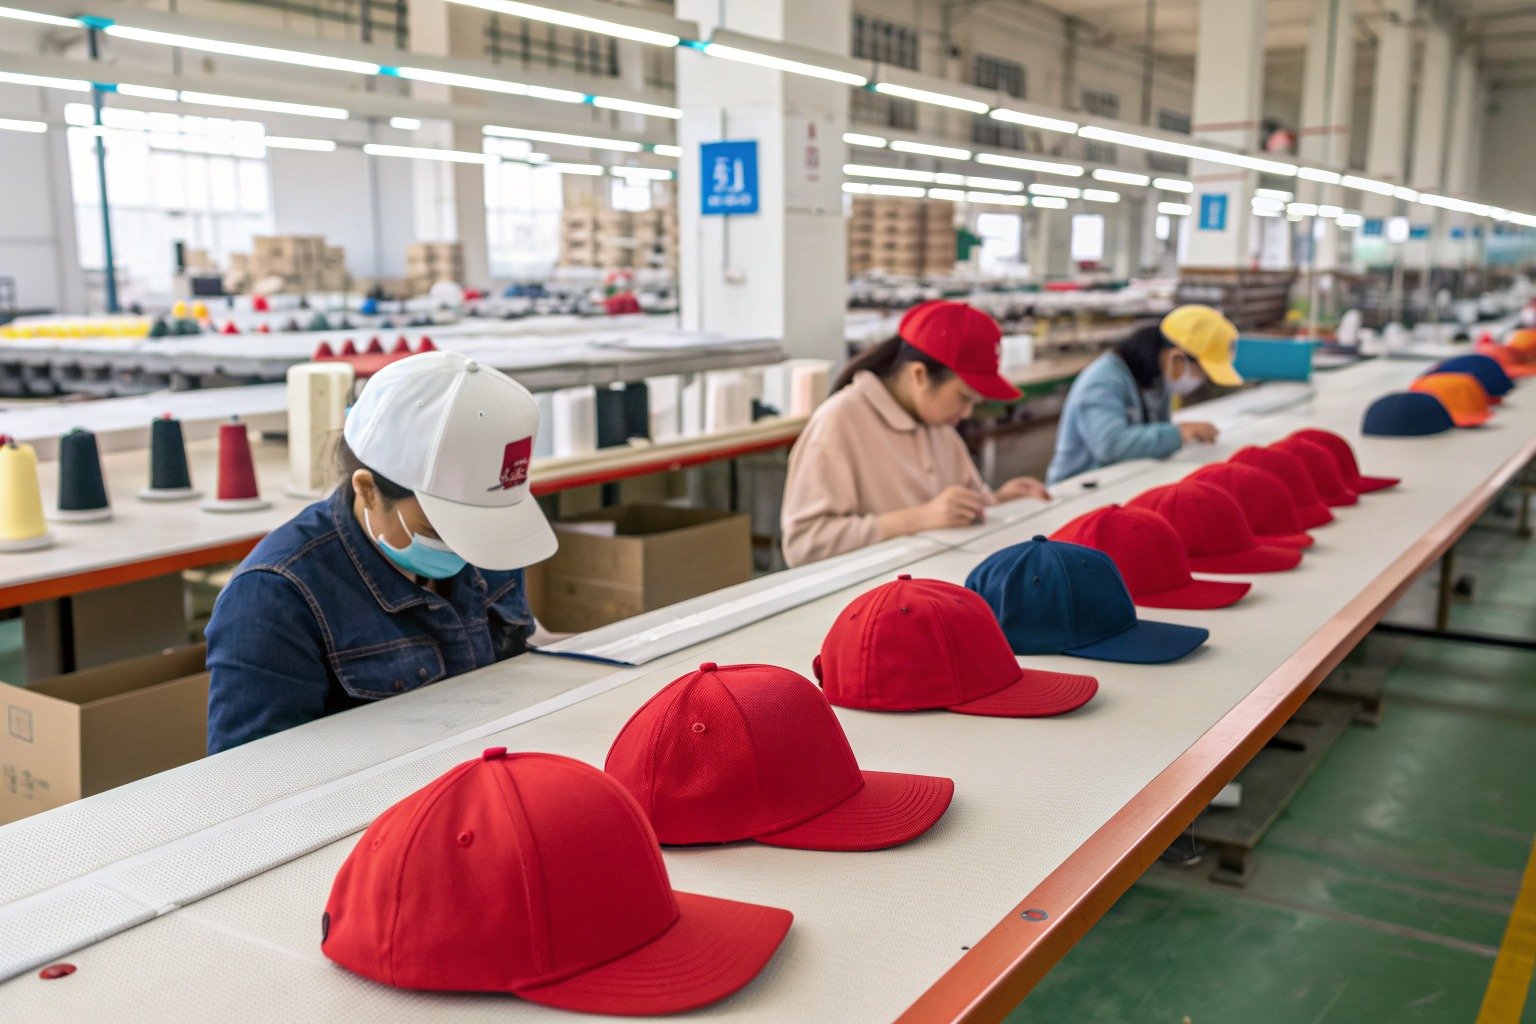
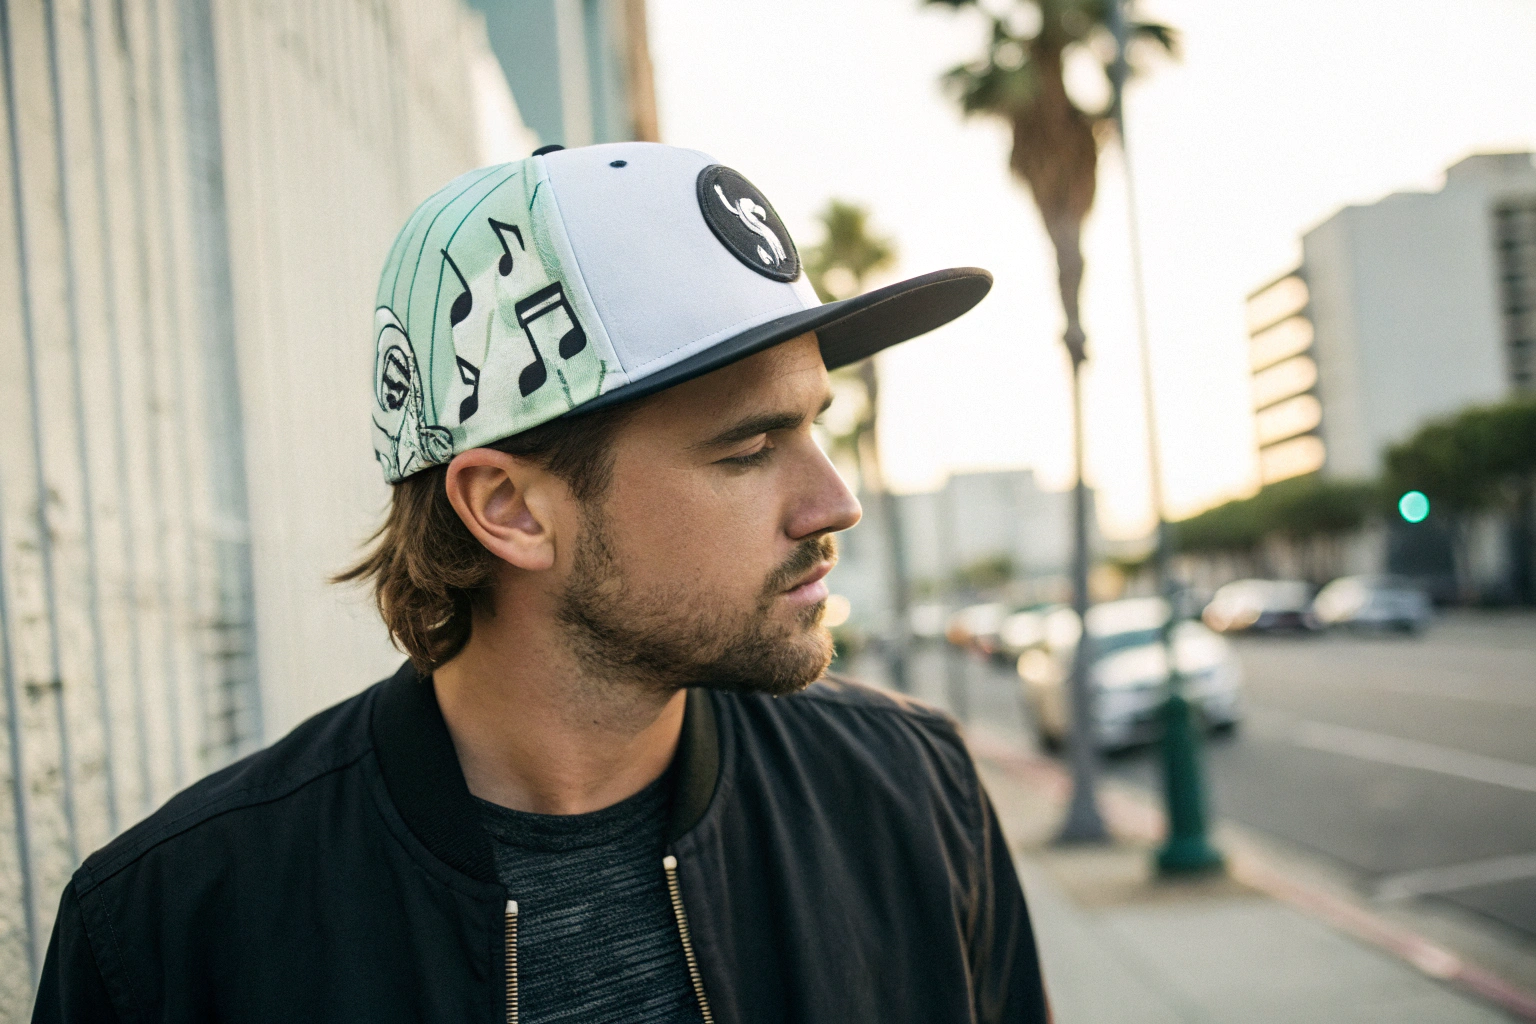
A startup streetwear brand founder from Los Angeles called me on a Monday morning in late April. He had a launch event scheduled for the first weekend of June. A well-known musician had agreed to wear his brand’s cap during a festival performance. The problem was that he had nothing to send. His previous supplier had been promising a sample for three weeks with nothing to show for it. He needed a custom printed foam front baseball cap, with his brand’s graphic on the foam panel, produced as a physical sample and shipped to LA in time for the event. He had exactly four weeks. I told him to send me the artwork file immediately. Our design team digitized the graphic that afternoon. The foam panel was screen printed on Tuesday. The cap was cut, sewn, and assembled on Wednesday and Thursday. The finished sample passed QC on Friday morning. We shipped it express via DHL that same Friday afternoon. It arrived at his studio in Los Angeles the following Monday, eight days after his initial panicked phone call. He sent me a photo of the musician wearing the cap on stage three weeks later. That is what speed-to-sample means in the real world.
Our factory can produce a sample of a custom printed baseball cap with a foam front in as fast as 5 to 7 business days from artwork approval, using our express sampling workflow and international priority courier service. This timeline covers the digital artwork preparation, screen preparation for the foam panel print, foam panel cutting and printing, cap crown and visor assembly, final sewing and finishing, quality control inspection, and express air shipping to major cities in North America and Europe. For designs that use standard cap colors and materials that we hold in our sample inventory, and with artwork that requires minimal revision, we have delivered foam front cap samples in as little as 5 business days from concept to delivery. The total door-to-door time to a US address is typically 7 to 10 days, including 2 to 3 days of express courier transit. For clients with trade show deadlines, buyer meetings, or influencer seeding opportunities, this speed can be the difference between winning an order and losing an opportunity.
The foam front baseball cap, often called a trucker cap or a foam mesh cap, is an iconic silhouette in streetwear, sports merchandising, and promotional apparel. The foam front panel provides a unique printing surface. It takes ink differently than fabric. It has a slight texture and a specific surface energy that affects print adhesion. Printing on foam requires different screens, different inks, and different curing conditions than printing on cotton or polyester twill. Not every cap factory has the expertise or the equipment to do it well, and even fewer can do it fast. At AceAccessory, foam front cap production is a core capability, and our rapid sampling cell is designed to turn concept into physical sample in days, not weeks. Let me walk you through exactly how we achieve that speed and what factors can affect the timeline.
What Is the Standard Sampling Timeline for a Foam Front Cap
The sampling timeline for a custom foam front baseball cap is determined by a sequence of operations. Each operation has a minimum time requirement. Some operations can be accelerated. Others cannot. Understanding the sequence helps you plan your project realistically and communicate your deadlines effectively to your factory partner. The standard timeline assumes that the factory has the necessary materials in stock and that the artwork is provided in a production-ready format. The clock starts when the artwork is approved, not when the initial inquiry email is sent. The artwork approval process itself can take anywhere from a few hours to several days, depending on the complexity of the design and the responsiveness of the client.
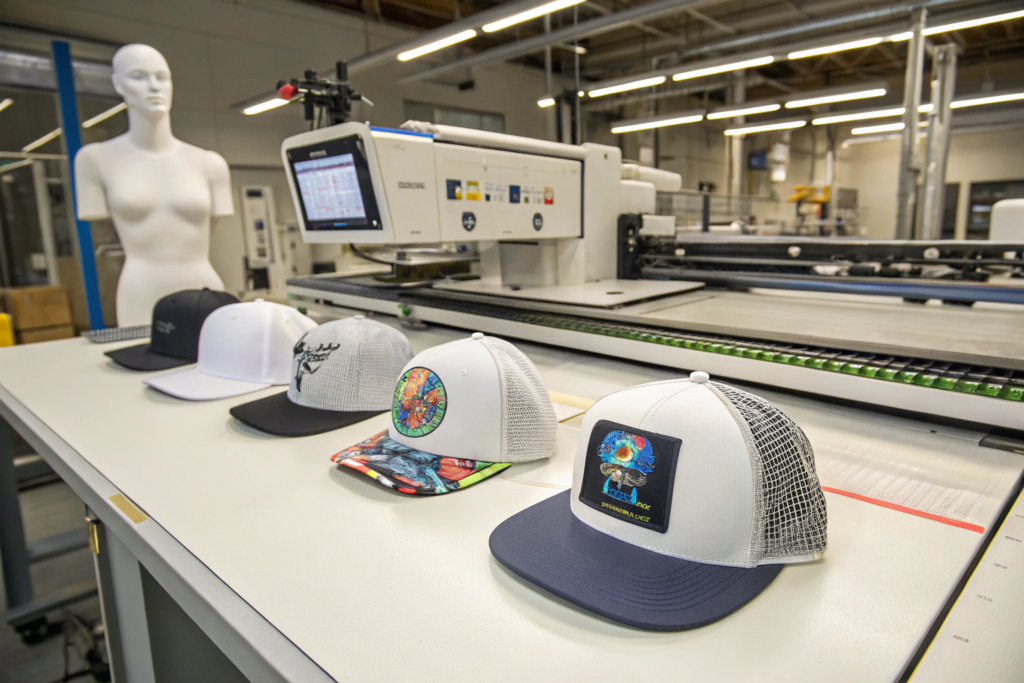
The standard sampling timeline for a custom printed foam front baseball cap breaks down into five sequential stages. Stage one, artwork preparation and screen making, takes 1 to 2 days. The artwork is color-separated, films are output, and screens are coated, exposed, and washed out. Stage two, foam panel printing, takes 1 day. The foam panels are screen printed with the approved design and the ink is cured. This stage may require an extra day if multiple colors are printed and each color requires its own screen, print pass, and curing cycle. Stage three, cap cutting and preparation, takes 1 to 2 days. The crown panels, the visor, the sweatband, and the closure are cut and prepared. This stage runs partially in parallel with printing. Stage four, cap sewing and assembly, takes 1 to 2 days. The printed foam front panel is sewn to the mesh back panels, the visor is attached, the sweatband is sewn in, and the closure is fitted. Stage five, finishing, QC inspection, and packing, takes 1 day. The finished cap is inspected for print quality, stitching accuracy, and overall appearance. The total standard timeline is 5 to 7 business days for a sample with a one or two-color print, using standard materials from our sample inventory.
This timeline is achievable when everything runs smoothly. It requires that the artwork is clean and print-ready, that the materials are in stock, that no special-order components are needed, and that the client approves any checkpoints without delay. Let me explain the two most time-critical stages in more detail.
How Long Does Screen Preparation for Foam Printing Take?
Screen preparation is the foundation of the entire sampling timeline for a printed foam front cap. Foam printing is almost exclusively done with screen printing because the foam surface does not accept digital printing methods well. The foam is a closed-cell material with a slightly textured, non-absorbent surface. Screen printing applies a thick layer of ink that sits on top of the foam and bonds through a combination of adhesion and heat curing. The screen-making process for foam printing is similar to screen printing on textiles, with a few important differences. The screen mesh count is lower, typically 80 to 110 threads per inch, to allow a heavier ink deposit. The ink is a specialized plastisol or water-based ink formulated for adhesion to foam. The curing temperature is lower than textile curing to prevent the foam from melting or deforming. The screen preparation process begins with the artwork. The design is color-separated. If the design has two colors, two separate screens are made. Each color is output as a black film positive on a high-resolution imagesetter. The film is placed on a screen that has been coated with a light-sensitive emulsion. The screen is exposed to UV light, which hardens the emulsion where the film is clear. The unexposed emulsion, where the design blocked the light, is washed out with water, leaving open mesh in the shape of the design. The screen is dried, inspected for pinholes, and taped. This entire process, from film output to finished screen, takes 4 to 8 hours per screen. Two screens can be made in a single day. If the design is a single color, screen preparation can be completed in one day. If the design is complex, with four or more colors, screen preparation can take two days. The screen-making stage is the one part of the timeline that is difficult to accelerate significantly. The emulsion exposure and washout require specific time. Rushing leads to poor screen quality, pinholes, and a substandard print. The most effective way to save time in this stage is to provide print-ready, color-separated artwork files, eliminating the need for our design team to do the separation work.
What Factors Can Accelerate the Foam Cap Sampling Process?
Several factors can compress the standard timeline, and understanding them allows you to make informed decisions when speed is critical. The single most impactful accelerator is artwork simplicity. A single-color design in a solid color, with no gradients, no fine details, and no tight registration requirements, is the fastest to print. One screen, one print pass, one curing cycle. A four-color process design with tight registration is the slowest. Four screens, four print passes, careful alignment between each pass, and potentially a flash cure between colors. Choosing a one-color design can cut a full day from the timeline. The second accelerator is material availability. Our sample inventory includes a range of standard foam colors, mesh colors, visor colors, and closure types. If your design can use these stock materials, we can begin immediately. If your design requires a custom-dyed foam color or a special-order mesh, the sampling timeline is extended by the procurement time for those materials, which can be 5 to 10 days. The third accelerator is closure simplicity. A standard plastic snapback closure or a fabric strap with a metal buckle is stocked and available immediately. A custom-printed closure strap, a leather strap with a branded emboss, or a unique hardware piece requires additional sampling time. The fourth accelerator is artwork approval speed. If you provide a print-ready file that is correct the first time, we move directly to screen making. If the artwork requires revisions, multiple proofing rounds, or a physical print test for color approval, each round adds at least a day. The fastest projects are those where the client provides a vector artwork file in Adobe Illustrator format, with colors specified as Pantone numbers, and approves the digital proof within hours. The fifth accelerator is shipping method. Express courier, DHL, FedEx, or UPS, delivers a sample package to a major US or European city in 2 to 3 business days. Economy shipping takes 5 to 10 days. The difference in cost is modest for a small sample package, and the time savings are significant.
How Does the Foam Printing Process Differ From Fabric Printing
Printing on foam is a specialized skill within the broader screen printing discipline. Foam is a fundamentally different substrate from fabric, and the printing process must be adapted accordingly. A printer who is experienced with fabric caps but not foam caps will produce substandard results, ink that cracks, peels, or melts the foam. Understanding the differences helps you appreciate why not every cap factory can produce a quality foam front sample, and why choosing a factory with specific foam printing expertise matters.
The foam printing process differs from fabric printing in four critical ways. The ink type is different. Fabric printing uses plastisol or water-based inks that are formulated to penetrate the fabric fibers and bond mechanically. Foam printing uses a specialized plastisol ink with an adhesion promoter that bonds chemically to the foam surface. The ink must be flexible enough to bend with the foam without cracking, and it must not contain solvents that can attack the foam material. The screen mesh count is different. Fabric printing uses higher mesh counts, typically 156 to 230 threads per inch, to deposit a thin ink layer that becomes part of the fabric. Foam printing uses lower mesh counts, 80 to 110 threads per inch, to deposit a thicker ink layer that sits on the foam surface and provides opacity and coverage. The curing temperature is different. Fabric inks are cured at 160 to 170 degrees Celsius for 60 to 90 seconds. Foam inks must be cured at a lower temperature, typically 120 to 130 degrees Celsius, for a longer time, to prevent the foam from melting, shrinking, or deforming. The surface preparation is different. Fabric does not require surface preparation before printing. Foam may require a light surface treatment, such as a corona discharge or a primer wipe, to increase the surface energy and improve ink adhesion. Without this preparation, the ink may bead up on the foam surface or peel off after curing.
The quality of a foam print is judged by the opacity, the color vibrancy, the edge sharpness, the adhesion, and the flexibility. A good foam print is opaque, with the foam color not showing through. It has clean, sharp edges with no bleeding. It adheres securely and does not peel when scratched. And it flexes with the foam without cracking. These qualities are achieved through the correct combination of ink, screen, curing, and surface preparation. Our foam printing team has years of specialized experience, and we test every new ink batch and every new foam lot for adhesion and flexibility before production begins.
What Ink Types Are Compatible With EVA Foam Cap Panels?
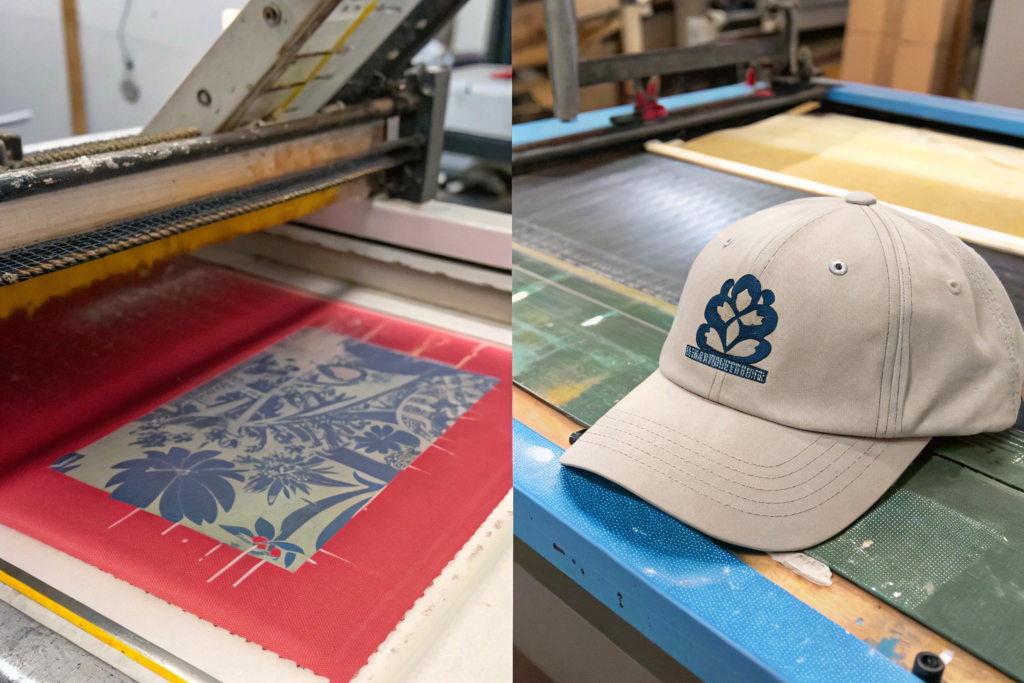
The foam used in baseball cap front panels is typically EVA, ethylene-vinyl acetate, a closed-cell foam that is lightweight, flexible, and has a smooth, slightly rubbery surface. EVA is the industry standard for foam front caps, and it is compatible with several ink types, each with its own characteristics. The most common ink for EVA foam caps is a specialized plastisol ink. Standard textile plastisol will not adhere to EVA. The specialized plastisol contains an adhesion promoter, typically a modified acrylic resin, that creates a chemical bond with the EVA surface. The ink is thick, opaque, and produces a print with a slight rubbery texture that matches the feel of the foam. It is cured at a low temperature, around 120 degrees Celsius, for two to three minutes. The cured print is flexible, durable, and resistant to cracking and peeling. Water-based foam inks are an alternative for brands that want a softer, more eco-friendly print. These inks use a water-based polyurethane or acrylic binder with an adhesion promoter. The print has a softer hand feel than plastisol, almost like the foam itself. The color vibrancy is slightly less than plastisol, and the opacity on dark foam colors may require an under-base white print. Water-based inks are cured by evaporation and heat, at similar low temperatures to plastisol. Solvent-based inks are a third option, used primarily for high-gloss, metallic, or specialty effects. These inks contain a solvent that slightly etches the EVA surface, creating a very strong bond. The downside is that solvent-based inks have a strong odor and contain volatile organic compounds that require proper ventilation and handling. They are less common for apparel accessories due to environmental and health considerations. Regardless of the ink type, the critical requirement is compatibility with EVA foam and a low curing temperature. We test every ink batch on a sample of the actual foam that will be used in production. The test print is cured, allowed to cool, and then subjected to an adhesion test, a stretch test, and a crocking test. Only inks that pass all three tests are approved for use.
How Do You Prevent Foam Melting During the Curing Process?
Foam melting is the nightmare scenario in foam cap printing. The foam panel goes into the curing oven looking crisp and beautifully printed. It comes out looking like a shriveled, shrunken, wavy mess. The entire piece is ruined. The melting temperature of EVA foam is typically between 70 and 90 degrees Celsius, depending on the specific density and formulation. This is significantly lower than the curing temperature of most textile inks, which cure at 160 to 170 degrees Celsius. Running a foam panel through a standard textile curing oven is a guaranteed disaster. Preventing foam melting requires a multi-pronged approach. The first line of defense is the ink formulation. The inks we use for foam printing are specifically designed to cure at low temperatures, typically 110 to 130 degrees Celsius. This is achieved through the use of low-temperature curing agents and cross-linkers that activate at lower energy levels. The second line of defense is the curing equipment. We use an infrared conveyor dryer with precise temperature control and adjustable belt speed. The temperature is set at 120 degrees Celsius for the heating elements, but the actual temperature experienced by the foam panel is lower because the panel passes through the heat zone quickly. The dwell time, the time the panel spends under the heat, is typically 60 to 90 seconds. This is enough time to cure the ink but not enough time for the heat to penetrate deeply into the foam and cause melting. The third line of defense is temperature monitoring. The foam panel itself is monitored during the curing process using a non-contact infrared thermometer. The surface temperature of the foam is measured as it exits the oven. If the temperature exceeds 75 degrees Celsius, the belt speed is increased or the oven temperature is reduced. The fourth line of defense is the use of a heat sink. The foam panel is placed on a flat, cool metal platen or a thick piece of aluminum during curing. The metal absorbs some of the heat and prevents the foam from overheating. The platen also helps the panel stay flat during the curing process, preventing warping. The fifth line of defense is post-cure cooling. The printed panel is removed from the oven and placed on a flat cooling rack, where it is allowed to cool to room temperature in a well-ventilated area. Rapid cooling or exposure to cold drafts can cause the foam to contract unevenly and warp. Slow, even cooling preserves the flatness of the panel.
What Cap Components Can Affect the Sampling Speed
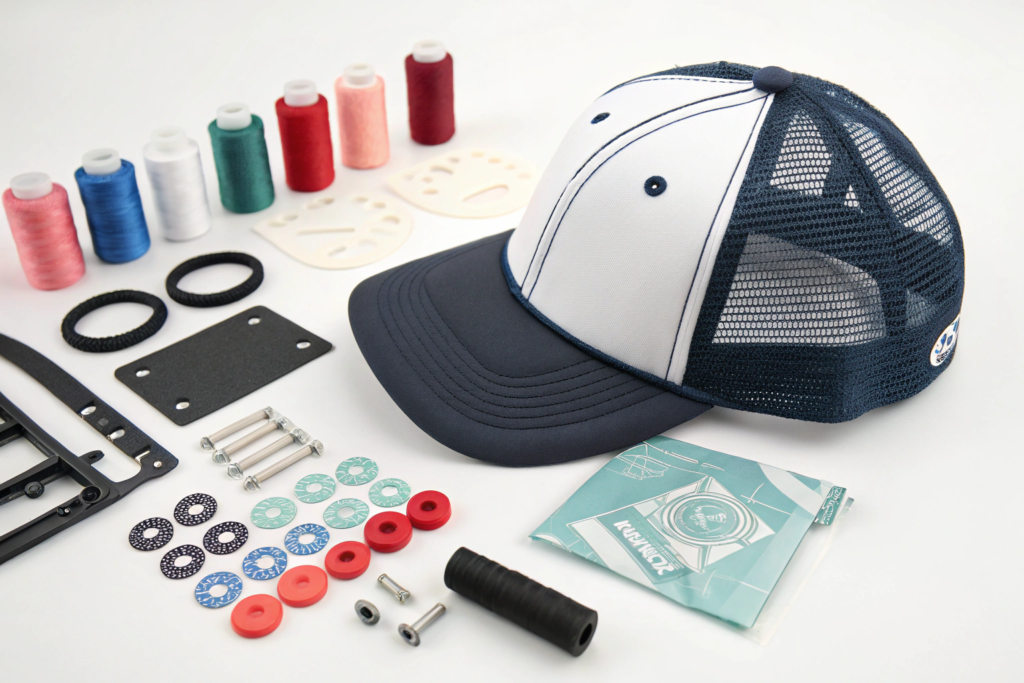
A baseball cap is a collection of components. The foam front panel is the star, but the supporting cast, the mesh, the visor, the sweatband, and the closure, all affect the sampling timeline. A delay in any one component delays the entire sample. The fastest samples use components that are in stock and ready to go. Custom or special-order components add time. Understanding which components are standard and which are custom helps you make design decisions that support your timeline.
The cap components that can affect sampling speed are the mesh back panels, the visor, the sweatband, and the closure. Standard black or white polyester mesh is always in stock and adds zero time. Custom-dyed mesh in a specific Pantone color adds 5 to 10 days for dyeing and finishing. The visor is typically made from a pre-formed plastic insert covered with fabric. Standard visor colors, black, white, navy, and khaki, are in stock. Custom visor colors require fabric dyeing, which adds time. The sweatband is a standard cotton or polyester twill tape in black or white. Custom printed or branded sweatbands require an additional printing step, which adds 1 to 2 days. The closure is the most variable component. A standard plastic snapback closure in black or white is in stock. A fabric strap with a metal buckle is in stock in standard colors. A custom-printed closure strap, a leather strap, or a metal clasp requires additional sourcing or manufacturing time. The top button, the small covered button at the crown, is fabric-covered. Standard colors are in stock. A custom-covered button requires a small piece of the specific fabric used elsewhere on the cap. If that fabric is a stock material, the button is fast. If it is a custom-dyed fabric, the button timeline is tied to the fabric timeline.
The smartest approach for a fast sample is to design with stock components. Use a black mesh back, a black visor, a black sweatband, and a black plastic snapback. Let the printed foam front panel be the hero, and keep everything else simple and standard. This combination can be sampled in the fastest possible timeline. If your design requires custom components, build that expectation into the timeline from the start. Let me explain the two most variable components.
Does the Back Mesh Material Choice Change Production Time?
The back mesh is the largest component after the foam front panel, and the choice of mesh affects both the timeline and the aesthetic. Standard polyester mesh in black or white is a stock item that we hold in inventory at all times. It is available in several hole sizes, from fine micromesh to the classic wide-hole trucker mesh. If your design uses one of these standard options, the mesh is pulled from stock and cut immediately. No waiting. Custom-colored mesh is a different story. If your brand requires a specific Pantone color for the mesh, the polyester mesh fabric must be sourced and dyed. The dyeing process for polyester mesh is similar to dyeing any polyester fabric. The greige mesh is loaded into a dyeing machine, dyed to the specified color, rinsed, dried, and heat-set. The minimum order quantity for custom dyeing is typically a full dye lot, which may be hundreds or thousands of meters, far more than is needed for a single sample. We can sometimes obtain a sample length of custom-dyed mesh from our suppliers without a full dye lot minimum, but this takes time and the supplier may charge a premium. The custom mesh dyeing process adds 5 to 10 days to the timeline. Another mesh variable is the material blend. Some brands prefer a cotton-polyester blend mesh for a softer, more vintage look. Cotton mesh is not a standard stock item. It must be sourced specifically, adding time. The mesh choice also affects the sewing process. Different mesh weights and stretch characteristics require different machine settings. A sample made with a non-standard mesh may require additional sewing setup time. For the fastest sample, a standard black or white polyester mesh in the classic trucker hole size is the optimal choice.
How Do Snapback Versus Strap Closures Impact Lead Times?
The closure is the functional mechanism at the back of the cap that allows the wearer to adjust the size. The two most common types are the plastic snapback and the fabric strap with a metal buckle or a tri-glide slide. The plastic snapback is the standard and the fastest. It consists of a molded plastic strip with pegs on one side and a matching strip with holes on the other. The two strips are sewn into the back opening of the cap. The wearer snaps the pegs into the holes to adjust the size. We stock black and white plastic snapback closures in all standard sizes. They are available immediately. A sample with a snapback closure can be completed as fast as the other components allow. The fabric strap closure is slightly slower but still fast if standard colors are used. The fabric strap is a piece of the same or coordinating fabric, folded and sewn into a thin strap. One end is sewn to the cap. The other end passes through a metal buckle or a tri-glide slide and is secured with a hook-and-loop fastener or simply tucked back. A standard black or white fabric strap with a silver or brass buckle is a stock component. It adds about 30 minutes of sewing time compared to a snapback, which is negligible in the overall timeline. A custom fabric strap, made from a custom-dyed or printed fabric, adds time because the fabric must be produced before the strap can be made. The timeline for a custom strap is tied to the timeline for the custom fabric. A leather strap closure is a premium option that is growing in popularity for elevated streetwear and boutique brands. Leather straps are not stock items. They must be cut, finished, and sometimes embossed with a brand logo. The leather sourcing, cutting, and finishing adds 3 to 5 days to the timeline. A custom metal buckle or clasp, such as a brand-embossed metal slide or a magnetic closure, adds the most time. These components are manufactured by a specialized hardware supplier. The tooling for a custom buckle takes 10 to 14 days, and the minimum order quantity is typically high. For a single sample, a custom metal closure is usually impractical. We recommend using a stock metal buckle for the sample and developing the custom hardware for production, where the MOQ and lead time are justified.
What Quality Checks Are Performed on a Foam Front Cap Sample
A sample is not just a demonstration of the design. It is a proof of concept for the production process. The quality of the sample predicts the quality of the production run. A sample that is poorly printed, sloppily sewn, or dimensionally inaccurate tells the client that the factory is not capable of producing a quality product. A sample that is flawless in every detail gives the client confidence to place the production order. The QC inspection of a foam front cap sample is a rigorous, multi-point process. Every aspect of the cap is examined, measured, and documented. The inspection report is sent to the client along with the physical sample, providing a professional, transparent record of the sample’s quality.
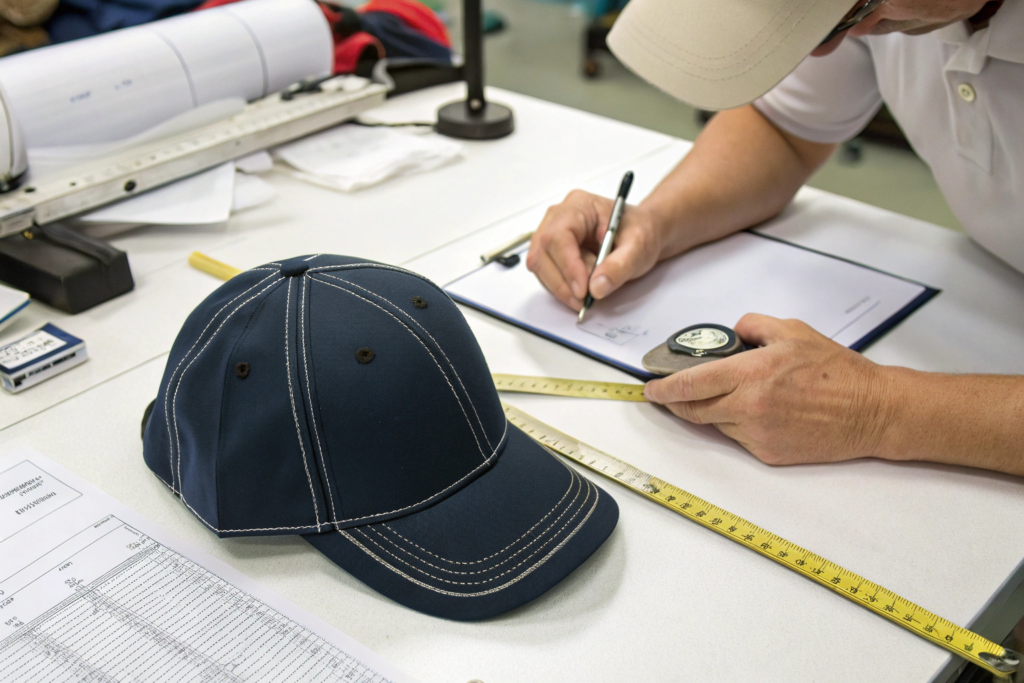
The quality checks performed on a foam front cap sample cover four categories. Print quality checks include opacity, where the foam color should not show through the print under normal viewing conditions. Edge sharpness, where the print edges should be clean and crisp, with no bleeding, feathering, or sawtoothing. Color accuracy, where the printed colors are compared to the approved Pantone reference under a D65 daylight lamp. Adhesion, where a tape test is performed to verify the ink is securely bonded to the foam and does not peel. Flexibility, where the printed foam panel is gently flexed to verify the ink does not crack. Stitching quality checks include stitch density, measured in stitches per inch against the specification. Seam evenness, where the distance from the seam to the panel edge is consistent along the entire length. Thread tension, where the stitches are balanced between the top and bottom threads, with no looping, puckering, or thread breaks. Assembly quality checks include the visor attachment, where the visor is symmetrically attached and the curve is smooth and even. The closure function, where the snapback or strap operates smoothly and holds securely. The sweatband attachment, where the sweatband is sewn flat and evenly, with no twists or bunching. Dimensional checks include the cap circumference, the crown height, and the visor length, all measured against the approved specification with a tolerance of plus or minus 3 millimeters.
Any defect found during the sample QC inspection is documented, photographed, and corrected before the sample is approved for shipping. If the defect is major, such as poor print adhesion or incorrect dimensions, the sample is rejected and remade. The sample is not shipped until it meets the quality standard. This rigor at the sample stage prevents misunderstandings and quality disputes later, during production. Let me detail two of the most critical sample QC checks.
How Do You Test Print Adhesion on a Foam Surface?
Print adhesion is the single most important quality characteristic of a printed foam front cap. The print can be beautifully designed, perfectly registered, and exactly the right color, but if it peels off the foam after a few wears, the product is a failure. The adhesion test is a simple but effective destructive test that is performed on every foam print sample. The standard method is the cross-hatch tape test, adapted from ASTM D3359. A sharp blade is used to cut a grid pattern of small squares, typically 10 by 10, into the printed surface, cutting through the ink layer to the foam surface. A piece of standard pressure-sensitive tape, typically 3M 600 or equivalent, is pressed firmly over the grid. The tape is then pulled away sharply at a 180-degree angle. The printed grid is inspected for ink removal. A passing result is no more than 5 percent of the ink squares removed. A perfect result is zero ink removal. The test is performed on a sample area of the print, typically a corner or an edge that is not visually prominent. The test is destructive, so it is performed on an area that will be hidden during normal wear, or on a separate test print made at the same time as the sample. In addition to the tape test, a scratch test is performed. A fingernail or a dull plastic scraper is drawn across the print surface with moderate pressure. The ink should not scratch off or leave a visible mark. A flex test is also performed. The printed foam panel is bent back and forth several times to simulate the flexing that occurs when the cap is put on and taken off. The print is then inspected for cracks. A good foam print is flexible and moves with the foam without cracking. If any of these adhesion tests fails, the ink formulation, the curing process, or the foam surface preparation must be investigated and adjusted. The sample is remade and retested until it passes.
What Dimensional Tolerances Are Acceptable for a Cap Sample?
Dimensional accuracy is the foundation of a good fit. A cap that is too small will not fit the intended head size. A cap that is too large will look sloppy. A cap where the visor is crooked or the crown is lopsided will look cheap, no matter how good the print is. The dimensional QC check verifies that the sample cap matches the approved specification. The key measurements are the internal circumference, measured along the sweatband with the closure set to the middle position. The standard adult cap circumference is 58 centimeters, with a tolerance of plus or minus 1 centimeter. The crown height, measured from the center of the sweatband at the front to the top of the crown. The standard crown height is 11 to 12 centimeters, depending on the style, with a tolerance of plus or minus 3 millimeters. The visor length, measured from the visor attachment seam to the front edge of the visor at the center. The standard visor length is 7 to 8 centimeters, with a tolerance of plus or minus 2 millimeters. The visor symmetry, measured by placing the cap on a flat surface and checking that the visor is centered and straight relative to the crown. A visual check is performed by looking at the cap from the front and from the top. Any visible asymmetry is a defect. The foam panel centering, where the foam front panel should be centered on the front of the cap, with the mesh panels evenly distributed on the sides and back. The seams between the foam and mesh panels should be straight and vertical. A panel that is skewed or off-center is a defect. These measurements are taken with a soft measuring tape and a metal ruler. The sample cap is placed on a cap measurement form or a head mannequin to check the overall fit and appearance. The measurements are recorded on the QC report. If any measurement is outside the tolerance, the pattern is adjusted, and the sample is remade. Dimensional accuracy at the sample stage is the guarantee that the production caps will fit consistently.
Conclusion
The speed of custom printed foam front baseball cap sampling is a function of preparation, expertise, and logistics. The physical transit from our factory to your office is the fastest part of the process, just two to three days by express courier. The real speed comes from what happens inside the factory. A dedicated rapid sampling cell with in-house screen making, specialized foam printing expertise, and a complete inventory of stock materials compresses the production timeline to as little as five business days. The choice of a single-color design, stock mesh and visor colors, and a standard snapback closure is the recipe for the fastest possible sample. Custom colors, custom closures, and complex multi-color prints add time, and rightfully so, because each custom element requires its own process.
We have walked through the standard timeline, the five to seven business days from artwork approval to finished sample, and the factors that can accelerate or delay it. We have explored the specialized world of foam printing, the inks, the curing temperatures, and the surface preparation that separate a quality foam print from a peeling, cracking failure. We have examined the cap components, the mesh, the visor, the sweatband, and the closure, and how each one can be a time-saver or a time-consumer. And we have detailed the quality checks, the print adhesion test, the dimensional measurements, and the overall appearance inspection, that ensure the sample that leaves our factory is a true representation of the production quality you will receive.
At AceAccessory, foam front cap production is a passion. We love the combination of a classic, iconic silhouette with bold, creative graphics. Our sampling team understands the urgency of a launch event, a buyer meeting, or a celebrity seeding opportunity. They work with the focus and speed that those deadlines demand, without compromising the quality checks that protect your brand. We have shipped foam front cap samples to streetwear startups, sports merchandisers, and corporate promotional clients all over the world, and the feedback is consistently the same. The sample arrived fast, and it looked amazing.
If you have a custom printed foam front baseball cap design that you need sampled quickly, for a pitch, a photoshoot, or a production order, I invite you to contact us. Reach out to our Business Director, Elaine, at elaine@fumaoclothing.com. Tell her about your design, your colors, your timeline, and your delivery address. She will provide a sampling timeline estimate, a quotation, and a checklist of the artwork and material specifications we need to get started. Send us your artwork today, and you could be holding the physical sample in your hands next week. Let us turn your cap design into reality, fast.