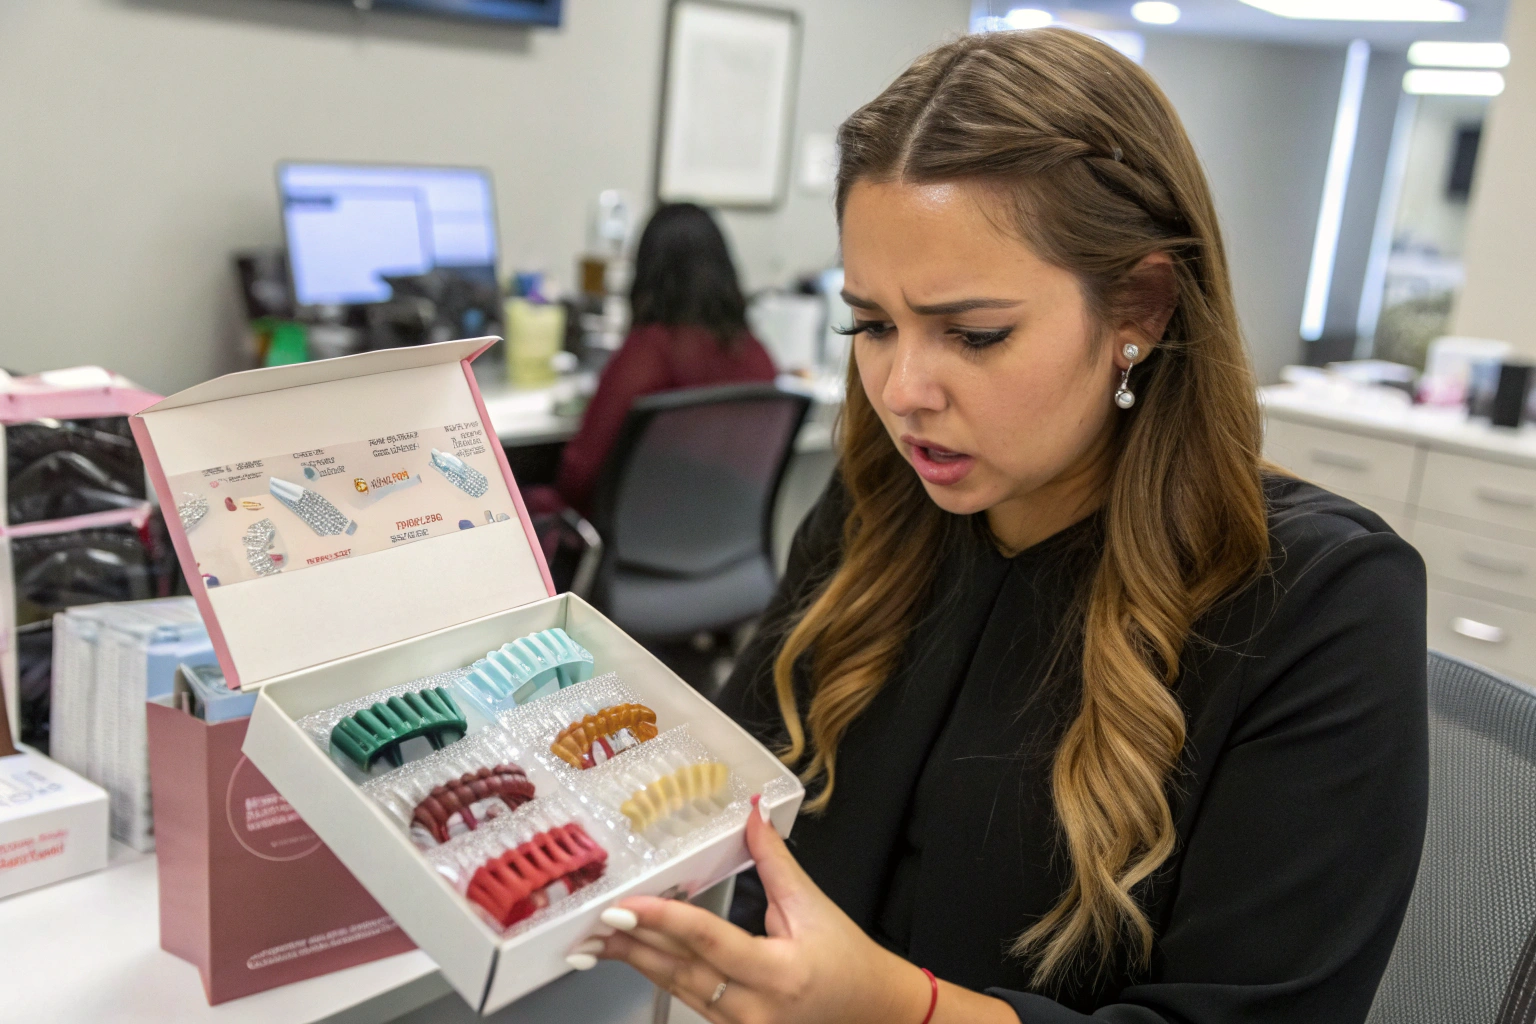
A beauty supply distributor from Atlanta called me last spring with a problem that was hurting her brand’s reputation. She had been sourcing claw hair clips from a low-cost factory for two seasons. The clips looked beautiful in their retail packaging. The colors were on-trend. The spring tension felt good in the hand. But her customers were complaining. The teeth of the clips were snagging their hair. Some customers reported that the tips of the teeth felt sharp against their scalp. A few had even found small, almost invisible burrs of plastic on the tooth tips that were catching and breaking delicate hair strands. Her return rate was climbing. Her online reviews were suffering. She could not see the defects with her naked eye. The teeth looked perfectly smooth to her. She needed to understand how these microscopic flaws were getting past the factory’s quality control, and she needed a factory that could catch them before the clips ever left the loading dock.
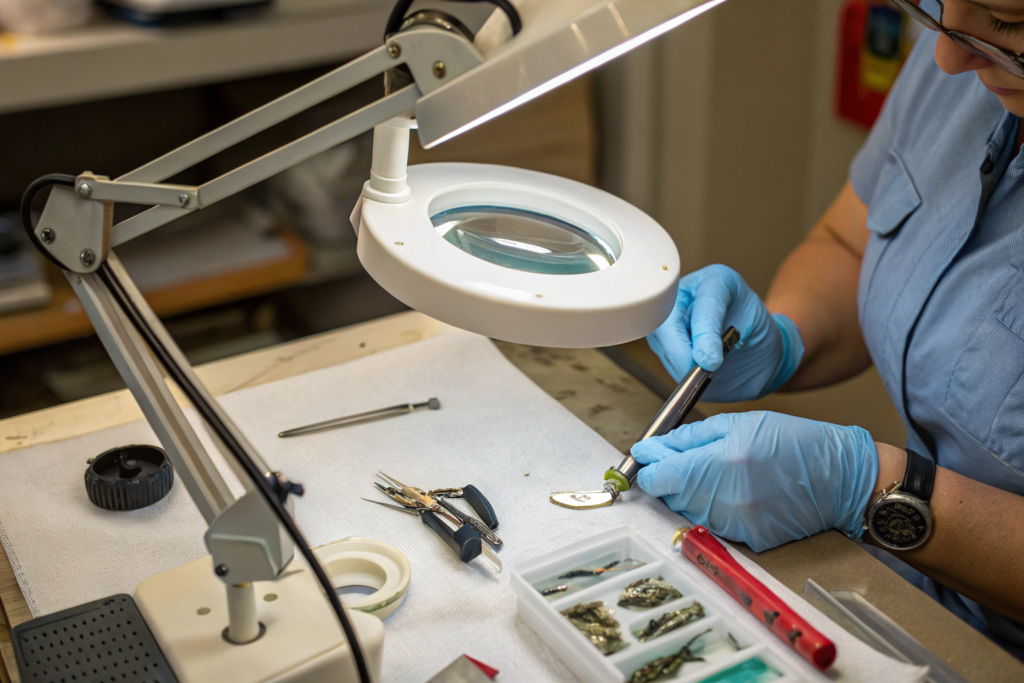
Our QC team uses illuminated magnifying lamps with 3x to 5x optical magnification to inspect every critical surface of hair clip teeth during production. The inspection protocol covers four specific checkpoints. Tooth tip condition, where every tooth tip is examined for burrs, sharp edges, mold flash, and incomplete filling that could snag hair. Tooth spacing consistency, where the distance between adjacent teeth is measured under magnification to ensure the clip will grip hair evenly without pinching or pulling. Tooth surface finish, where the surface of each tooth is checked for roughness, sink marks, or flow lines that could abrade the hair cuticle. And tooth base integrity, where the point where each tooth meets the body of the clip is inspected for stress cracks, micro-fractures, or weak points that could cause the tooth to snap off during use. This inspection is performed at three stages. Incoming inspection of the first molded parts after the injection molding machine is set up. Inline inspection during the production run, where samples are pulled every hour. And final inspection, where a statistically representative sample from the finished batch is examined under the magnifying lamp. Any clip with a tooth defect is rejected, and if the defect rate exceeds the AQL threshold, the entire batch is quarantined for re-inspection or rework.
A hair clip tooth is a precision-engineered feature. It may be only 10 to 15 millimeters long and 2 to 3 millimeters wide, but its geometry, its surface finish, and its structural integrity determine whether the clip will glide smoothly through the hair or catch, pull, and break it. The human eye, unaided, cannot reliably detect the tiny burrs, sharp edges, and micro-cracks that cause hair damage. These defects are often smaller than 0.1 millimeters. A magnifying lamp, combining optical magnification with bright, shadow-free illumination, makes these invisible defects visible. At AceAccessory, magnifying lamp inspection is a standard, non-negotiable part of our quality control process for every hair clip we produce. Let me walk you through exactly how we do it and what we look for.
Why Is Magnified Inspection Necessary for Hair Clip Quality
Hair clip teeth are the functional interface between the accessory and the user’s hair. They must be smooth enough to glide without snagging, pointed enough to penetrate the hair, rounded enough to not scratch the scalp, and strong enough to withstand the repeated stress of opening, closing, and holding a section of hair. These requirements are in tension with each other. A very sharp tooth penetrates hair easily but can scratch the scalp and create a sharp stress concentration that is prone to breaking. A very rounded tooth is gentle on the scalp but may not grip fine hair effectively. The optimal tooth geometry is a precisely controlled compromise, and any deviation from that geometry, a burr, a sharp edge, a void, is a defect that will cause problems for the end user.
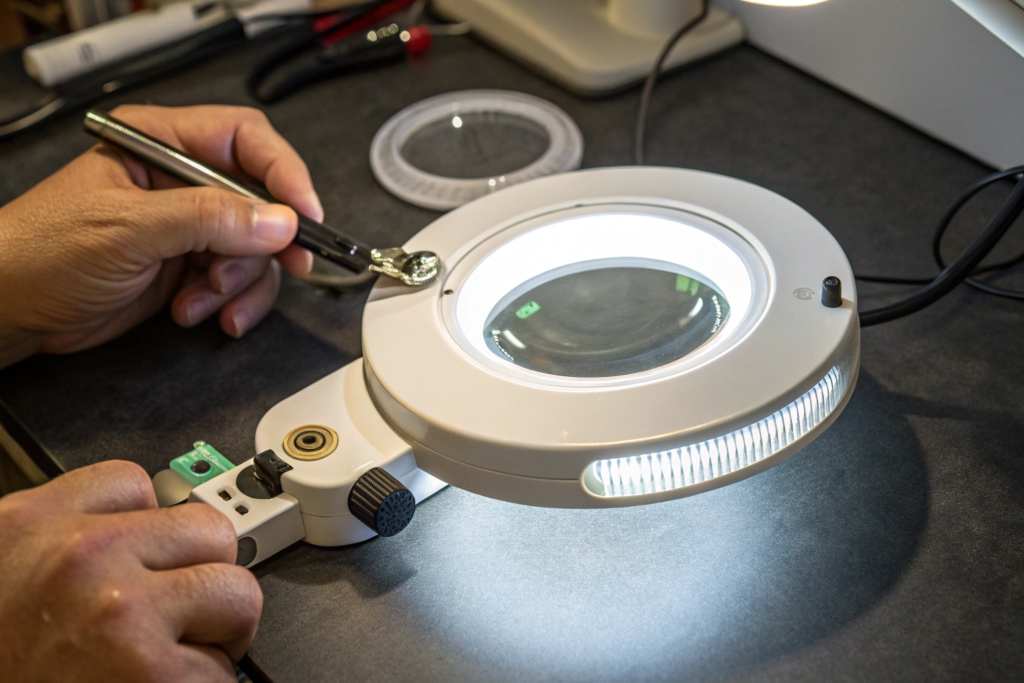
Magnified inspection is necessary for hair clip quality because the critical defects that affect hair safety and clip durability are invisible to the naked eye. A plastic burr on a tooth tip, formed when the injection mold wears and creates a slight gap where molten plastic seeps in, can be as small as 0.05 millimeters. This is roughly the thickness of a human hair. It is impossible to see reliably without magnification, but it is large enough to snag and break hair strands. A sharp parting line, the microscopic ridge where the two halves of the injection mold meet, can act like a tiny blade. Under normal lighting, it may appear as a faint line. Under magnification, its sharpness is revealed. A micro-crack at the tooth base, caused by residual molding stress or by premature ejection from the mold, may be invisible to the naked eye but will propagate over time, causing the tooth to snap off after weeks or months of use. Magnified inspection catches these defects at the point of production, before they reach the consumer. The magnifying lamp combines optical magnification with bright, color-corrected illumination. The light is typically a circular fluorescent tube or a ring of LEDs that surrounds the lens. This provides shadow-free illumination that is essential for inspecting three-dimensional objects like clip teeth. Shadows can hide defects. The even, bright light reveals them.
The investment in magnifying lamps and the time required for magnified inspection are not trivial. Each clip takes several minutes to inspect properly. But the cost of not inspecting, the returns, the negative reviews, the damaged brand reputation, is far greater. Let me detail the two most important aspects of magnifying lamp inspection.
What Magnification Level Is Needed for Tooth Inspection?
The optimal magnification level for hair clip tooth inspection is a balance between field of view and detail resolution. Too low a magnification, and the inspector cannot see the small defects. Too high a magnification, and the field of view is so narrow that inspection takes too long, and the inspector loses the context of the overall tooth shape. The sweet spot is 3x to 5x magnification. At 3x magnification, an object appears three times its actual size. A 0.1-millimeter burr appears as 0.3 millimeters, which is clearly visible to the human eye. The field of view is large enough to see an entire tooth or a group of several teeth at once. At 5x magnification, the detail is even clearer, but the field of view is smaller. The inspector must move the clip more frequently to cover all the teeth. We use 3x magnification for general inspection, scanning all teeth for obvious defects, and 5x magnification for detailed inspection of suspicious areas. Some magnifying lamps offer interchangeable lenses or adjustable magnification. The lamp is positioned on an articulated arm that allows the inspector to move it easily and to focus it on the specific area being inspected. The working distance, the distance between the lens and the clip, is typically 15 to 25 centimeters. This gives the inspector enough room to manipulate the clip with their hands or with tweezers. The magnifying lamp is also equipped with a bright, daylight-balanced light source, typically 5000 to 6500 Kelvin color temperature. This color temperature approximates natural daylight and allows the inspector to see the true color of the plastic, which is important for detecting discoloration or burn marks that indicate molding problems. The light intensity is adjustable, allowing the inspector to increase the brightness for detailed work or reduce it to avoid glare on shiny surfaces.
How Does a Magnifying Lamp Reveal Mold Flash on Teeth?
Mold flash is one of the most common and most damaging defects on injection-molded hair clip teeth. It occurs when molten plastic seeps into the tiny gap between the two halves of the injection mold. The gap can be caused by mold wear, by insufficient clamping force, by excessive injection pressure, or by a poorly maintained mold. The flash forms as a very thin, often translucent fin or wing of plastic attached to the tooth. On a tooth tip, flash can create a sharp, knife-like edge. On the side of a tooth, it can create a rough ridge. Under normal room lighting, flash is often invisible because it is thin, translucent, and blends with the surface of the tooth. Under a magnifying lamp with bright, directional illumination, flash is revealed. The inspector tilts the clip so that the light strikes the tooth from an angle. The flash, being a thin protrusion, casts a subtle shadow or catches the light differently than the surrounding surface. The inspector looks for these telltale signs. The edge of the tooth should be a clean, crisp line. Any wispy, irregular extension is flash. The inspector also runs a clean, gloved fingertip over the tooth surface. The tactile feedback is often the first clue. A rough or sharp sensation triggers a closer visual inspection under higher magnification. Once flash is identified, the inspector marks the clip as rejected. The mold technician is notified. The mold may need to be cleaned, the flash removed from the mold parting line, or the mold may need to be repaired or replaced if the wear is significant. The production run is paused until the flash problem is resolved. A single clip with flash is a defect. A batch of clips with flash indicates a mold problem that must be fixed.
What Specific Tooth Defects Are Caught Under Magnification
The magnifying lamp reveals a hidden world of defects on hair clip teeth. These defects fall into several categories, each with a different root cause and a different corrective action. The inspector is trained to identify each defect type, to understand its cause, and to record it accurately in the QC report. The defect data is analyzed over time to identify trends. If a particular defect type is increasing, it triggers an investigation into the molding process, the mold condition, or the material quality. The goal is not just to catch defective clips, but to eliminate the root causes of defects and continuously improve the production process.
The specific tooth defects caught under magnification are burrs and sharp edges, which are protrusions of plastic that create a rough or sharp surface capable of snagging and breaking hair. Mold flash, a thin fin of plastic at the mold parting line, which creates a sharp edge. Incomplete fill, also called a short shot, where the molten plastic did not completely fill the tooth cavity, resulting in a blunted, misshapen, or missing tooth tip. Sink marks, which are shallow depressions on the tooth surface caused by uneven cooling or insufficient packing pressure during molding, creating a rough, pitted texture. Flow lines, which are visible streaks or patterns on the tooth surface caused by the way the molten plastic flowed into the mold, indicating potential weak points. Stress cracks, which are fine, hairline fractures at the base of the tooth, often radiating from a sharp corner, caused by residual molding stress or by the mechanical stress of ejection from the mold. And contamination, which is foreign material, dust, degraded plastic, or colorant specks embedded in the tooth surface, creating a hard, rough point.
Each defect type has a specific appearance under magnification and a specific tactile feel. The inspector uses both visual and tactile cues. A gloved finger run gently over the tooth surface can detect a burr or a sharp edge that is visually subtle. The combination of visual and tactile inspection is highly effective. Let me detail the two most common and most damaging defect types.
How Do You Identify Burrs and Sharp Edges on Tooth Tips?
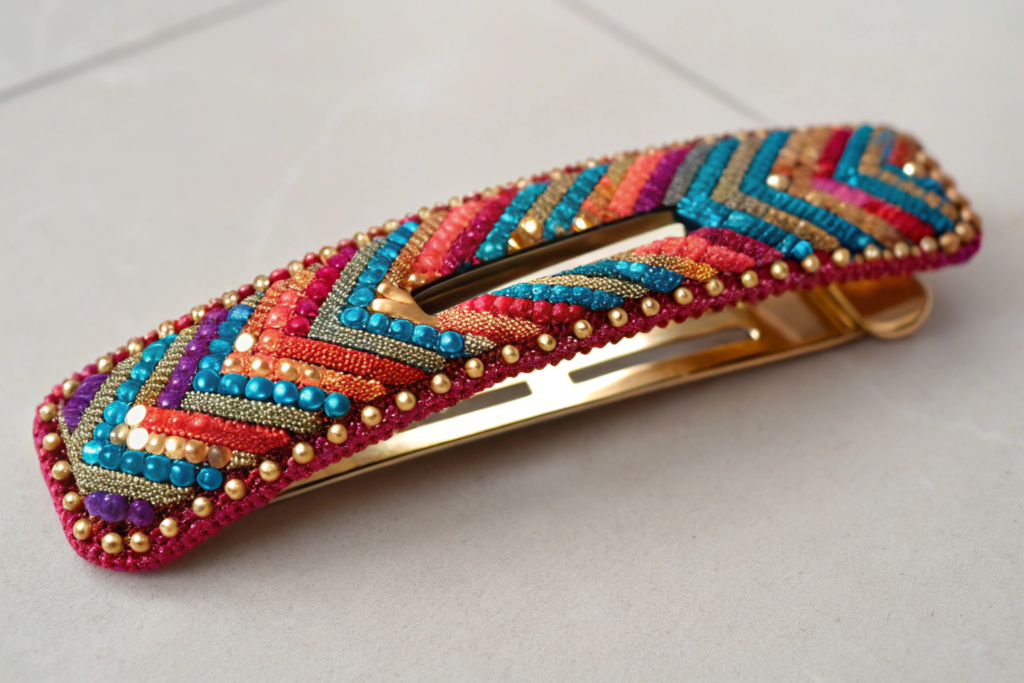
Burrs and sharp edges on tooth tips are the most direct cause of hair snagging and breakage. A tooth tip should be smooth and rounded, with a radius typically between 0.2 and 0.5 millimeters. This radius allows the tooth to slide between hair strands without catching. A burr is a small, irregular protrusion of plastic that disrupts this smooth profile. Under the magnifying lamp at 5x magnification, a burr appears as a tiny spike, a wisp, or a rough, jagged extension of the tooth tip. It often catches the light differently than the surrounding surface, appearing brighter or casting a small shadow. The inspector examines each tooth tip individually. The clip is rotated so that each tooth tip is viewed from multiple angles. The inspector looks for any deviation from the smooth, rounded profile. The tactile check follows. The inspector runs the pad of a gloved finger gently across the tooth tips. A burr feels like a tiny catch, a roughness, or a sharp point. The gloves are thin cotton or nitrile to preserve tactile sensitivity while protecting the clip from skin oils. If a burr is detected, the inspector examines it more closely to determine its cause. Is it a single, isolated burr, likely caused by a piece of dust or degraded plastic in the mold cavity? Is it a pattern of burrs on multiple teeth, likely caused by mold wear or a processing issue? The cause determines the corrective action. An isolated burr may be removed by a quick manual deburring with a fine abrasive pad, followed by re-inspection. A systemic burr problem requires stopping production and addressing the mold or process issue. The inspector documents the finding on the QC report, including the tooth number, the defect type, and the likely cause. The data is used to track mold performance and to schedule preventive maintenance.
What Are Sink Marks and Why Do They Matter on Clip Teeth?
Sink marks are shallow depressions or dimples on the surface of a molded plastic part. They occur when the outer surface of the plastic solidifies in the mold while the inner core is still molten and cooling. As the inner core cools, it shrinks. The solid outer skin is pulled inward by the shrinking core, creating a depression. Sink marks are most common in thick sections of a part. On a hair clip, the base of the tooth, where it meets the body of the clip, is often the thickest section, and it is prone to sink marks. Under the magnifying lamp, a sink mark appears as a subtle, saucer-shaped depression. The surface within the depression may be slightly rough or textured, different from the surrounding smooth surface. The edges of the depression are gradual, not sharp. Sink marks matter for several reasons. They create an uneven surface on the tooth. This unevenness can abrade the hair cuticle as the tooth slides through the hair. The rough texture within the depression acts like fine sandpaper. Sink marks are also stress concentrators. The change in thickness at the edge of the depression creates a point where mechanical stress is concentrated. Under repeated flexing, a crack can initiate at the edge of a sink mark. Sink marks are a sign of a molding process problem. The mold may not be packing enough plastic into the cavity. The cooling time may be too short. The melt temperature or the mold temperature may be incorrect. The corrective action involves adjusting the molding parameters, increasing the packing pressure, extending the cooling time, or modifying the mold design to reduce the thickness variation. The magnifying lamp inspection catches sink marks before they become field failures.
How Is the Magnifying Lamp Inspection Process Standardized
Standardization is what separates a casual glance under a magnifying lamp from a reliable, repeatable quality control process. Without standardization, different inspectors will look at different things, apply different standards, and produce inconsistent results. The inspection process must be documented, the inspectors must be trained, the criteria must be clear, and the results must be recorded. A standardized process ensures that every clip is inspected to the same standard, regardless of who is performing the inspection or when it is done.
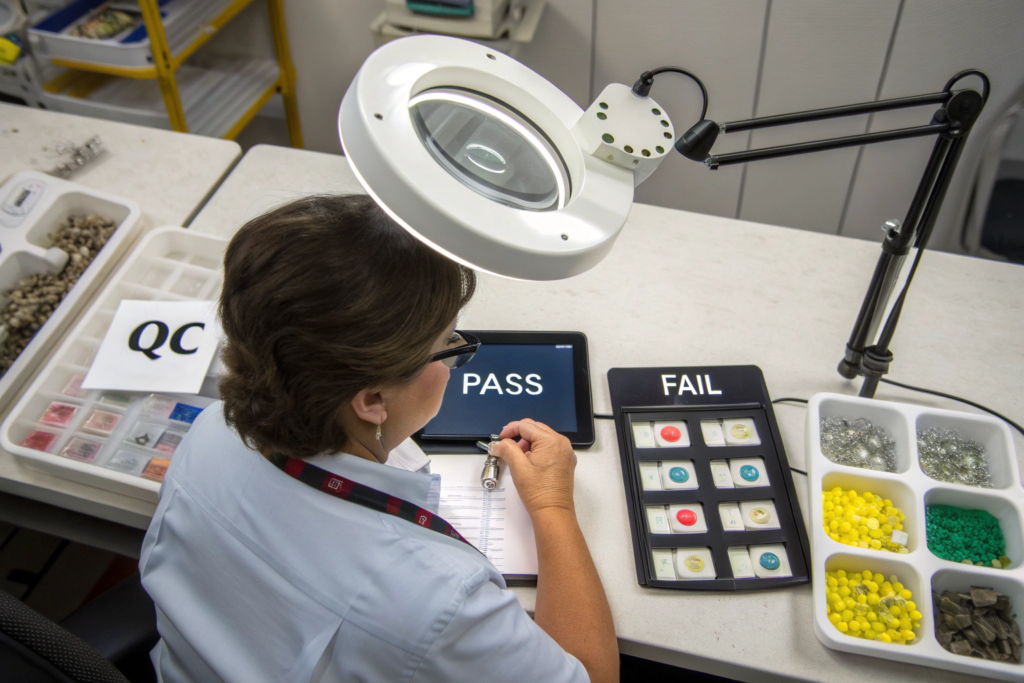
The magnifying lamp inspection process is standardized through a written inspection procedure, a detailed defect reference library, calibrated equipment, and trained, certified inspectors. The inspection procedure specifies the magnification level to use, 3x for general inspection and 5x for detailed inspection. The lighting conditions, the lamp brightness setting and the ambient room lighting. The clip handling method, how to hold the clip, how to rotate it to view all teeth, and the requirement to wear clean gloves. The inspection sequence, the order in which the teeth are inspected, typically starting from one end of the clip and working systematically to the other. The defect criteria, a written definition of each defect type with a pass-fail threshold. For example, "Any visible burr on a tooth tip is a failure." The defect reference library is a physical collection of sample clips with known defects, mounted on cards and labeled. The inspector can compare a suspect clip to the reference samples to confirm the defect type and severity. The equipment is calibrated. The magnifying lamp’s light output is checked periodically to ensure it meets the specified brightness. The lenses are cleaned daily to remove dust and fingerprints. The inspectors are trained and certified. New inspectors undergo a training program that includes classroom instruction on defect types and root causes, hands-on practice under the supervision of a senior inspector, and a certification test where they must correctly identify defects on a test set of clips. Certified inspectors are re-tested annually. The inspection results are recorded on a standardized QC form or in a digital QC system. The form includes the date, the production batch number, the sample size, the number of defects found by type, and the pass-fail determination.
The standardized process is audited regularly. The QC manager randomly selects inspected clips and re-inspects them to verify that the inspectors are applying the criteria correctly. This audit process maintains the integrity of the inspection system. Let me detail the two most important standardization elements.
How Often Are Tooth Samples Pulled During Production?
The sampling frequency for magnifying lamp inspection is based on the production volume, the defect history, and the criticality of the tooth quality. The sampling plan follows the AQL, Acceptable Quality Level, methodology, but with additional checkpoints specific to injection molding. The sampling occurs at three stages. Startup inspection, inline inspection, and final inspection. Startup inspection is the most intensive. When the injection molding machine is first set up for a production run, the first shots, the first molded parts, are inspected 100 percent under the magnifying lamp. Every tooth on every clip from the first several shots is inspected. The mold temperature, the injection pressure, and the cooling time are still stabilizing, and defects are most common during startup. Only when the startup samples consistently pass inspection is the production run allowed to proceed. Inline inspection occurs during the production run. The QC inspector visits the molding machine at defined intervals, typically every hour or every two hours. The inspector pulls a small sample of clips, typically 5 to 10 pieces, directly from the machine output. The samples are taken to the QC workstation and inspected under the magnifying lamp. The results are recorded. If defects are found, the inspector immediately notifies the molding technician. The machine may be stopped for adjustment. The inline inspection frequency is increased if defects are found, and it may be reduced for a well-established, stable process. Final inspection occurs after the production run is complete. A statistically representative sample is drawn from the finished batch according to the AQL sampling plan. The standard AQL for major defects on hair clip teeth is 2.5. The sample size depends on the batch size. For a batch of 3,000 clips, the sample size is 125 clips. Every tooth on every clip in the sample is inspected under the magnifying lamp. The number and type of defects are recorded. If the defect count exceeds the AQL acceptance number, the entire batch is failed and must be 100 percent inspected or reworked.
What Training Do QC Inspectors Receive for Magnified Inspection?
Magnified inspection is a skill that requires training. An untrained person looking through a magnifying lamp will not see the same things as a trained inspector. The eye must be taught what to look for, and the brain must be taught how to interpret what the eye sees. The training program for magnified inspection at our factory is structured and comprehensive. The first module is defect recognition. The trainee is given a set of sample clips with known defects, each defect clearly marked and labeled. The trainee studies each defect under the magnifying lamp, learning its visual characteristics, its tactile feel, and its typical location on the clip. The trainee learns the defect terminology, burr, flash, sink mark, flow line, crack, and the root causes of each. The second module is the inspection procedure. The trainee learns the standardized inspection sequence. Which magnification to use. How to hold the clip. How to rotate it to view all surfaces. How to use the lighting angle to reveal subtle defects. The trainee practices the procedure under the supervision of a senior inspector. The third module is the defect criteria. The trainee learns the pass-fail boundaries. What size burr is acceptable and what size is a failure. The criteria are demonstrated with physical samples that define the borderline. The trainee learns to make consistent, repeatable judgments. The fourth module is the certification test. The trainee is given a test set of 50 clips, some with defects and some without. The trainee must inspect each clip and record the defects found. The results are compared to a master answer key prepared by the senior inspector and the QC manager. The trainee must achieve a score of at least 95 percent accuracy to be certified. The certification is valid for one year. Recertification is required annually. The training program is documented, and training records are maintained for each inspector.
What Role Does Lighting Play in Tooth Inspection Accuracy
Lighting is not just an accessory to magnified inspection. It is an equal partner with the magnification itself. The best optical magnification is useless if the lighting is poor. Shadows can hide defects. Glare can wash out subtle surface features. Color temperature can distort the appearance of the plastic. The lighting system in a quality control magnifying lamp is engineered to provide bright, even, color-corrected illumination that reveals defects rather than concealing them. The choice of light source, the geometry of the illumination, and the adjustability of the brightness all contribute to the accuracy and consistency of the inspection.
Lighting plays a critical role in tooth inspection accuracy because the small, three-dimensional defects on clip teeth, burrs, sink marks, and parting lines, are revealed by how they interact with light. A burr catches the light at a different angle than the surrounding surface and casts a tiny shadow. A sink mark reflects light differently from its depressed center than from its raised edges. A parting line may appear as a bright or dark line depending on the angle of illumination. The ideal lighting for these inspections is a ring light, a circular array of LEDs or a circular fluorescent tube that surrounds the magnifying lens. The ring light provides coaxial illumination, light that travels along the same axis as the inspector’s line of sight. This eliminates shadows because the light comes from all directions equally. There is no single light source to cast a shadow. The entire tooth surface is illuminated evenly. The light color temperature is typically 5000 to 6500 Kelvin, which is daylight-balanced. This is important for color-critical inspections, where the inspector needs to see the true color of the plastic without the yellow cast of warm white light or the blue cast of cool white light. The light intensity is adjustable. A high brightness setting is used for detailed inspection of suspicious areas. A lower brightness setting is used to avoid glare on shiny, polished plastic surfaces. The light must be stable, with no flicker, which can cause eye fatigue and reduce inspection accuracy over time.
The lighting is checked and maintained as part of the equipment calibration program. The light output is measured periodically with a light meter to ensure it meets the specified brightness. Failing fluorescent tubes or LED arrays are replaced promptly. The lens and the light cover are cleaned daily to remove dust and fingerprints that can scatter light and create glare. Let me detail the two most important lighting considerations.
How Does Ring Light Illumination Reduce Shadows on Teeth?
Shadows are the enemy of detailed visual inspection. A shadow cast across a tooth surface can completely obscure a burr, a crack, or a sink mark. The inspector looks at the shadow and sees darkness, not the defect hiding within it. Traditional inspection lighting, a single overhead light or a desk lamp, creates strong directional shadows because the light comes from one direction. The side of the tooth facing the light is brightly lit. The opposite side is in deep shadow. To see all surfaces, the inspector must constantly rotate and tilt the clip, and even then, some areas may remain shadowed. Ring light illumination solves this problem by surrounding the inspection area with light. The ring light is a circle of multiple small light sources, LEDs or a continuous fluorescent tube, that is mounted around the magnifying lens. The light comes from all directions simultaneously. When the inspector looks through the lens, they are looking along the axis of the light ring. The light is essentially shining straight down onto the clip from every angle. There are no shadows because every part of the clip surface receives light from multiple directions. The illumination is diffuse and even. This is particularly important for the spaces between the teeth. On a claw clip, the teeth are closely spaced, and the gaps between them are deep and narrow. A directional light source would cast deep shadows into these gaps, hiding defects at the tooth base. The ring light penetrates the gaps from multiple angles, illuminating the tooth base and the inner surfaces. The inspector can see clearly into the inter-tooth spaces without having to spread the teeth apart. The ring light also helps to reveal the three-dimensional shape of defects. A burr that stands proud of the surface will reflect light from certain angles more than the flat surface around it, making it visible as a bright spot. A sink mark that is depressed will reflect less light, making it visible as a darker area. The ring light enhances the natural contrast between the defect and the surrounding surface.
What Color Temperature Is Best for Inspecting Plastic Parts?
Color temperature is a measure of the color appearance of a light source, expressed in Kelvin. A low color temperature, around 2700 to 3000 Kelvin, is warm and yellowish, like an incandescent bulb. A high color temperature, around 5000 to 6500 Kelvin, is cool and bluish, like daylight. For quality control inspection of plastic parts, the standard is 5000 to 6500 Kelvin, which is commonly referred to as D65 or daylight. This color temperature is specified in international standards for color matching and visual inspection, including ASTM D1729 and ISO 3664. The reason is that daylight-balanced light reveals the true color of the plastic. Under warm, yellowish light, a white clip may appear creamy. A pastel clip may appear more yellow than it actually is. Color defects, such as yellowing from thermal degradation or colorant streaking, may be masked. The inspector sees the color as it would appear under natural daylight, which is the condition under which the consumer will use the product. The daylight-balanced light also provides the best visual acuity for the human eye. The eye’s photoreceptors are most sensitive in the green-yellow part of the spectrum, around 555 nanometers, which is well-represented in daylight. The contrast sensitivity, the ability to distinguish fine details, is optimized under daylight conditions. The magnifying lamps we use are equipped with high-CRI, Color Rendering Index, LEDs with a CRI of 90 or above. The CRI measures how accurately a light source renders colors compared to a reference light source of the same color temperature. A CRI of 90 and above is required for critical color evaluation. The combination of D65 color temperature and high CRI ensures that the inspector sees the clip’s color accurately and sees surface defects with maximum contrast and clarity.
Conclusion
The magnifying lamp is one of the most important tools on our quality control workbench. It transforms the invisible into the visible. The tiny burr on a tooth tip, the hairline crack at the tooth base, the subtle sink mark from uneven cooling, these are defects that would pass a naked-eye inspection and go on to snag hair, scratch scalps, and break off in use. Under 3x to 5x magnification with bright, shadow-free ring light illumination, they are revealed. We have explored why magnified inspection is necessary, because the critical defects on hair clip teeth are smaller than the resolution of the unaided human eye. We have cataloged the specific defects that the magnifying lamp catches, from mold flash and burrs to sink marks and stress cracks, each with its own visual signature and its own root cause. We have described how the inspection process is standardized, with documented procedures, trained and certified inspectors, statistical sampling plans, and regular audits to ensure consistency. And we have examined the critical role of lighting, the ring light geometry that eliminates shadows and the daylight-balanced color temperature that reveals true color and maximizes contrast.
At AceAccessory, magnifying lamp inspection is not an optional step. It is a mandatory part of our production process for every hair clip and hair claw we manufacture. Our QC workstations are equipped with professional-grade magnifying lamps with 3x and 5x lenses, adjustable LED ring lights, and all the necessary tools for handling and marking clips. Our inspectors are trained and certified in the specific techniques of hair clip tooth inspection. Our inspection data is recorded, analyzed, and used to drive continuous improvement in our molding processes and our mold maintenance programs. We know that a single defective tooth can ruin a customer’s experience and damage a brand’s reputation. We do not let that happen.
If you are sourcing hair clips or hair claws, and you want a manufacturing partner who inspects every critical surface with the care and precision that your brand deserves, I invite you to contact us. Reach out to our Business Director, Elaine, at elaine@fumaoclothing.com. Tell her about your product, your quality requirements, and any tooth-related quality issues you have experienced in the past. She can provide samples of our inspected clips, share our QC procedures and defect reference library, and provide a quotation for production that includes our comprehensive magnifying lamp inspection protocol. Do not let invisible defects damage your brand’s reputation. Work with a factory that sees what others miss.