
Turning a great idea into a finished accessory isn’t just about sending an email and waiting. It’s a process—and every step counts when quality, time, and cost are on the line.
The process of developing custom accessories with a Chinese factory involves tech pack submission, sampling, feedback, revisions, approvals, production planning, and final QC—each with its own key timeline and communication checkpoints.
At AceAccessory, we’ve helped clients worldwide bring their custom belts, scarves, hats, and hair clips to life. Here’s exactly how we do it.
Step-by-Step Guide to Accessory Product Development
If you want a custom product—not just off-the-shelf stock—this is the process you’ll follow with any serious Chinese factory.
Developing a custom accessory involves six main stages: product briefing, sampling, revisions, sample approval, production planning, and mass production. Each step must be clear, confirmed, and tracked.
Overview of the Development Journey
| Stage | What Happens |
|---|---|
| Product briefing | Buyer shares specs, sketches, or samples |
| Tech pack submission | Measurements, materials, logo, packaging |
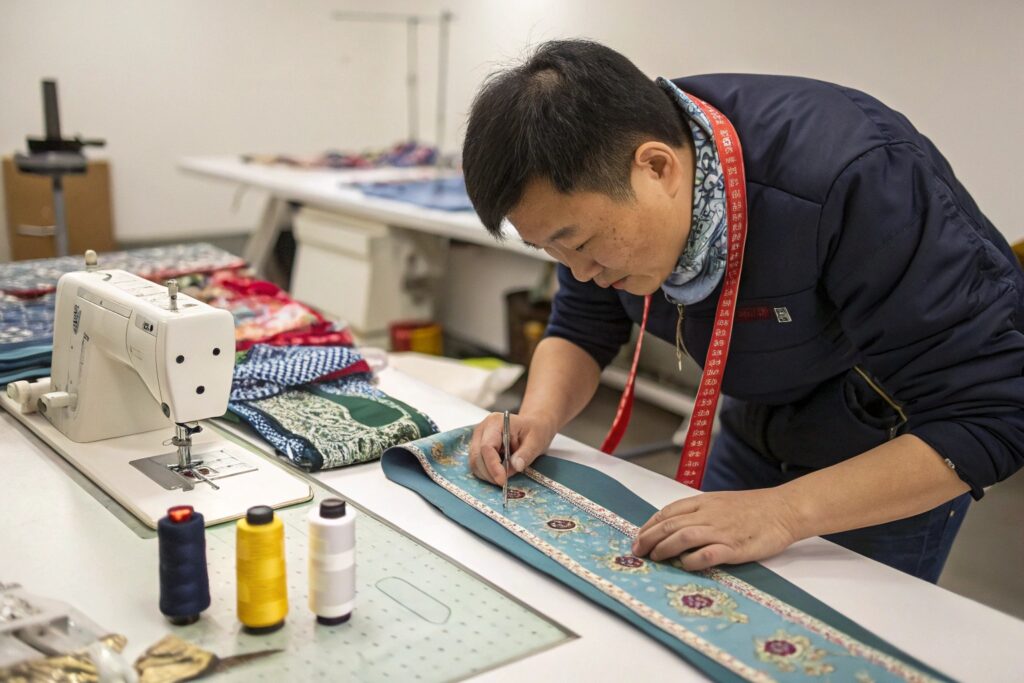
| Sampling phase | Factory creates prototype or 3D sample |
| Sample revisions | Color, trim, or size changes applied |
| Final approval | Buyer signs off, production slot reserved |
| Mass production | Materials ordered, workflow begins |
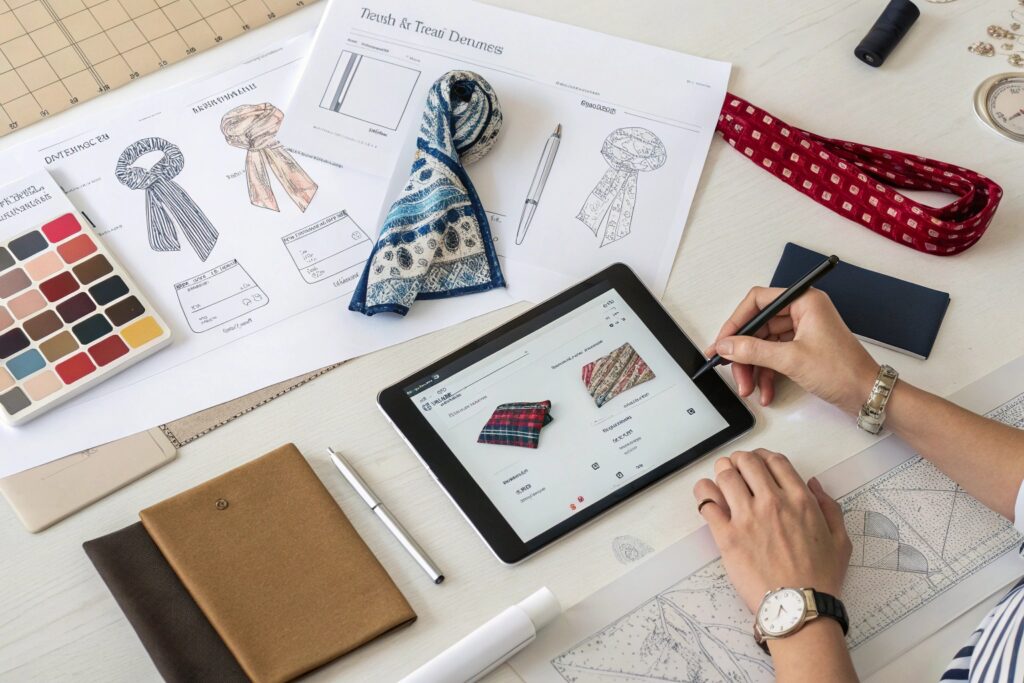
We encourage clients to start with a style reference or sketch. Even a photo with hand-written notes is a good beginning. From there, our design team drafts a working version of the tech pack to confirm every detail.
You’ll need to confirm:
- Product measurements
- Material options (we can suggest)
- Color codes (Pantone preferred)
- Logo file (AI or vector)
- Quantity target and packaging preferences
How to Submit Tech Packs and Design Files Correctly?
This step saves time and prevents confusion. A clear tech pack is your most powerful tool.
To submit tech packs correctly, use PDF or Excel formats with labeled diagrams, clear sizing, Pantone codes, logo files, trim details, packaging specs, and any reference photos. Avoid vague or incomplete files.
What should your tech pack include?
| Tech Pack Section | Details Required |
|---|---|
| Product sketch or image | Front, back, and side views |
| Sizing | Length, width, diameter (for clips, hats) |
| Material list | Fabric, hardware, labels |
| Colors | Pantone, RGB, or sample swatch |
| Logo info | Placement, size, vector file |
| Stitching & construction | Seam type, closure, padding |
| Packaging | Folded, flat, tagged, bagged, etc. |
At AceAccessory, we also help revise tech packs. If you’re not sure how to prepare one, our team offers free templates and consultation.
File formats that work best:
- .PDF or .AI for logos and layout
- .XLS or Google Sheets for size breakdowns
- .JPG or .PNG for reference photos
Send everything via email or shared folder. We’ll confirm receipt and create a Sample Brief Form internally before beginning.
Sampling and Revision Timeline for Custom Orders
This is the stage where most delays occur—unless you plan ahead.
The sampling and revision process usually takes 10–21 days depending on complexity, including prototype development, buyer feedback, and remake if required. Time varies based on materials, embroidery, and dyeing needs.
Sampling Timeline Example
| Task | Time Needed (Days) |
|---|---|
| Sample brief review | 1–2 |
| Raw material sourcing | 2–3 (longer for special fabric) |
| First prototype creation | 4–6 |
| Buyer feedback | 2–3 |
| Revision sample (if needed) | 3–5 |
| Final approval | 1–2 |
Clients can speed things up by:
- Approving via photo or video (instead of waiting for delivery)
- Choosing in-stock trims or fabric
- Consolidating all feedback at once
We once helped a buyer finalize a new headband style with 2 revisions in just 8 days. But we’ve also had projects take 3 weeks when colors or logos changed mid-way.
Sampling best practices:
- Confirm sample cost and shipping method
- Review sample with your team immediately
- Give feedback in bullet format
- Ask for side-by-side comparison if revised
Key Milestones from Concept to Mass Production
Milestones are checkpoints that help both sides stay on track—and they should be agreed upon before you start.
Key development milestones include sample sign-off, deposit payment, raw material approval, in-line production check, final QC, and packing approval. Each milestone should have a target date and confirmation step.
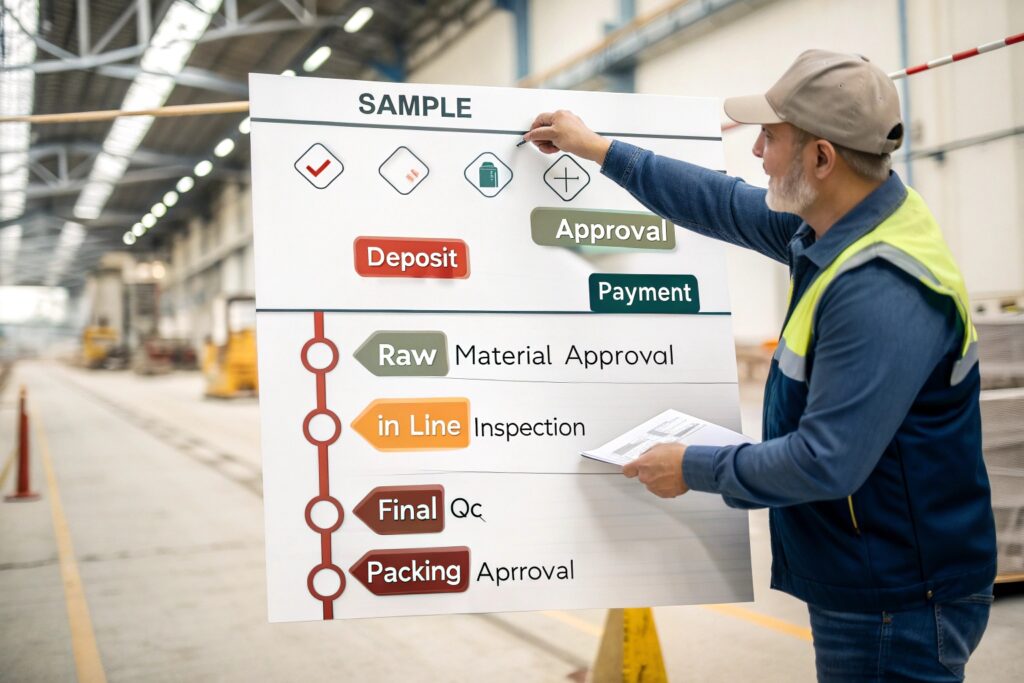
Accessory Production Milestones
| Milestone | Why It Matters |
|---|---|
| Final sample approval | Locks in design for production |
| Deposit received | Allows raw material purchase |
| Raw materials approved | Ensures quality before production |
| Production start | Factory schedules the order |
| Mid-line check | Catches early defects or delays |
| Final QC and packing check | Prevents surprises before shipping |
| Balance payment | Triggers booking of container/airfreight |
At AceAccessory, we send production calendars to our clients. Each stage includes photo updates, sample confirmations, and live video options.
For example:
- Day 1: Sample confirmed
- Day 2: Deposit received
- Day 3–5: Materials ordered
- Day 6–8: Factory preps workflow
- Day 9–20: Bulk production + in-line QC
- Day 21: Final QC + photo report
- Day 22–24: Packing + shipping
These milestones help clients plan their retail launches and avoid surprises.
Conclusion
Custom accessory development in China isn’t a black box. It’s a clear, structured process that rewards good planning and clear communication. When every detail is confirmed upfront—from tech packs to production workflows—you’ll get quality results on time, every time.